Teaching art Lessons
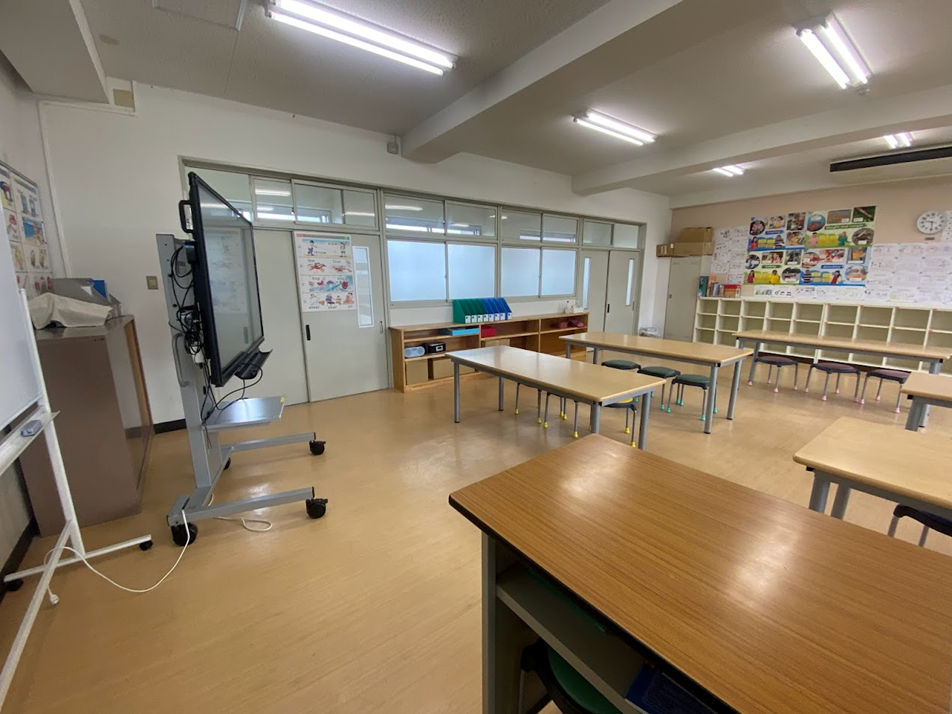
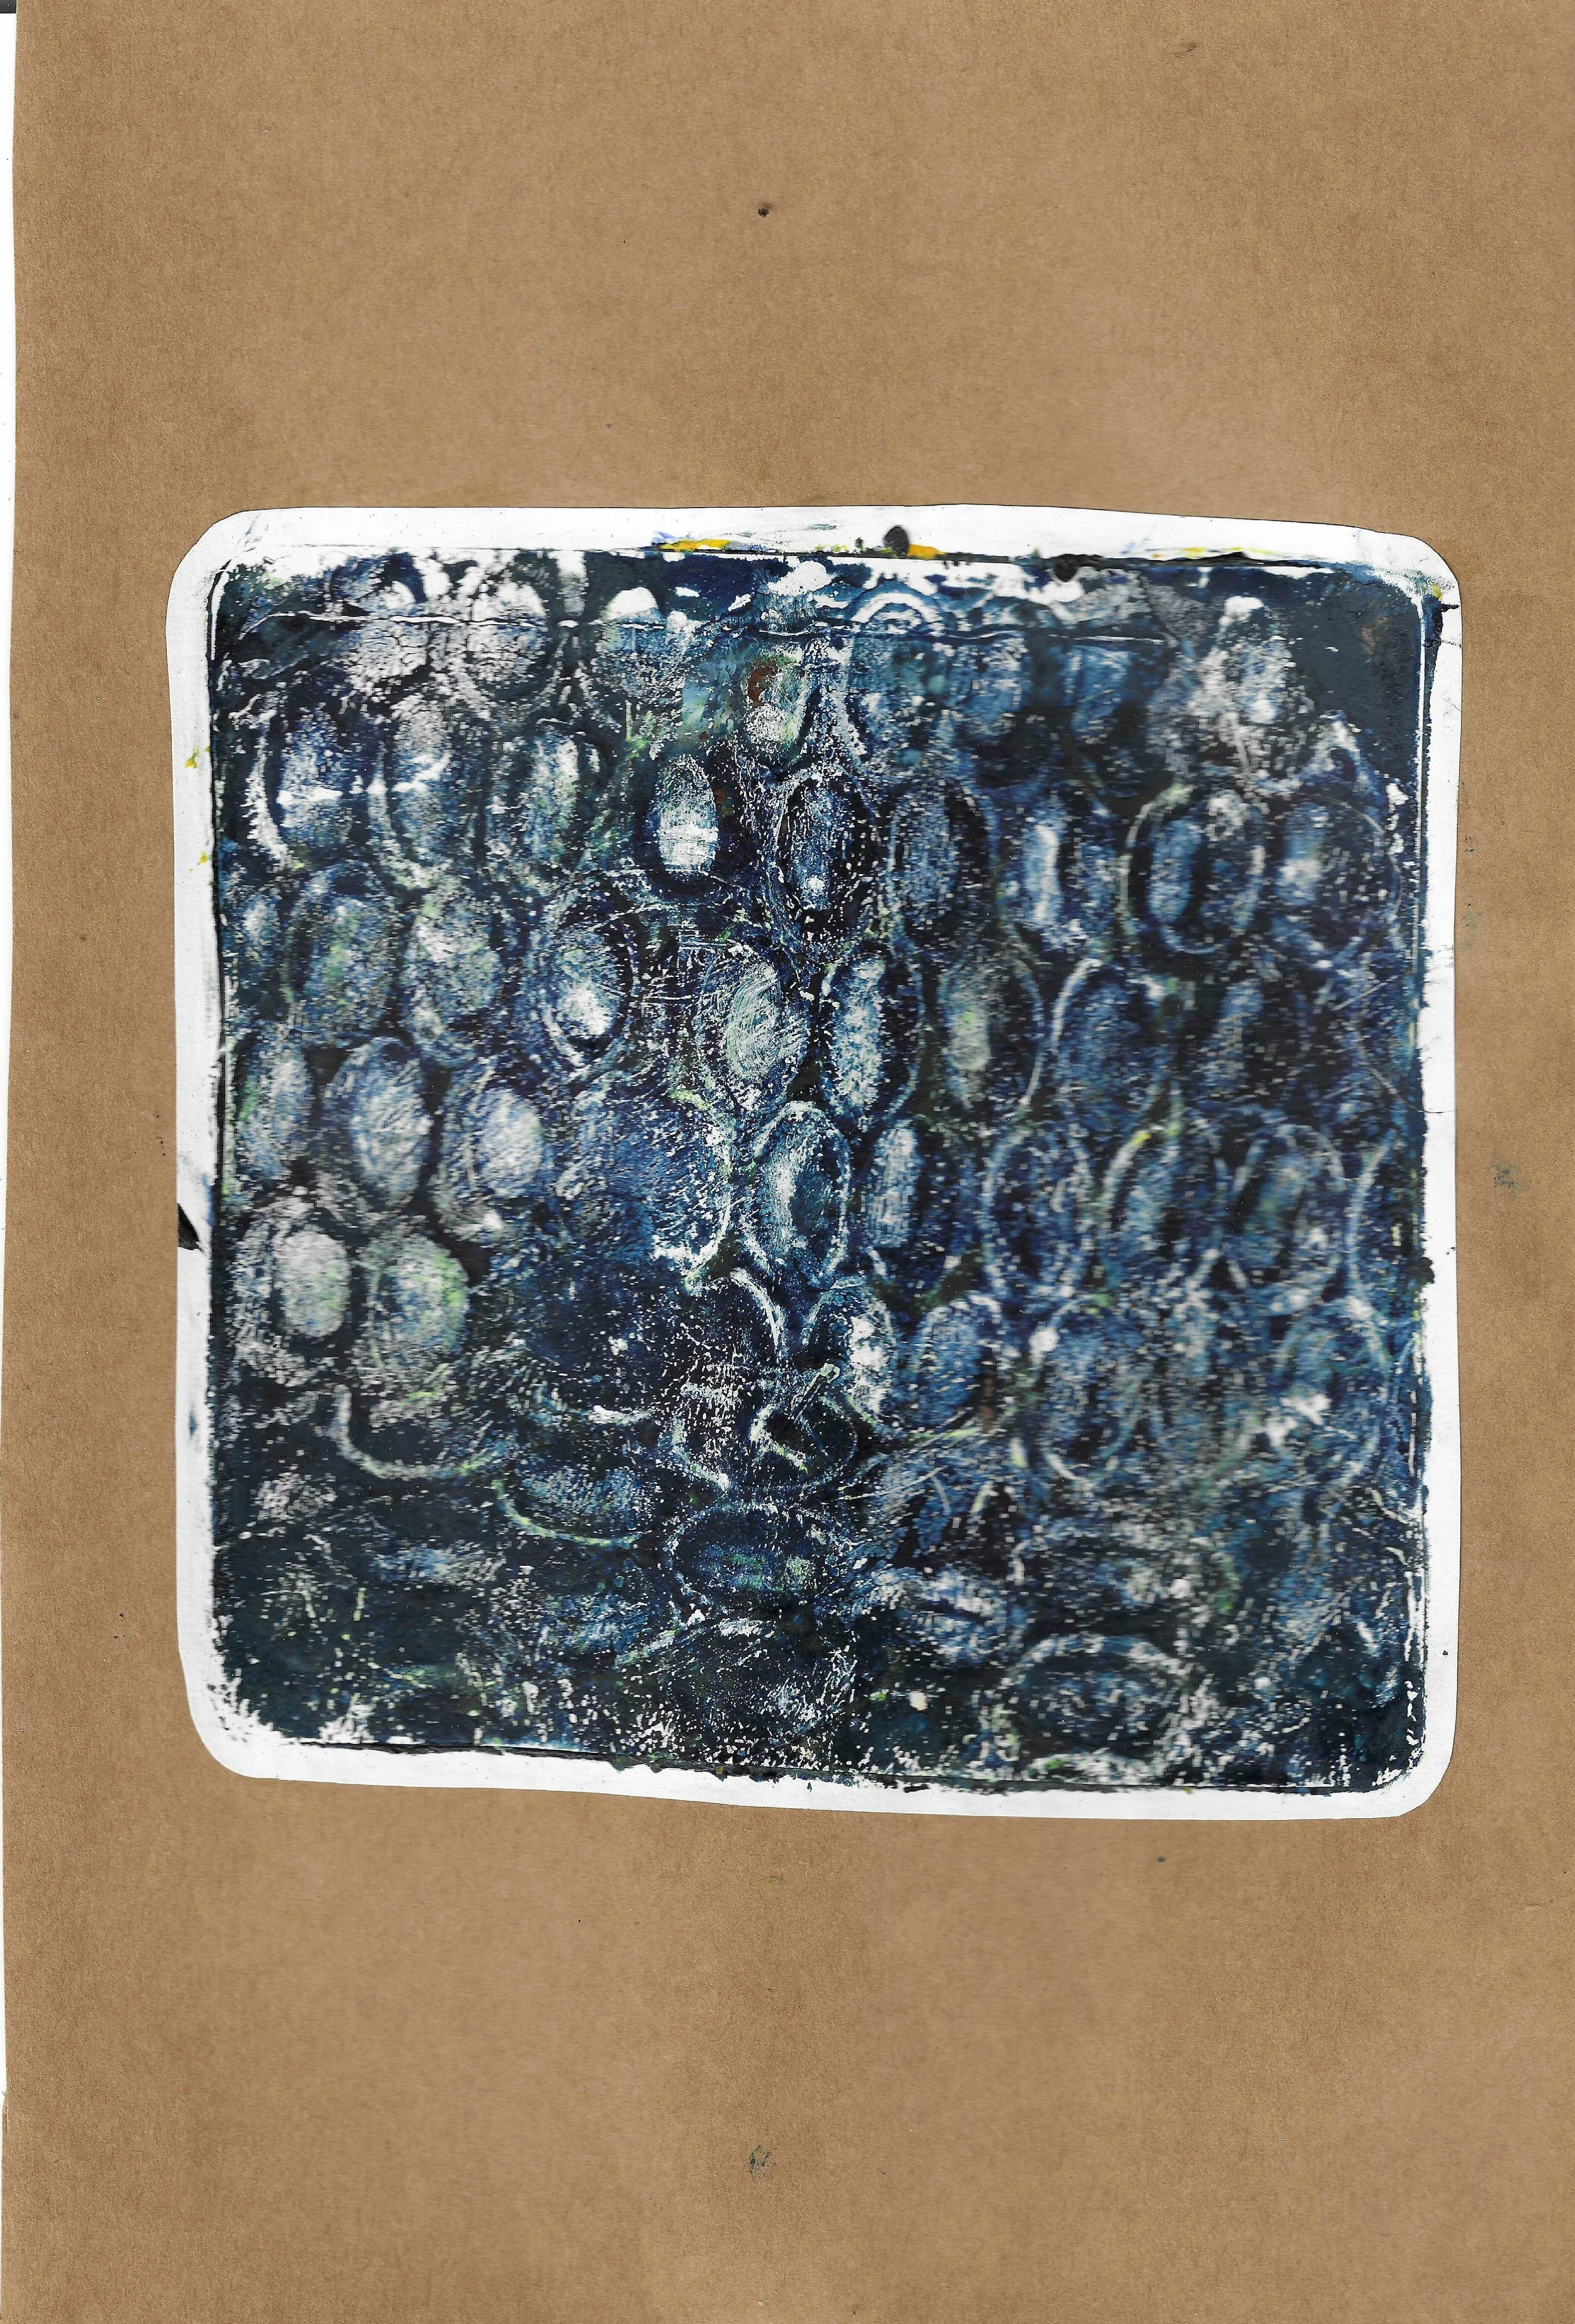
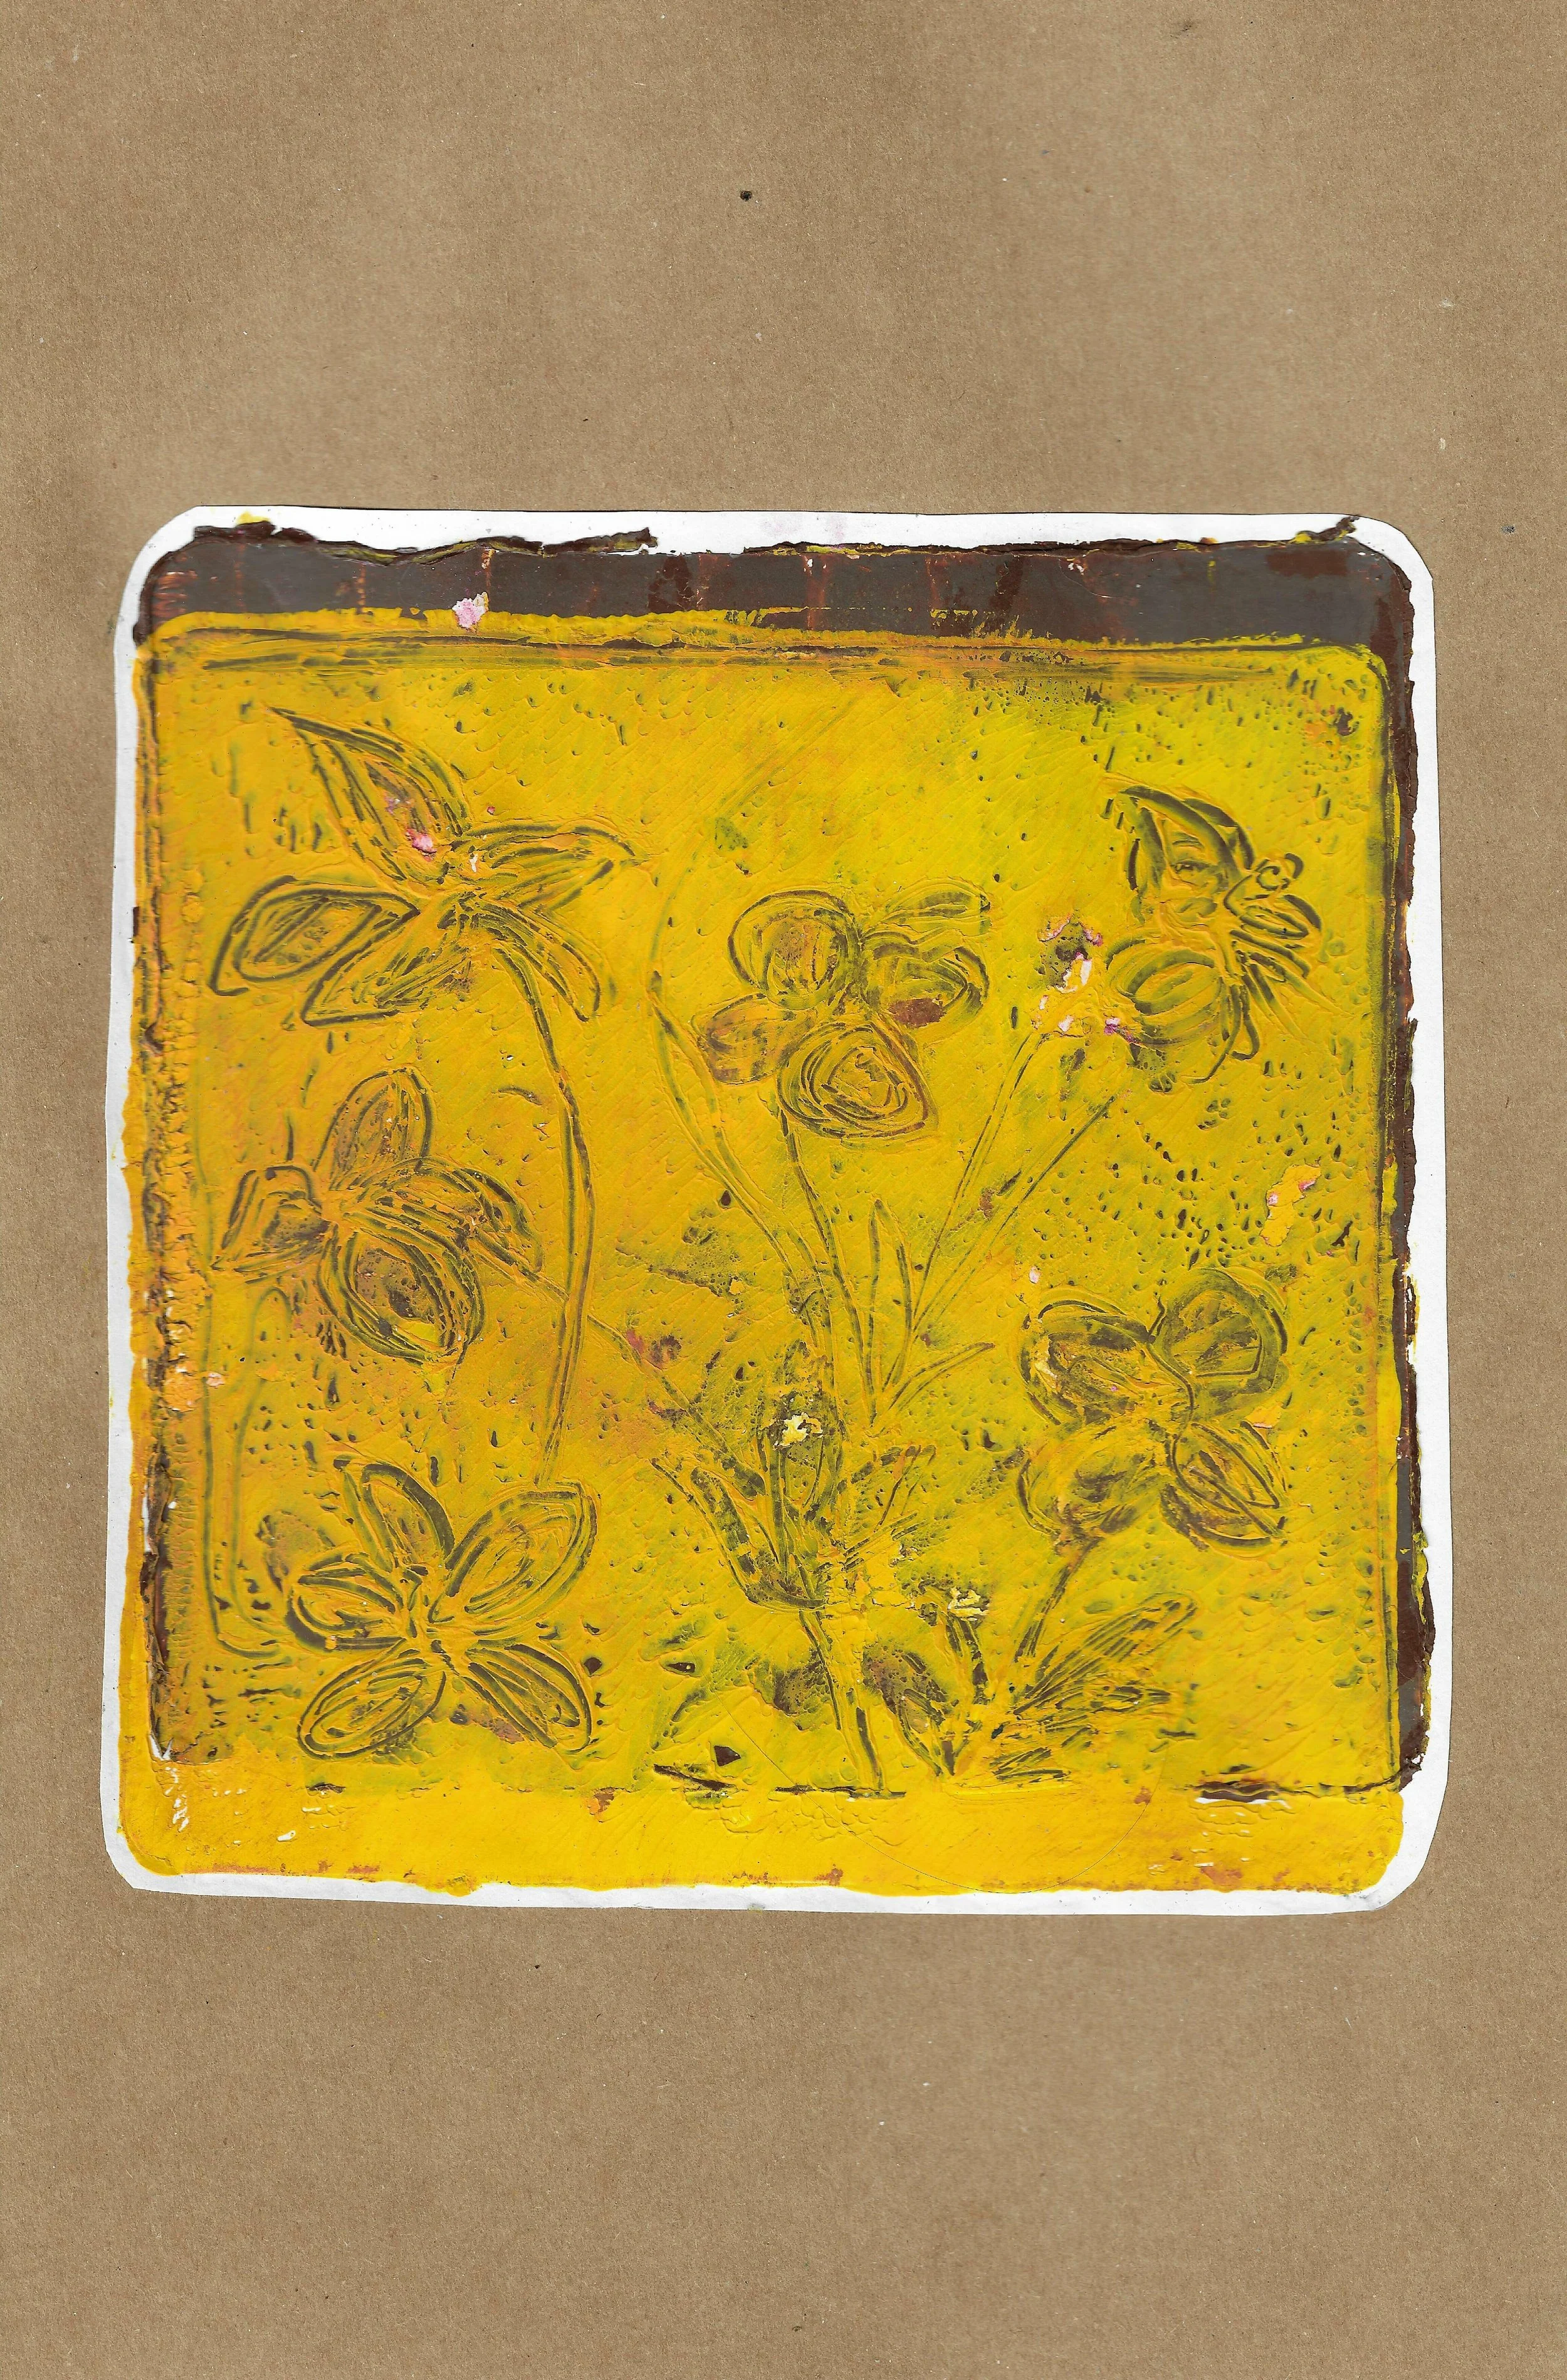
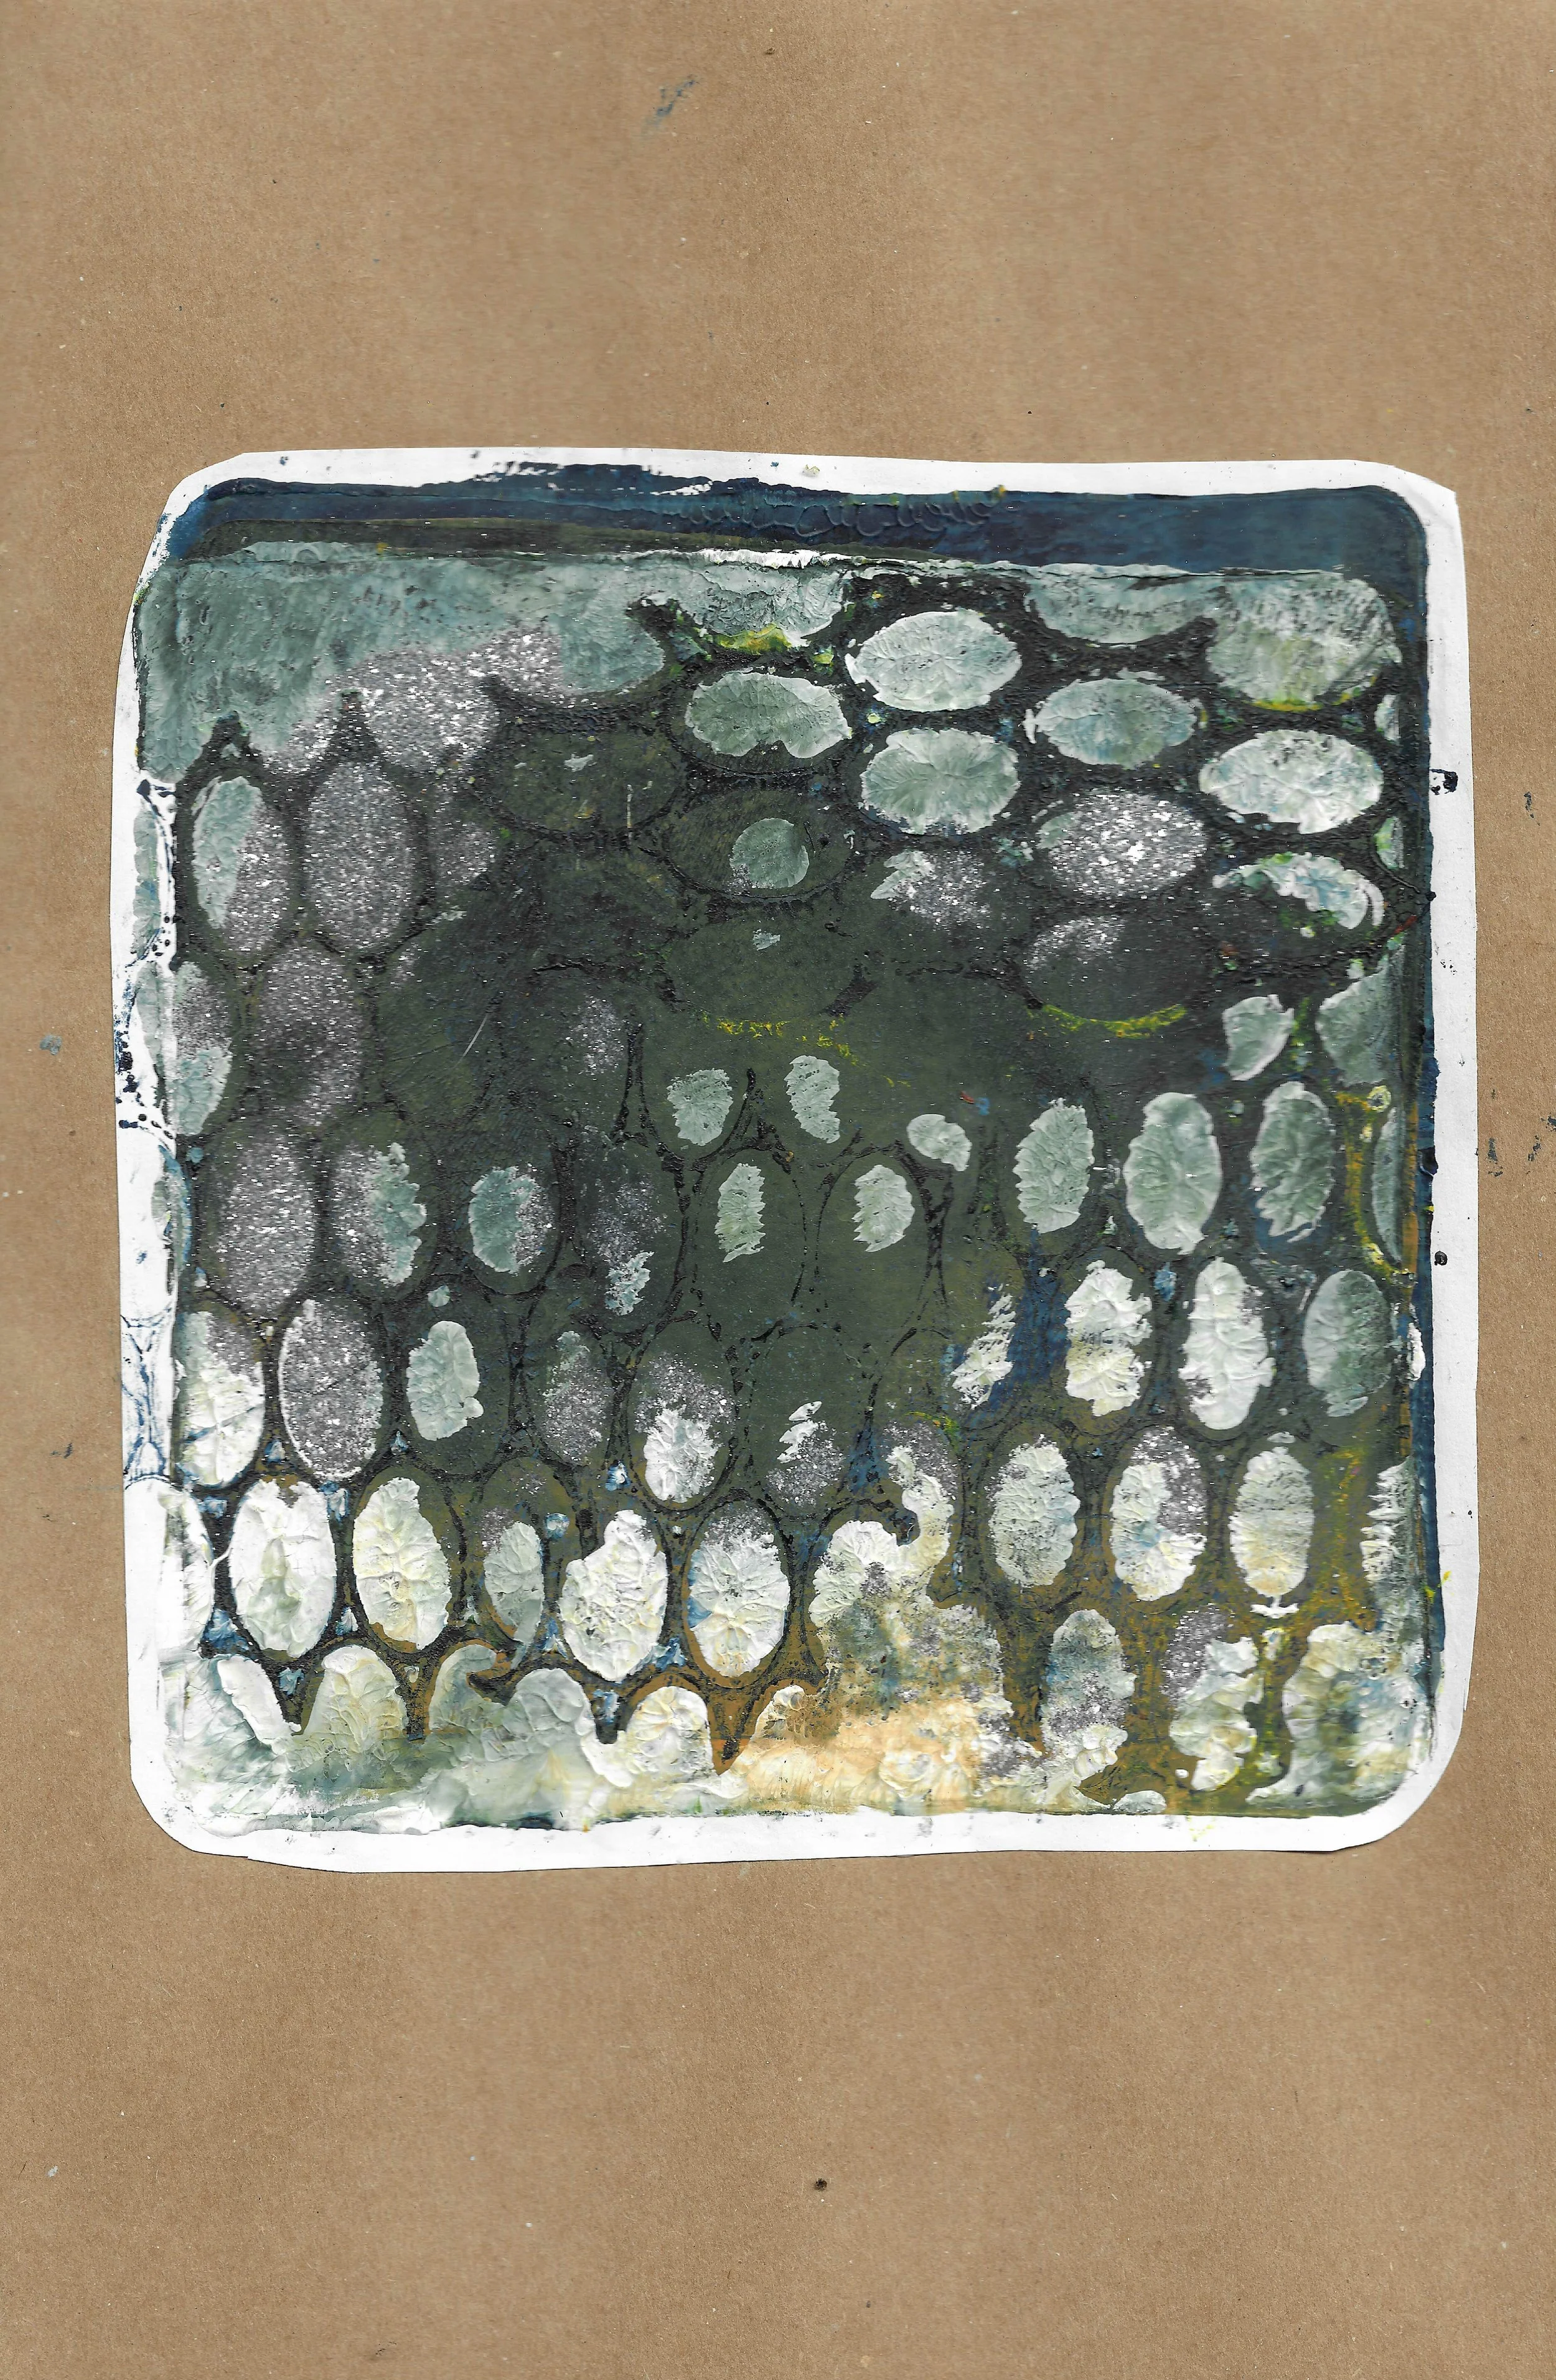
Gelli printing in SEN school
Teaching in a SEN school environment. I teach basics initially and differentiate upwards, you’ll be amazed with the results if you get the engagement. Basic things like pattern, instant wins like gelli printing work well. I start with the colour wheel, basic shading, tints tones etc and work upwards.
In SEN school, each setting can be very different. They needed more explicit instruction and breaking down into smaller steps. Some needed quick tasks rather than long projects and those with fixed mindset of "I can't" needed some very easy things to be successful at (e.g. ink blotches merging with a shaped card mount around).
a lot had sensory needs, so the materials also became a way to help them regulate emotions. Rather than reach for therapy, many started to make things to keep from air dry modelling materials, threading to make jewellery & collage as they got sensory feedback from ripping and peeling off backing from self adhesives. It became very much about self esteem, regulation not being time wasted & them seeing a future for themselves.
Gelli plate printing - lots of different things to try - use of stencils, flora and fauna and .They loved it and we got some really great results
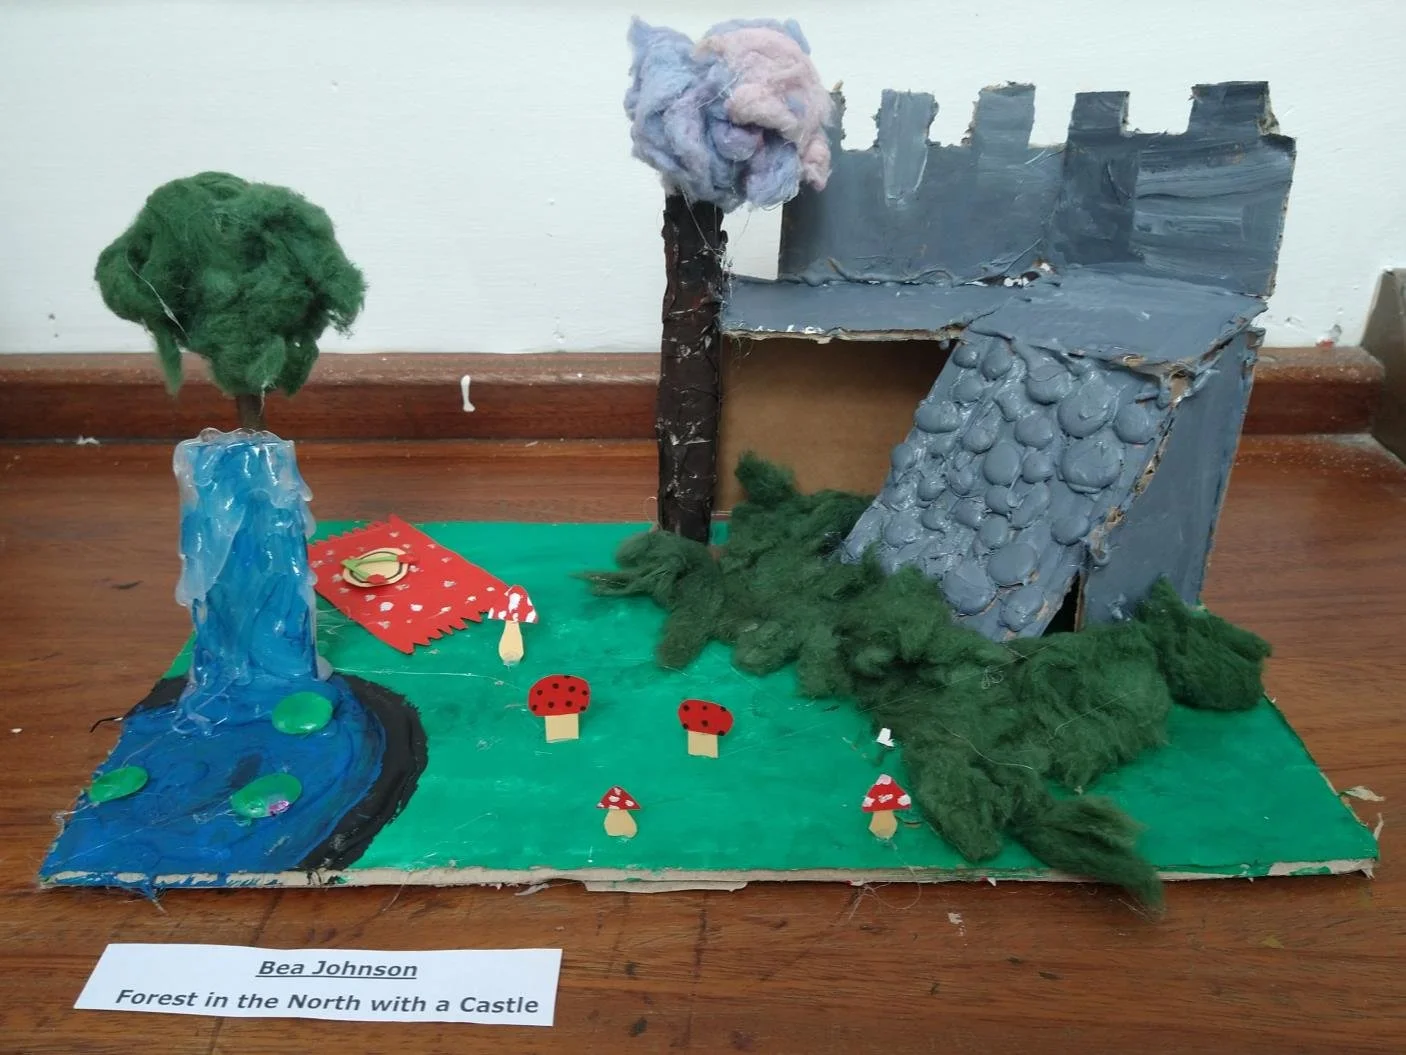
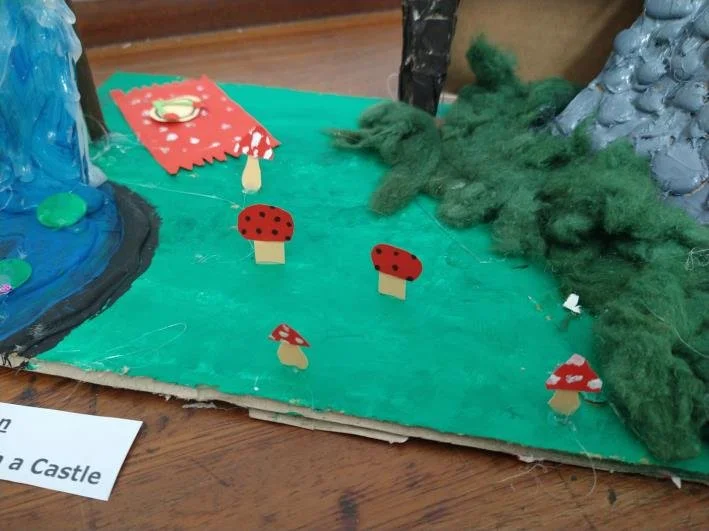
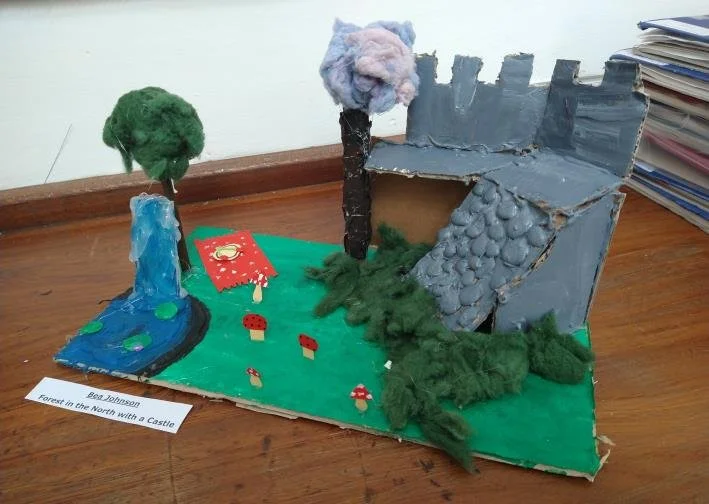
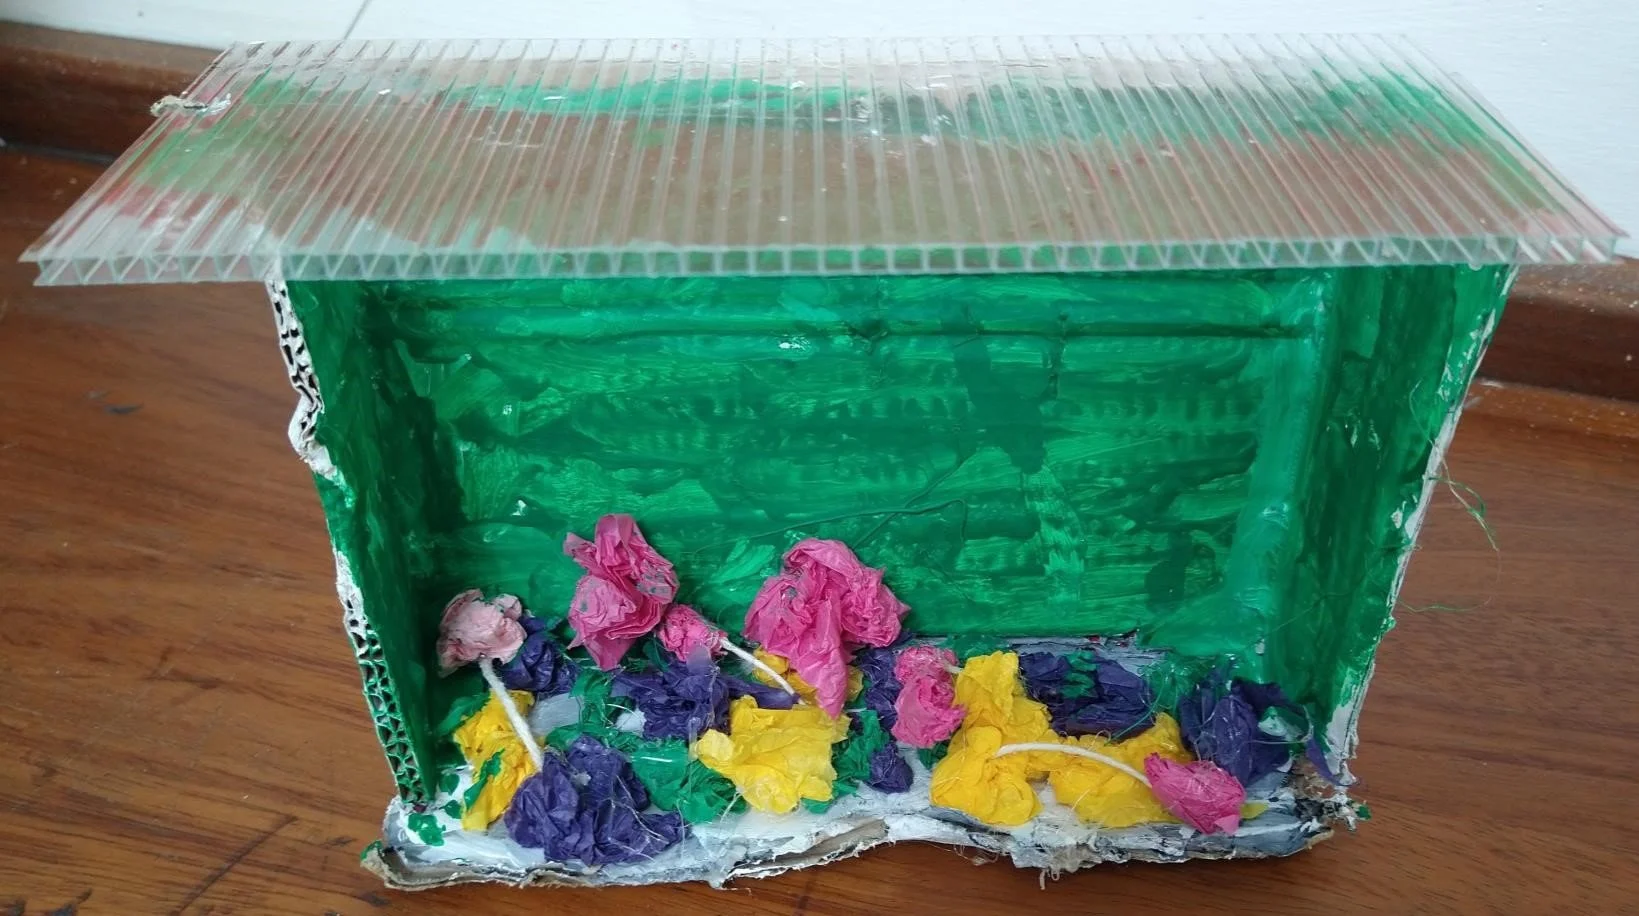
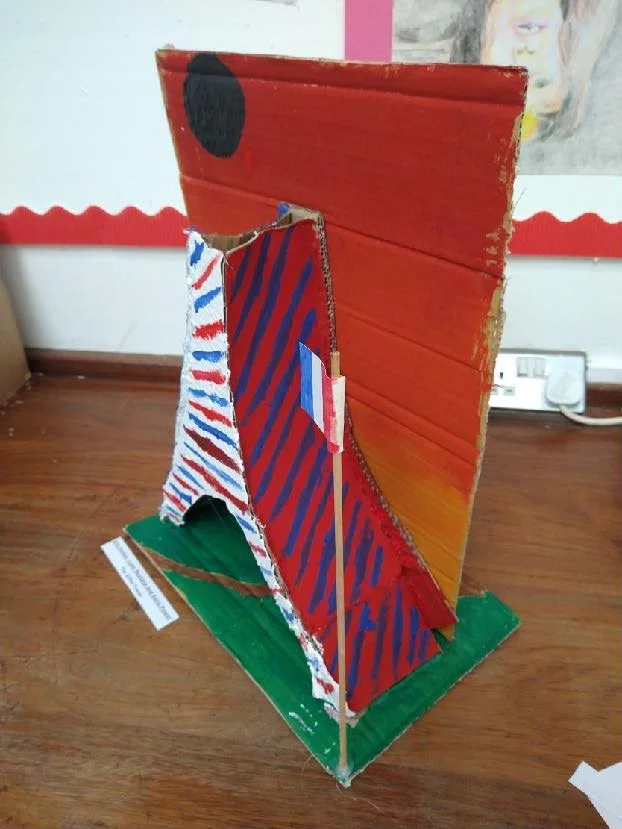
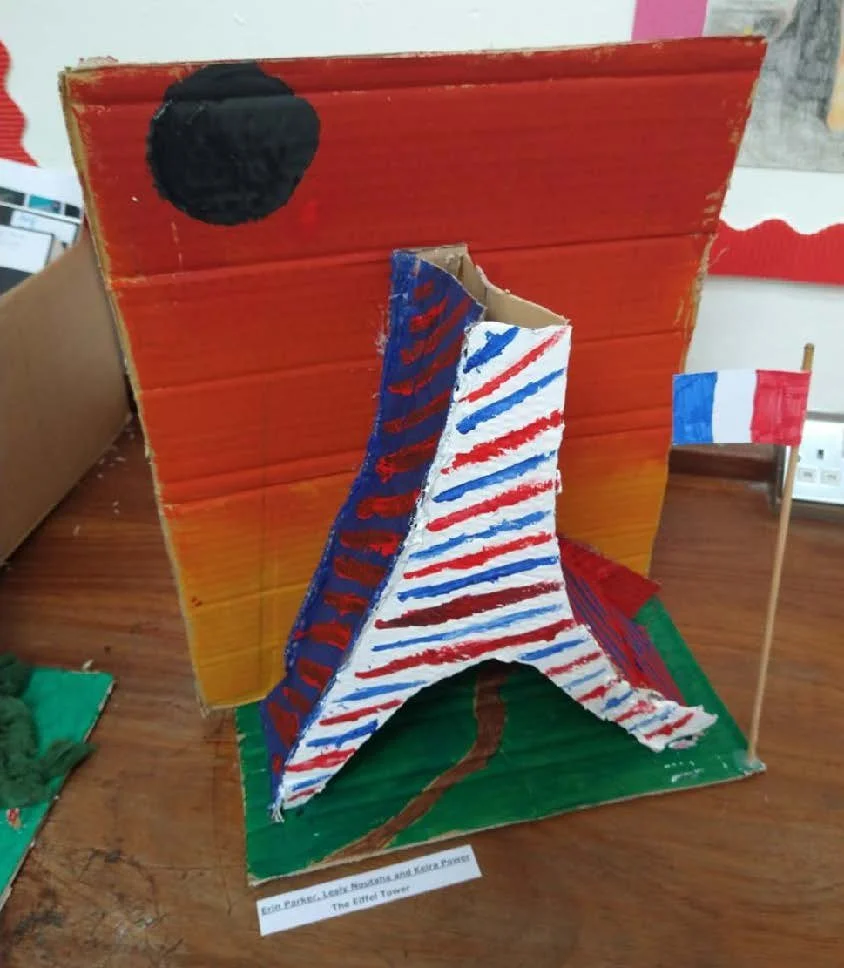
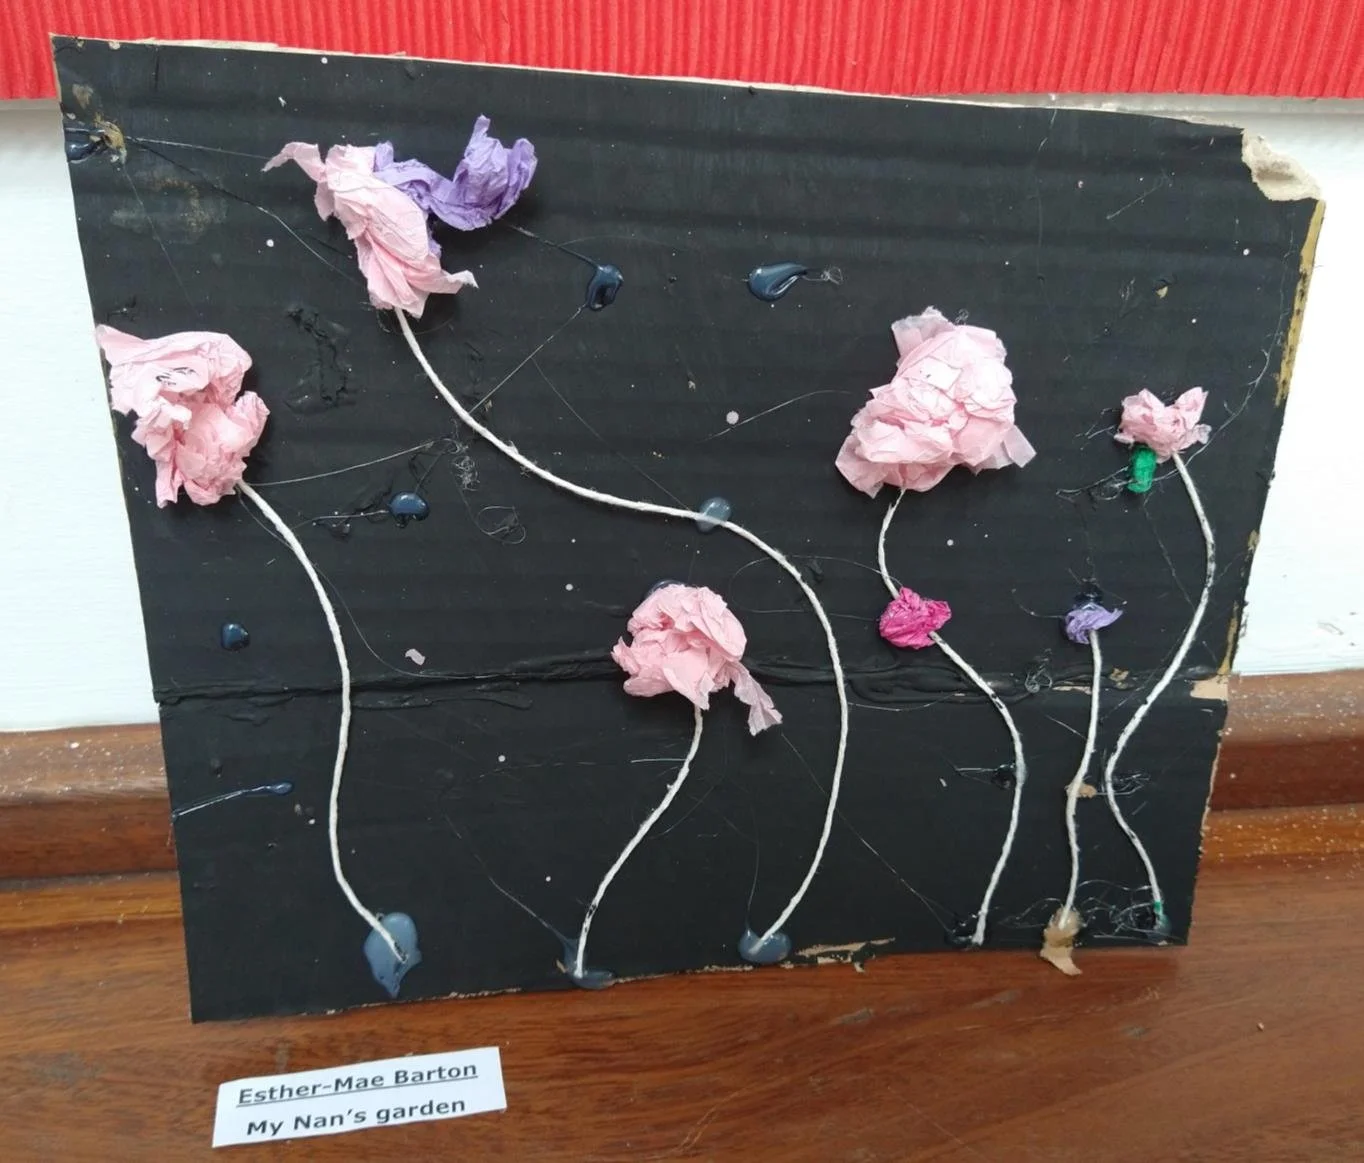
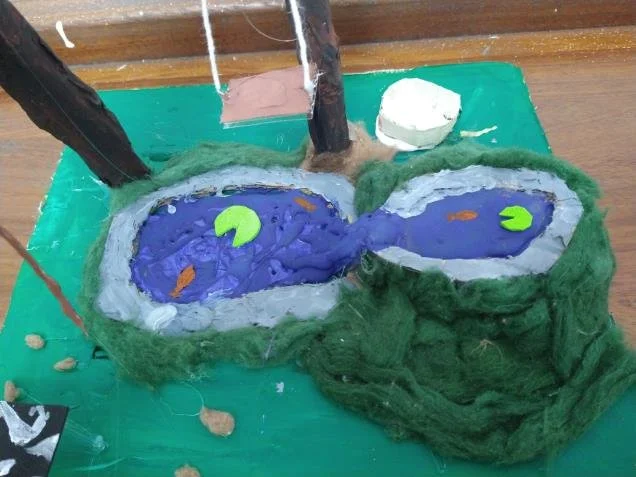
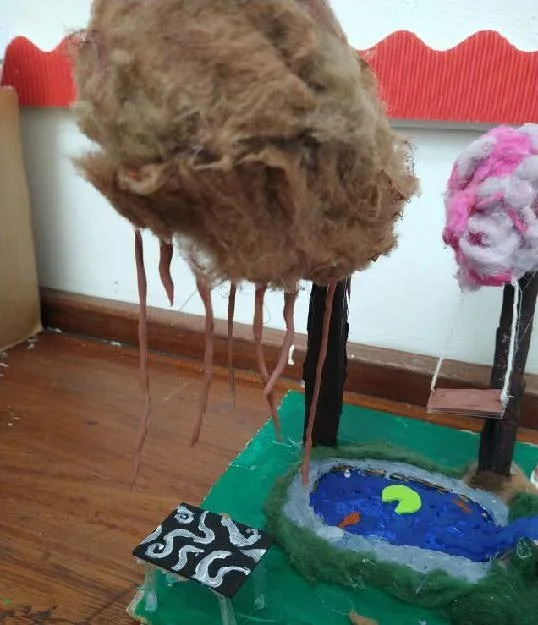
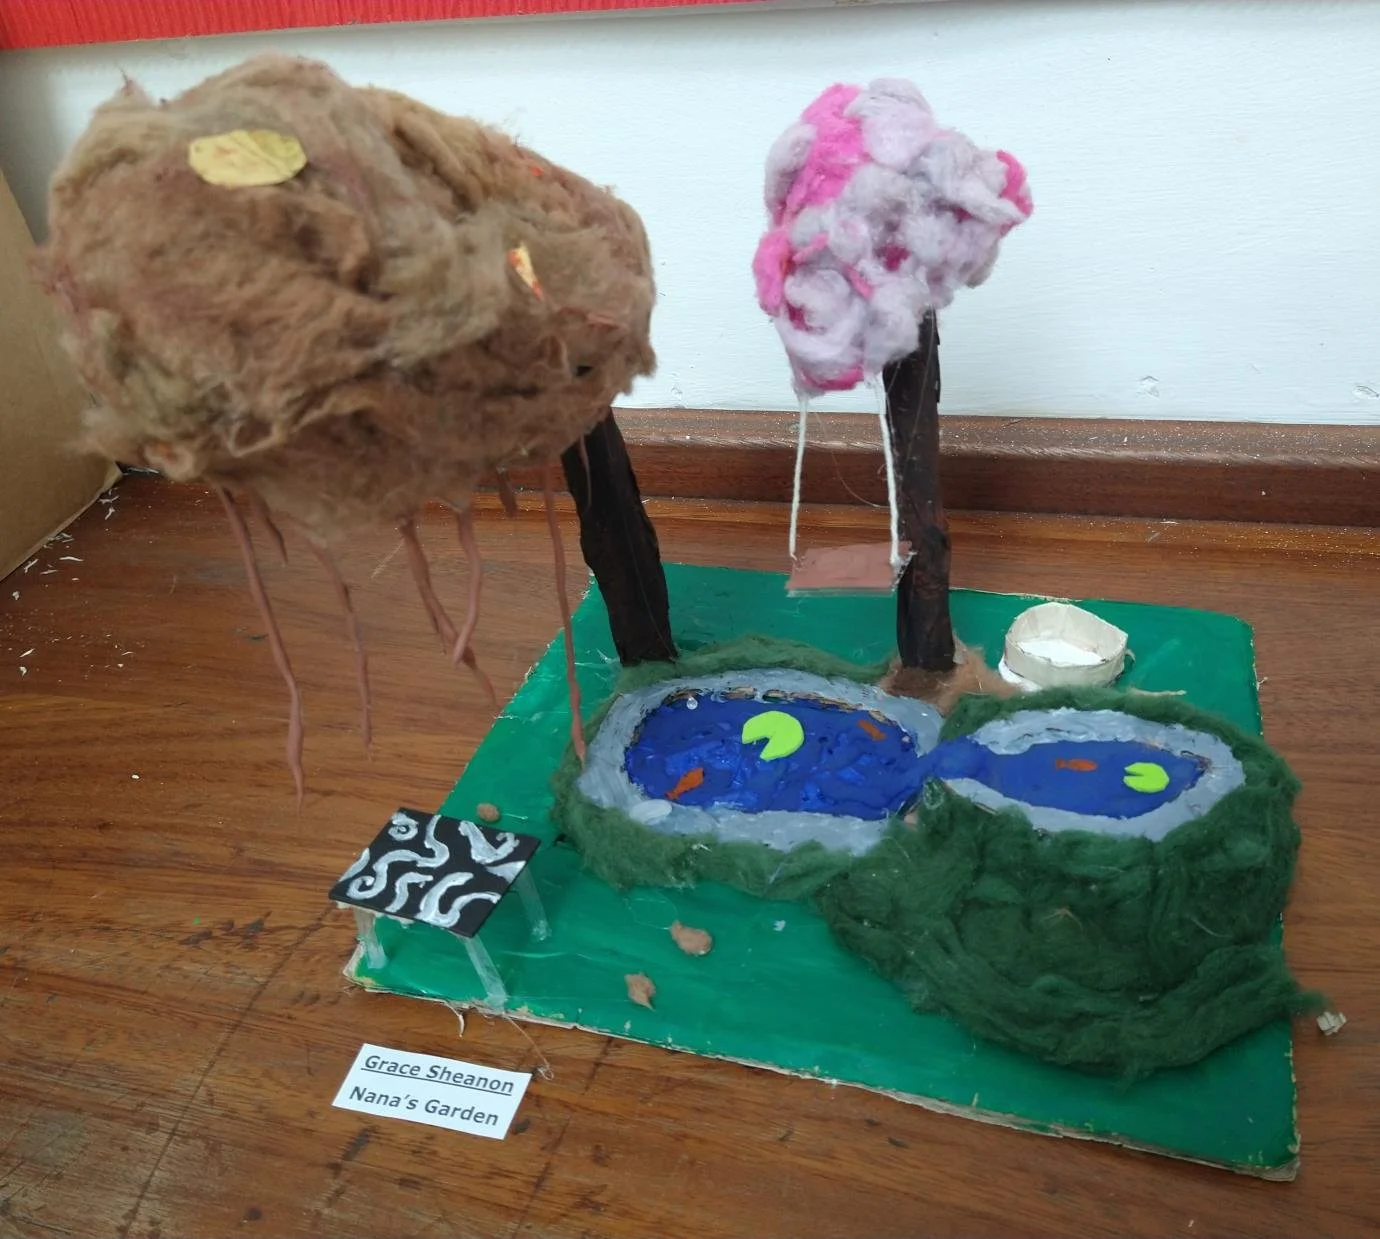
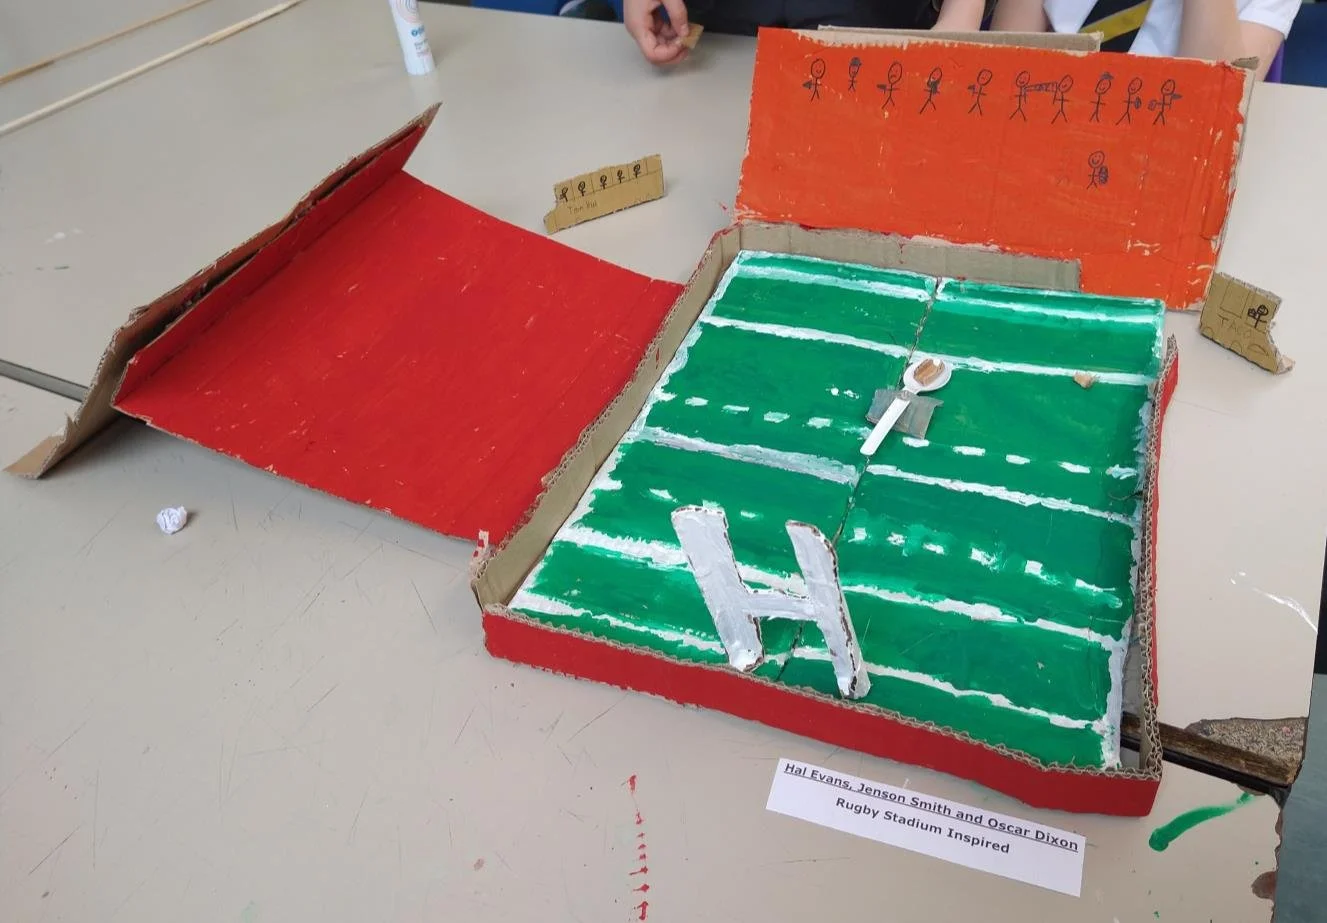
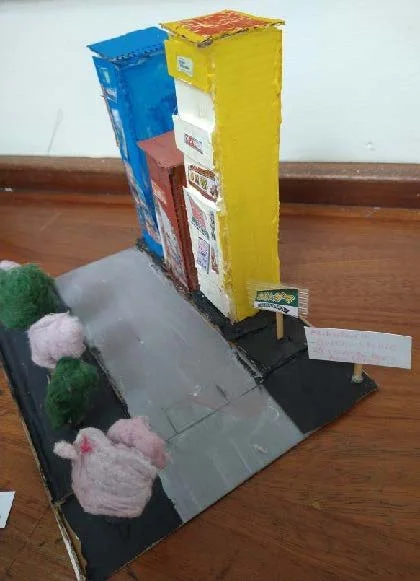
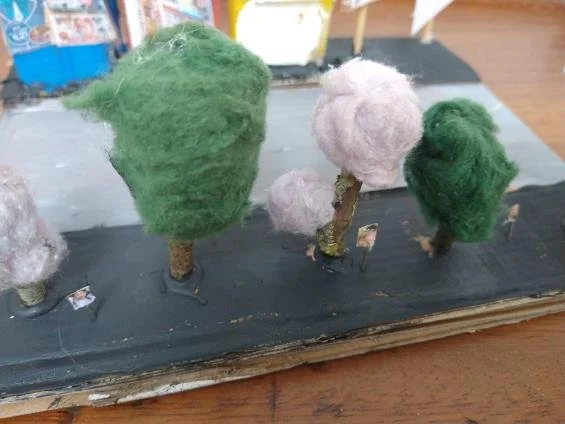
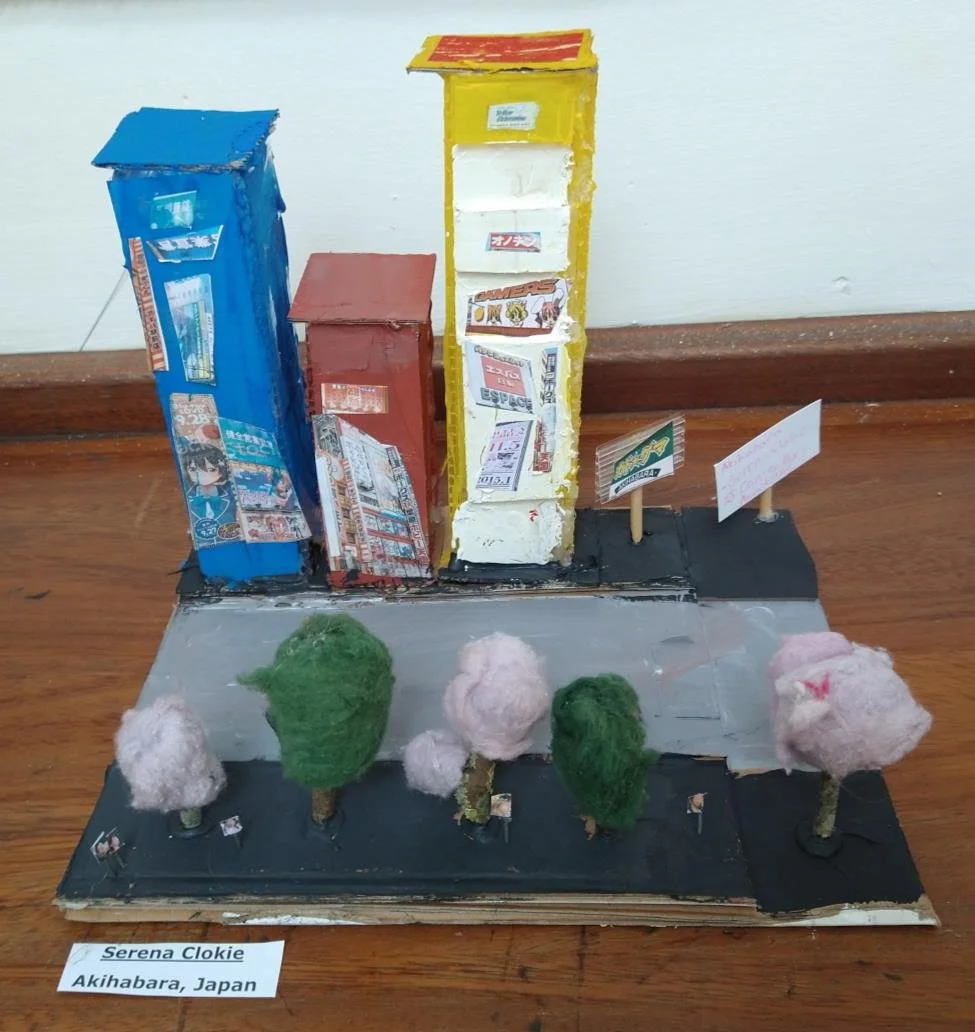
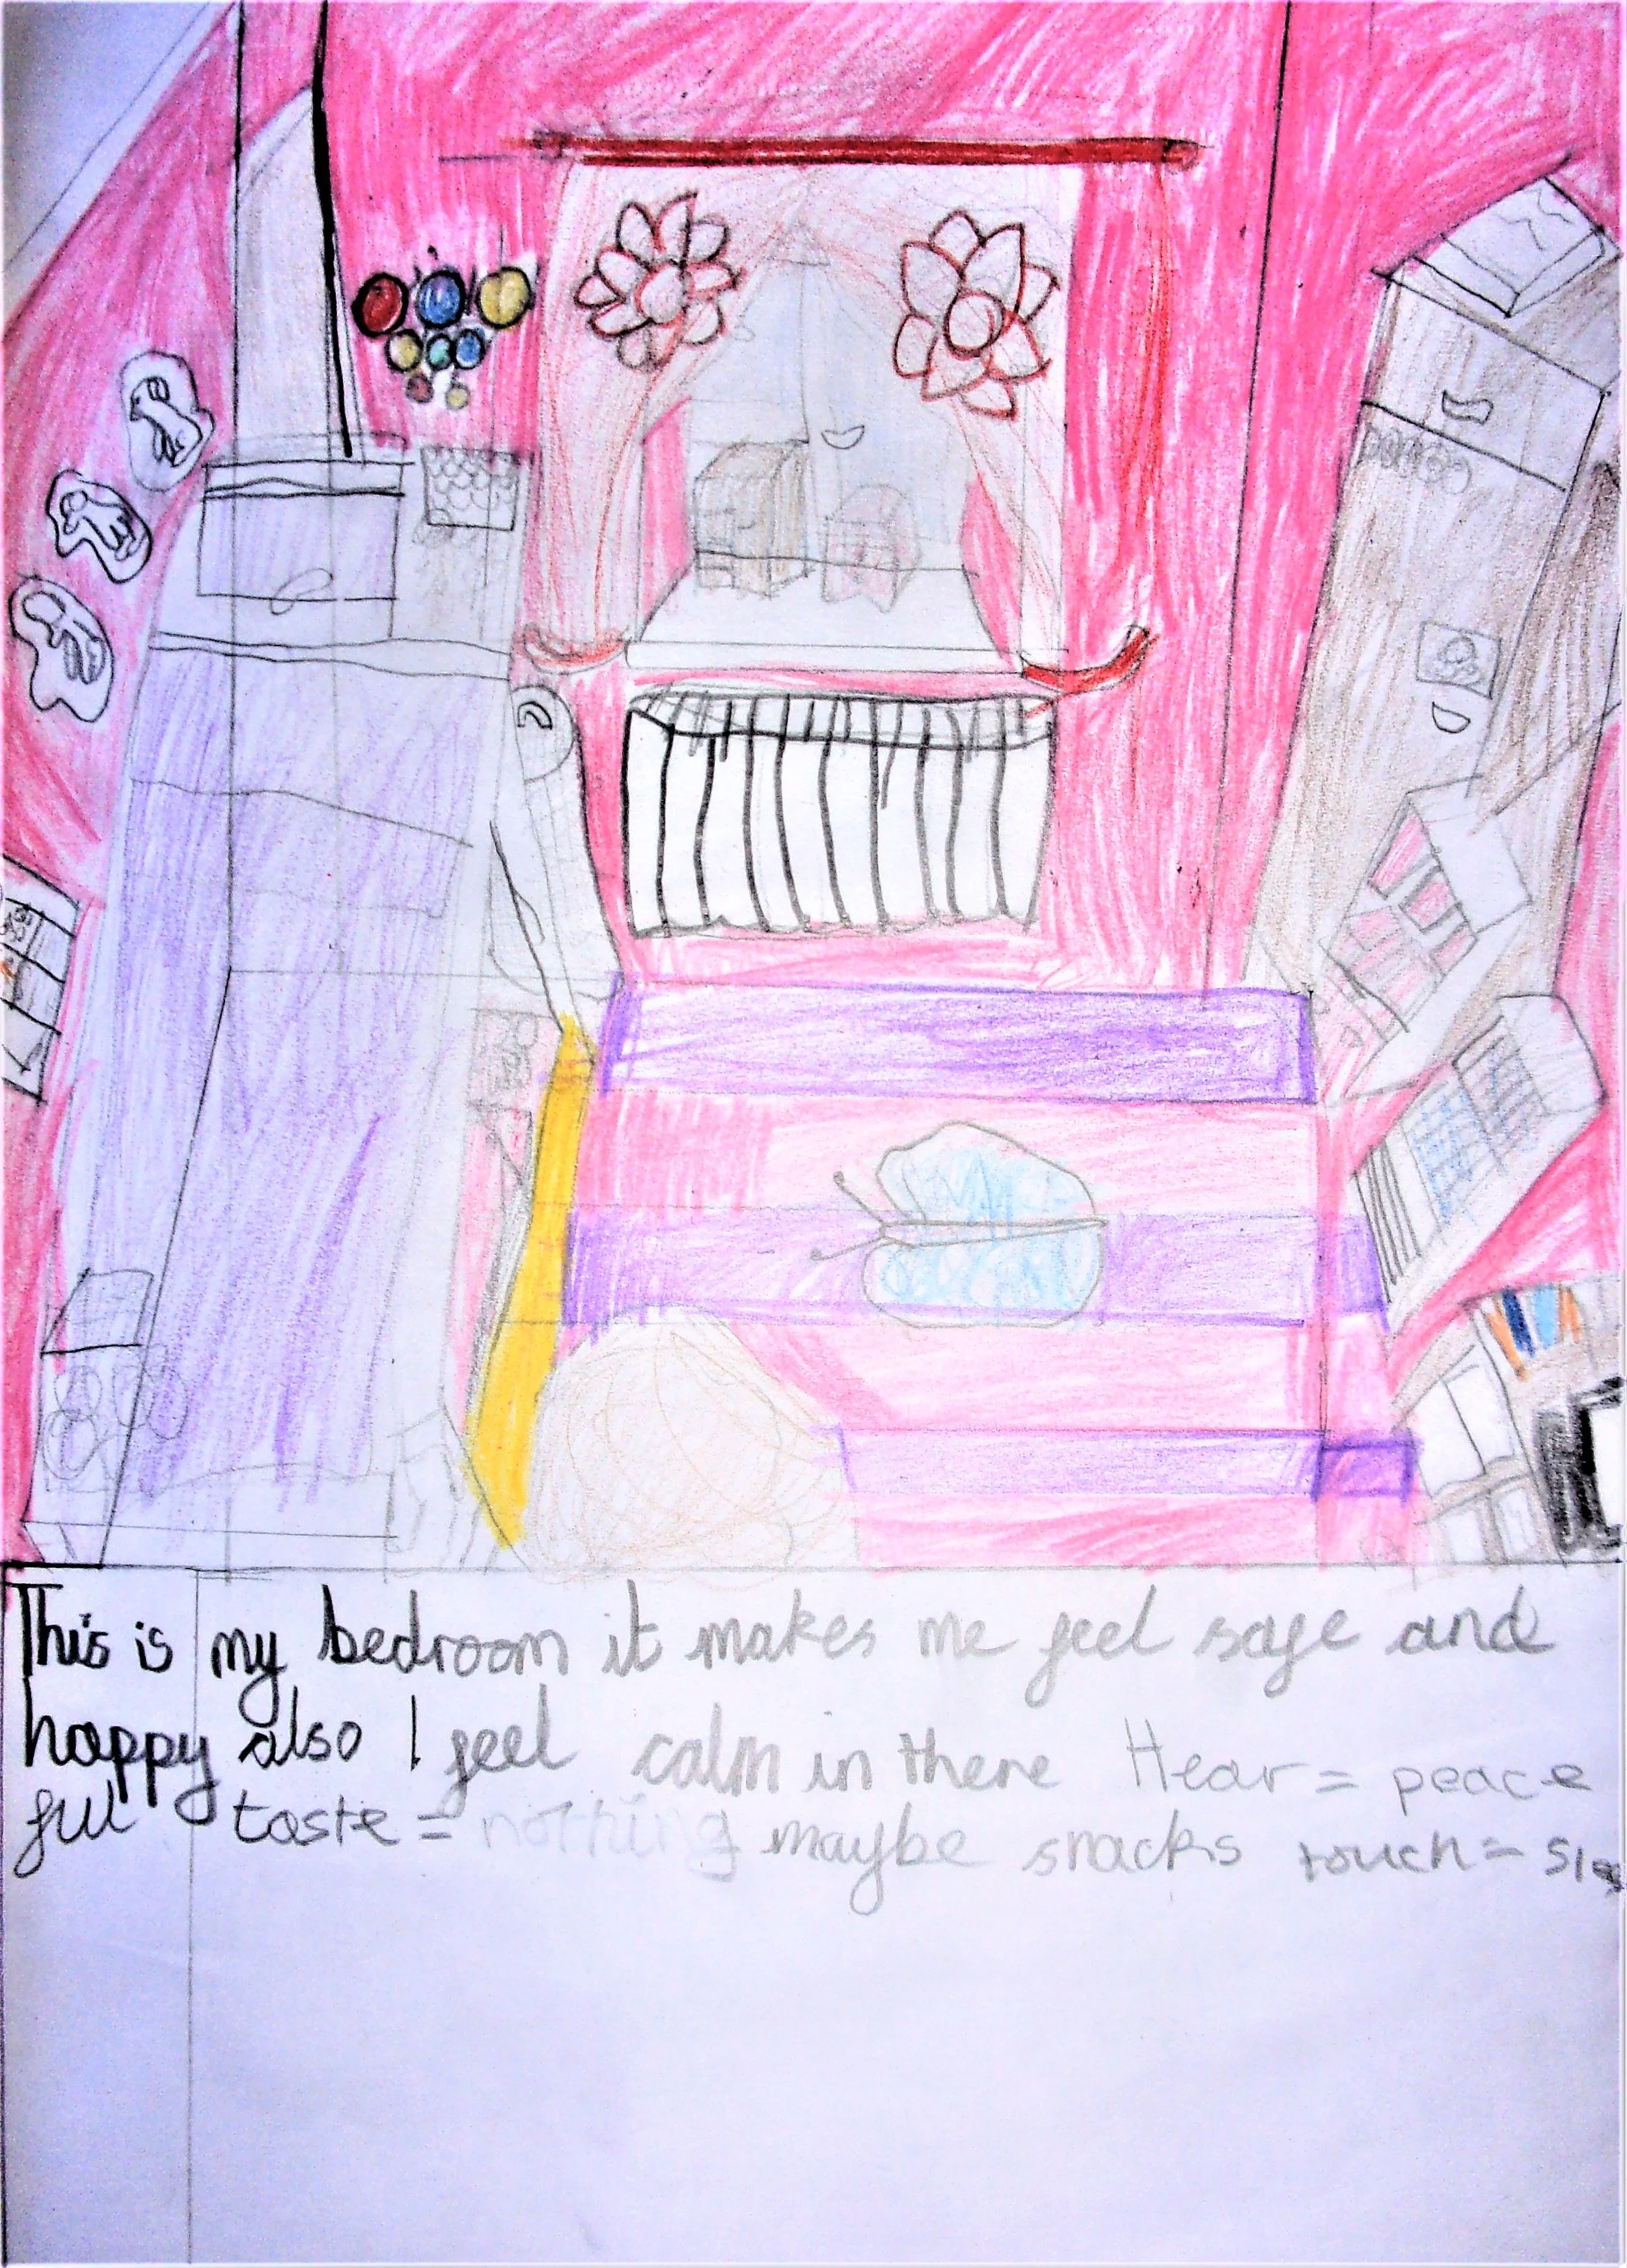
including the Sculture pieces and drawings of their favourite place
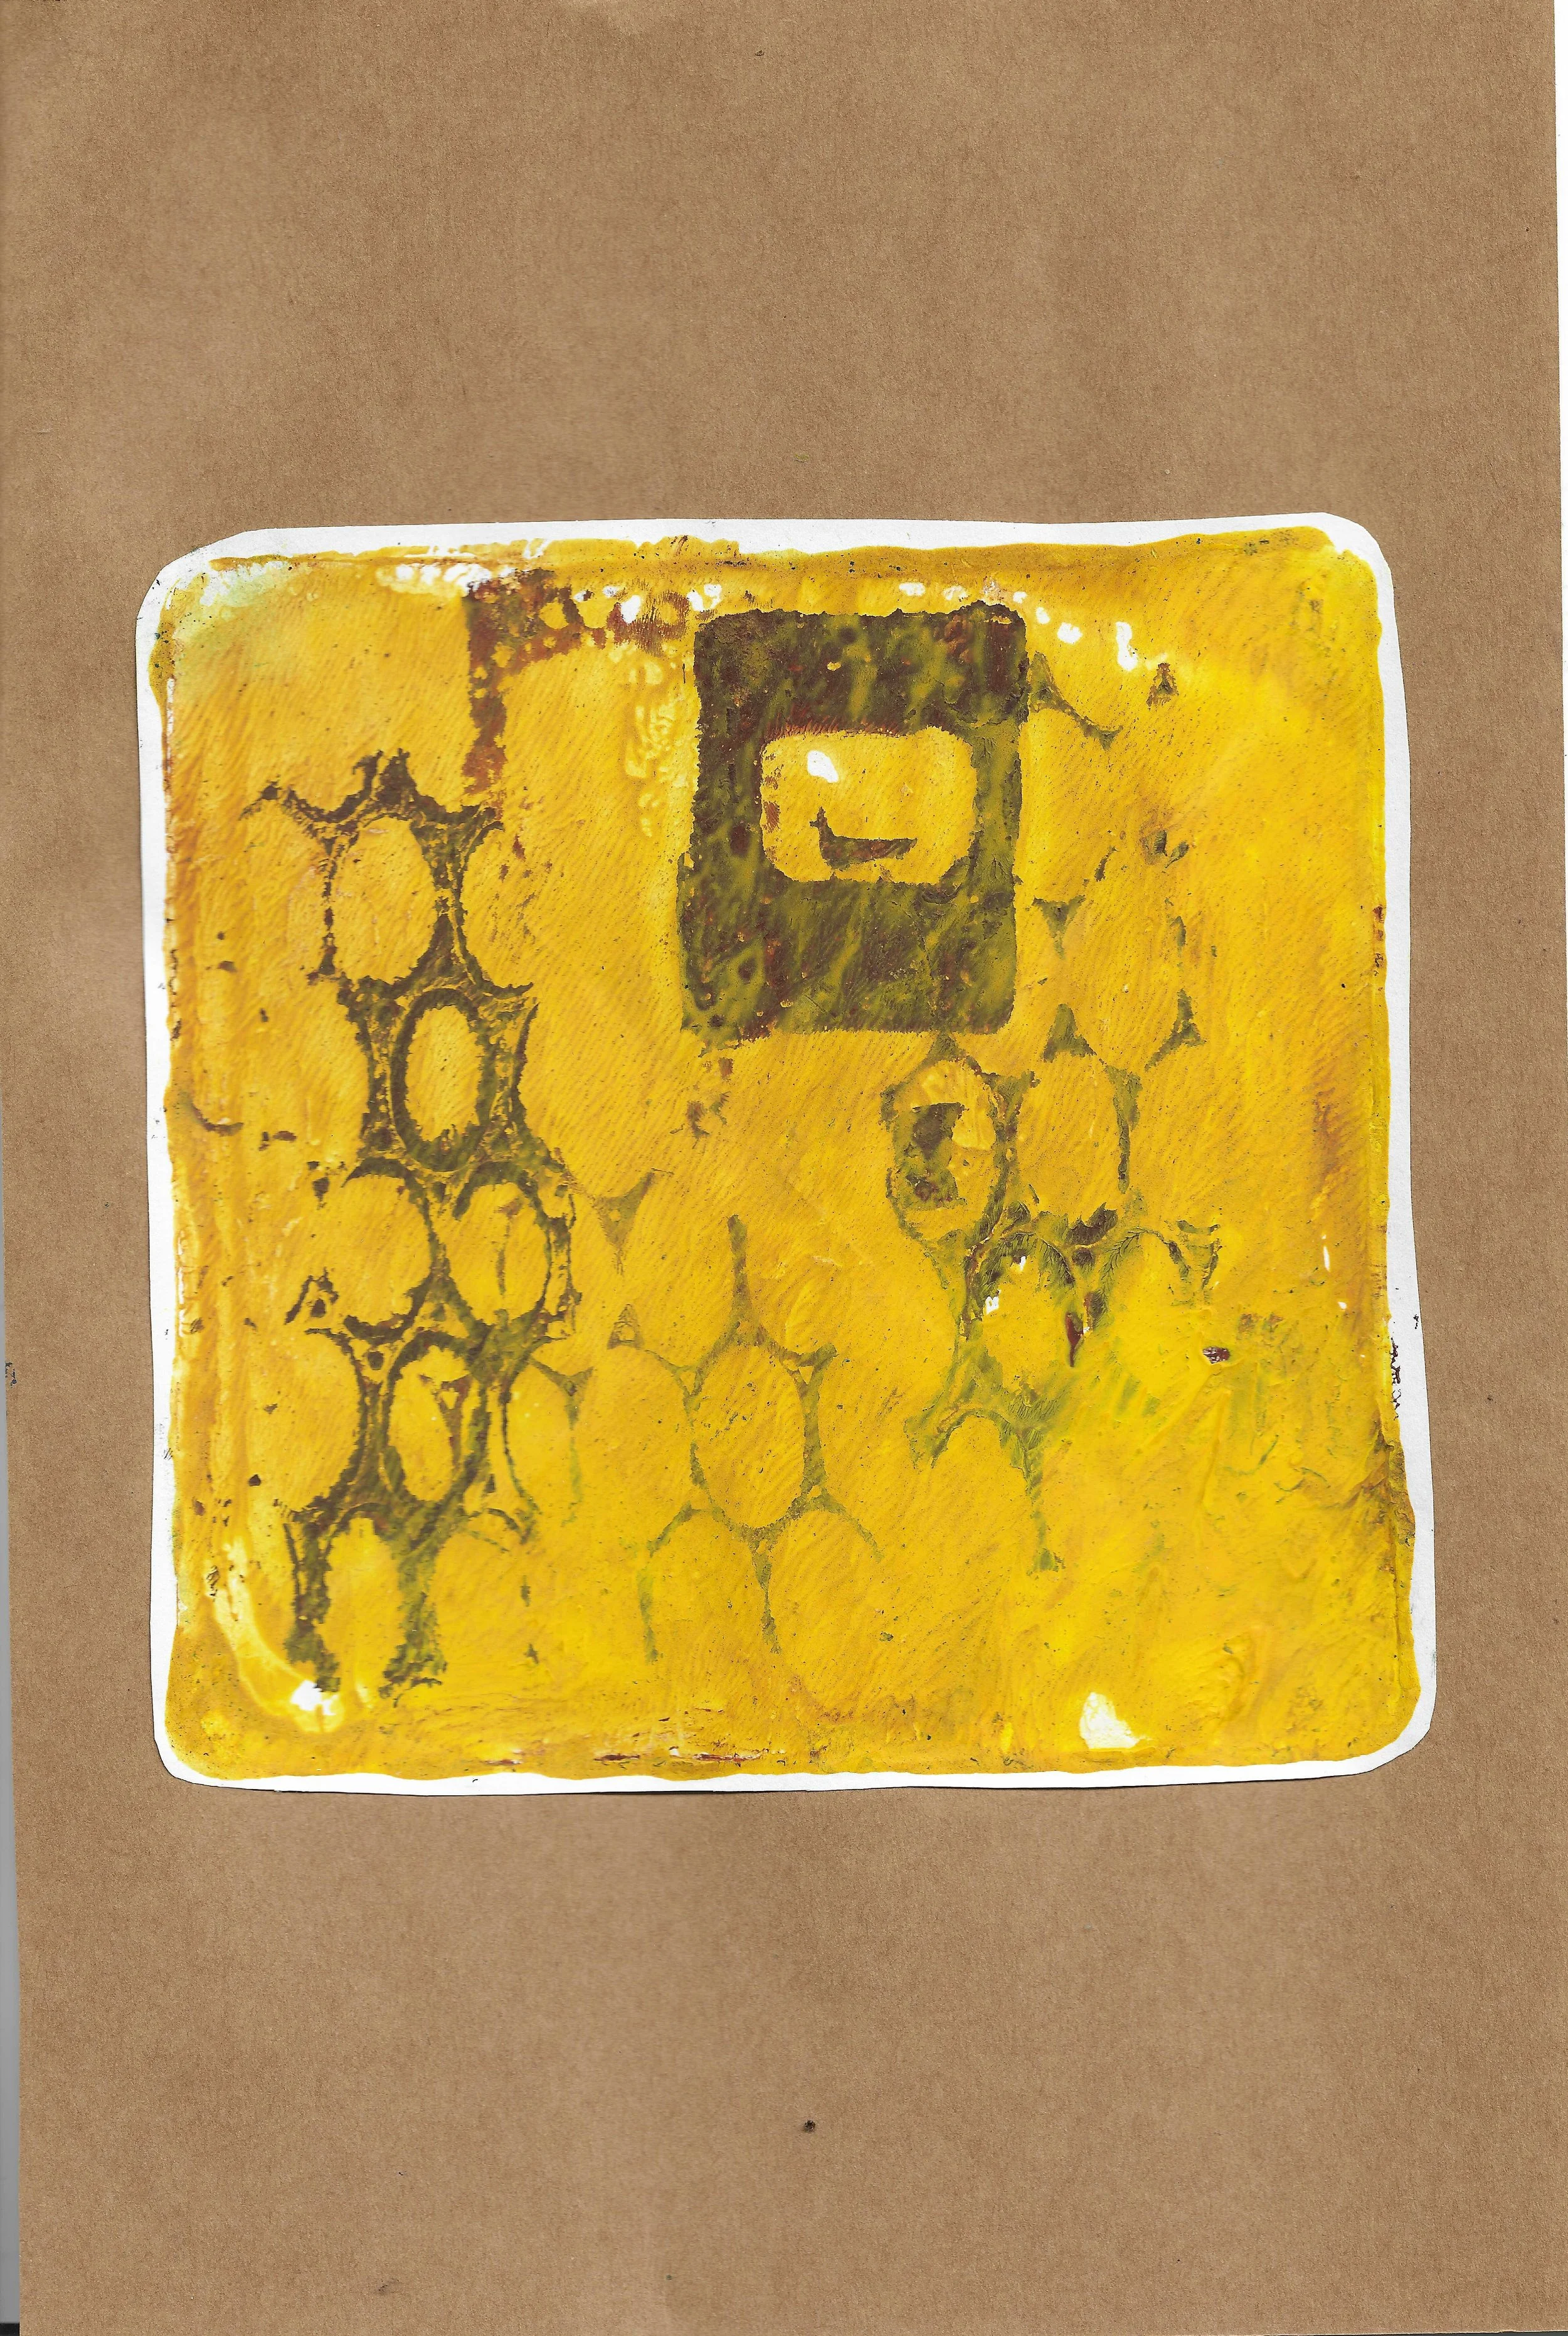
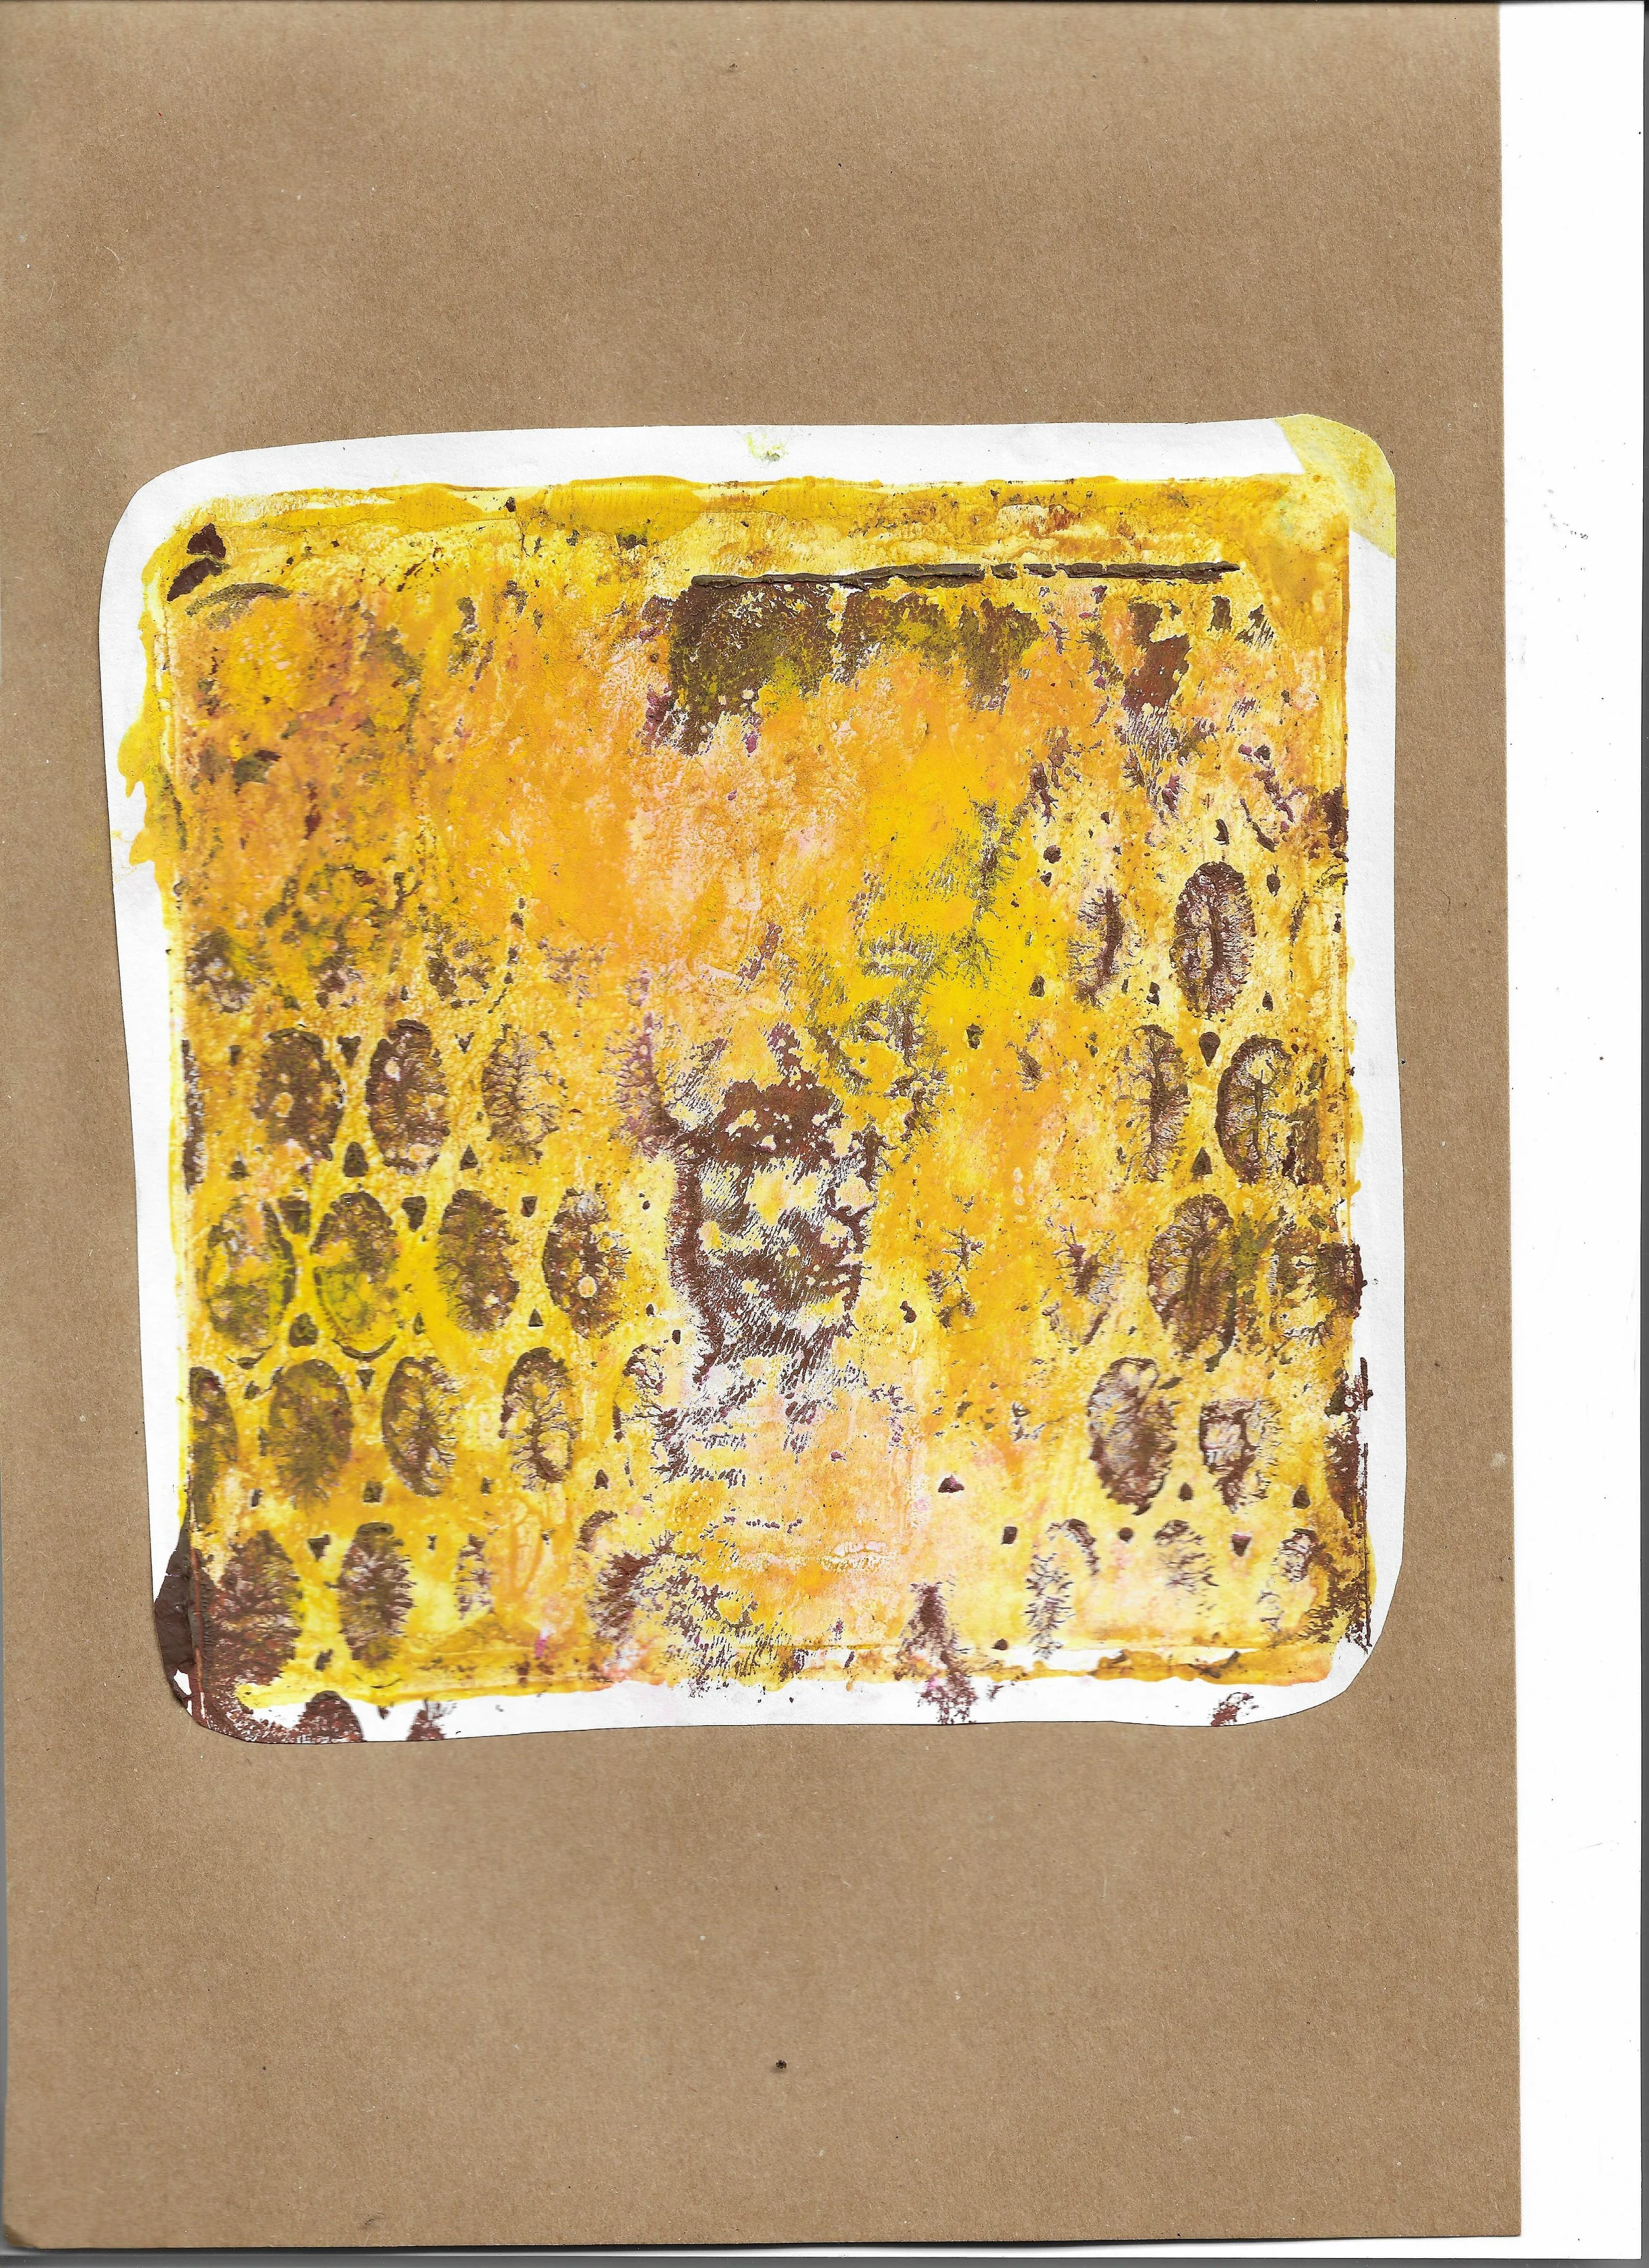
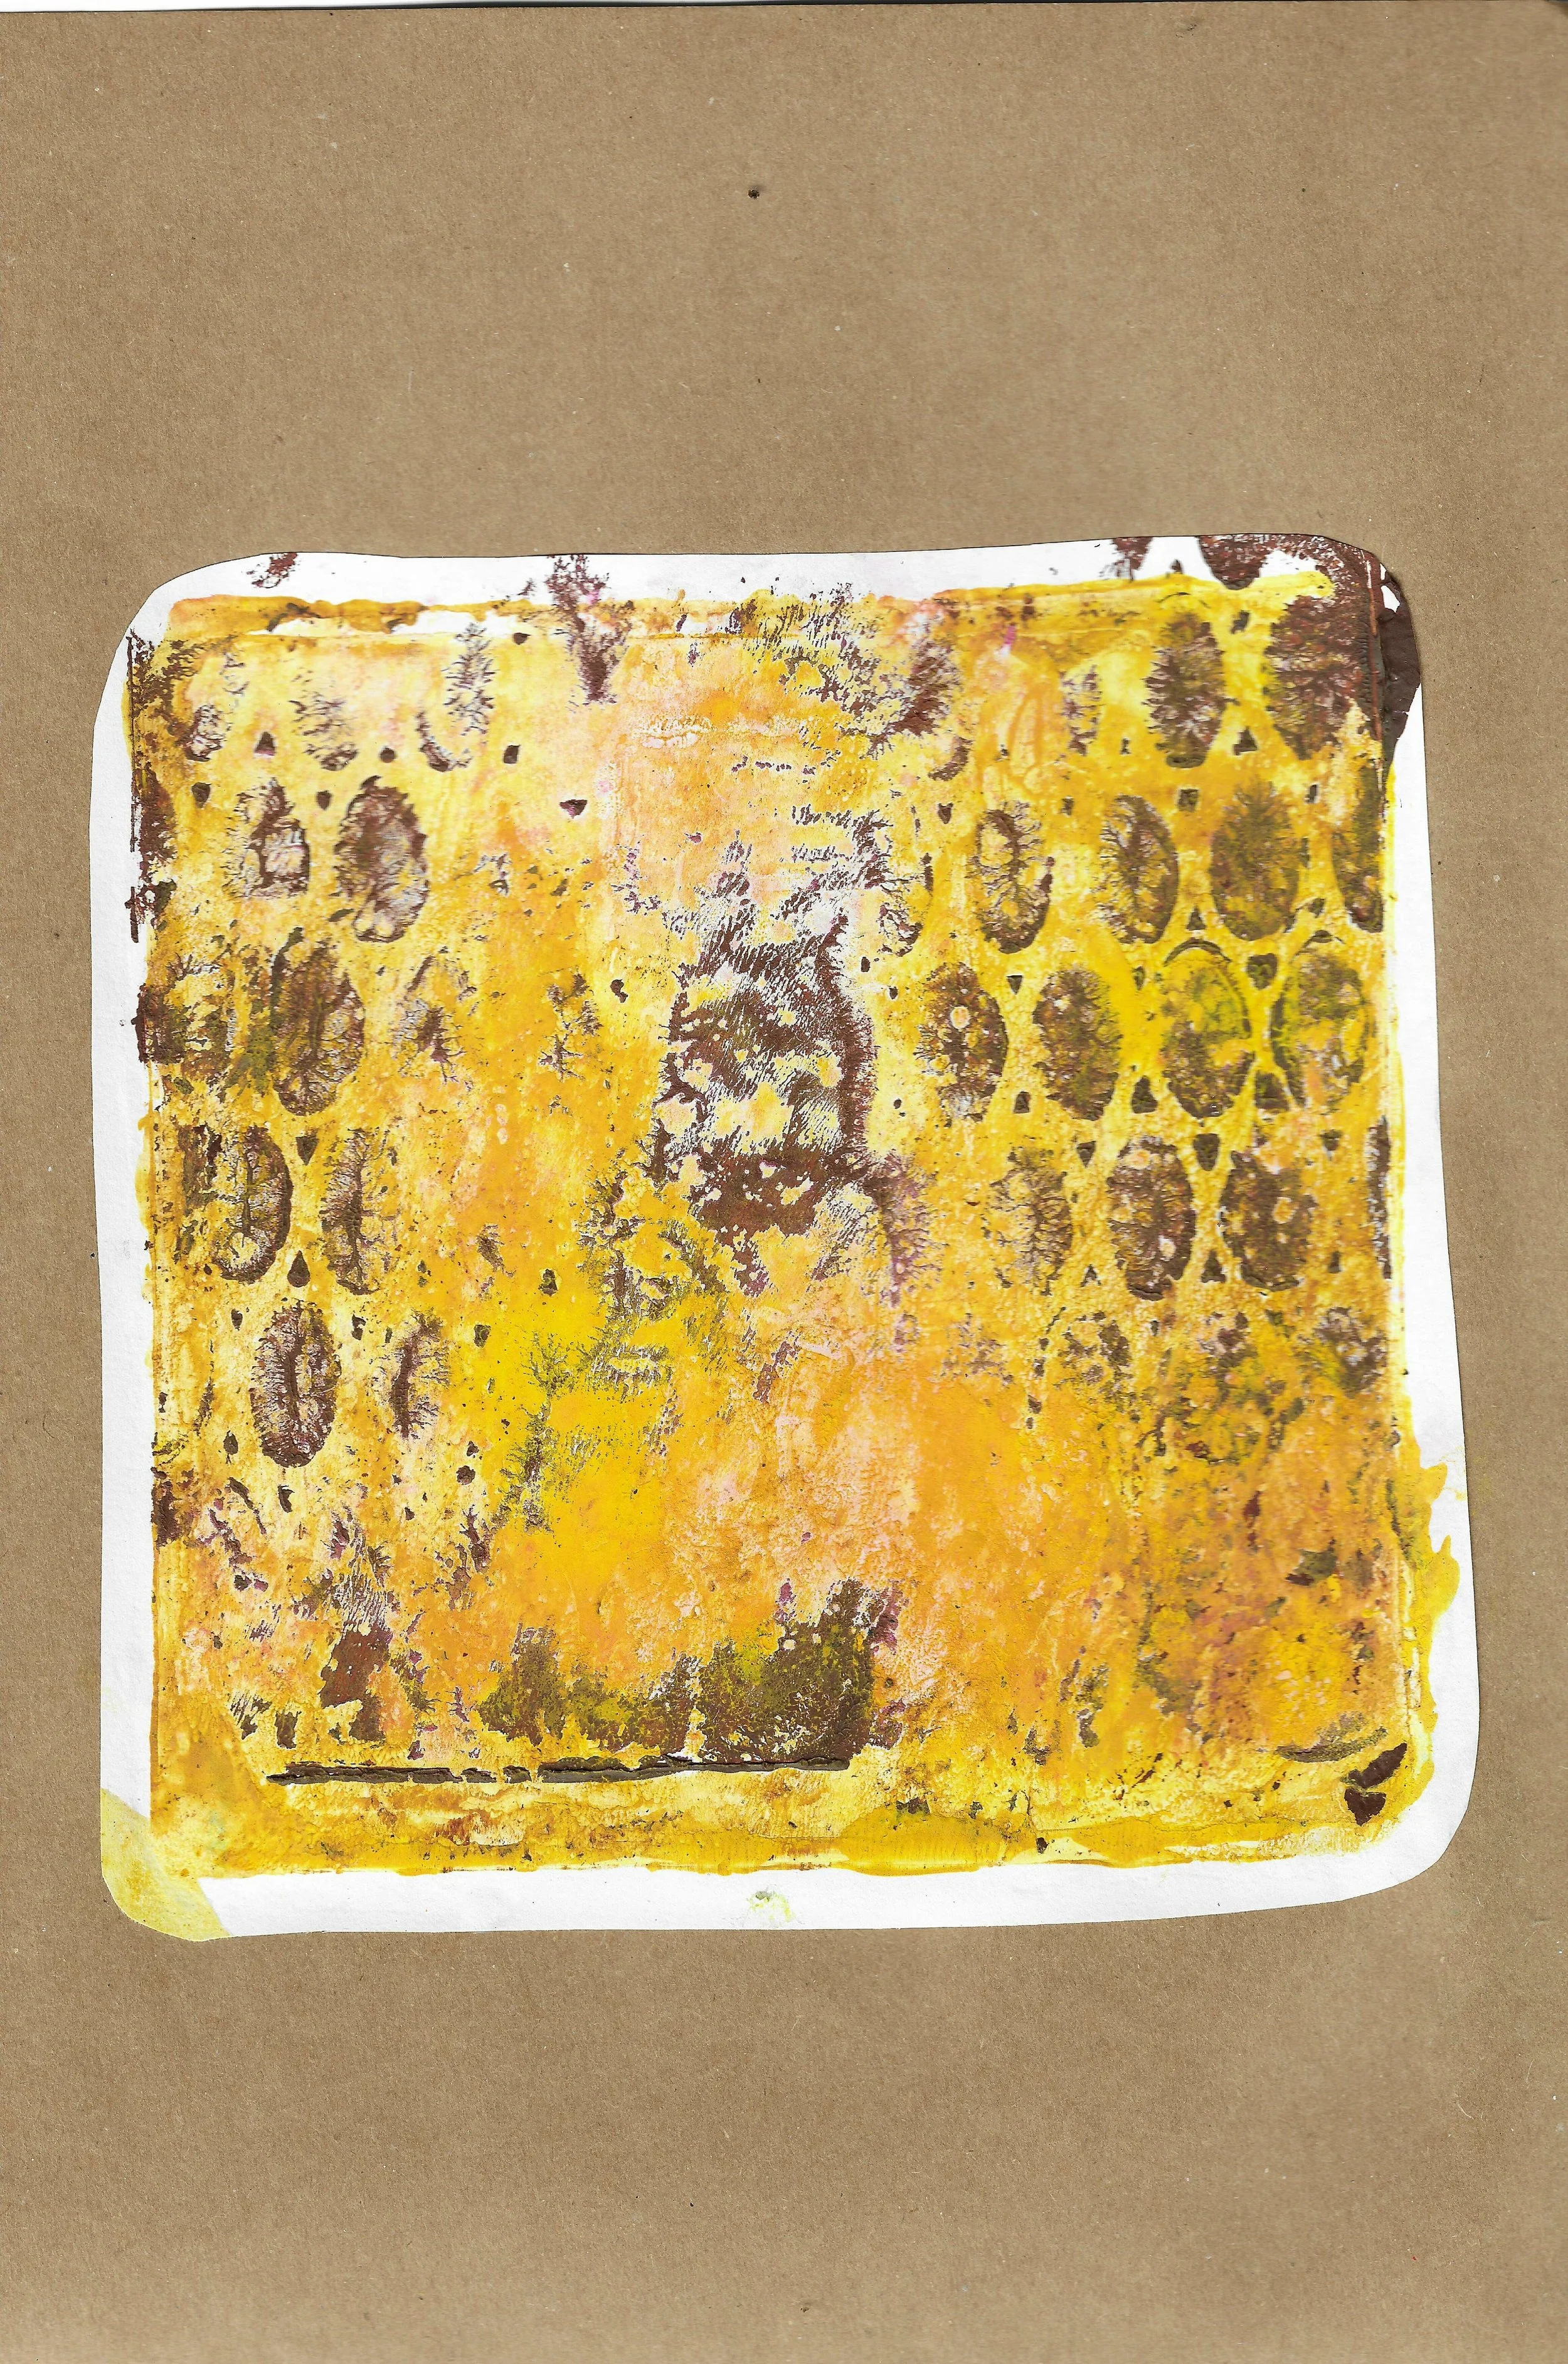
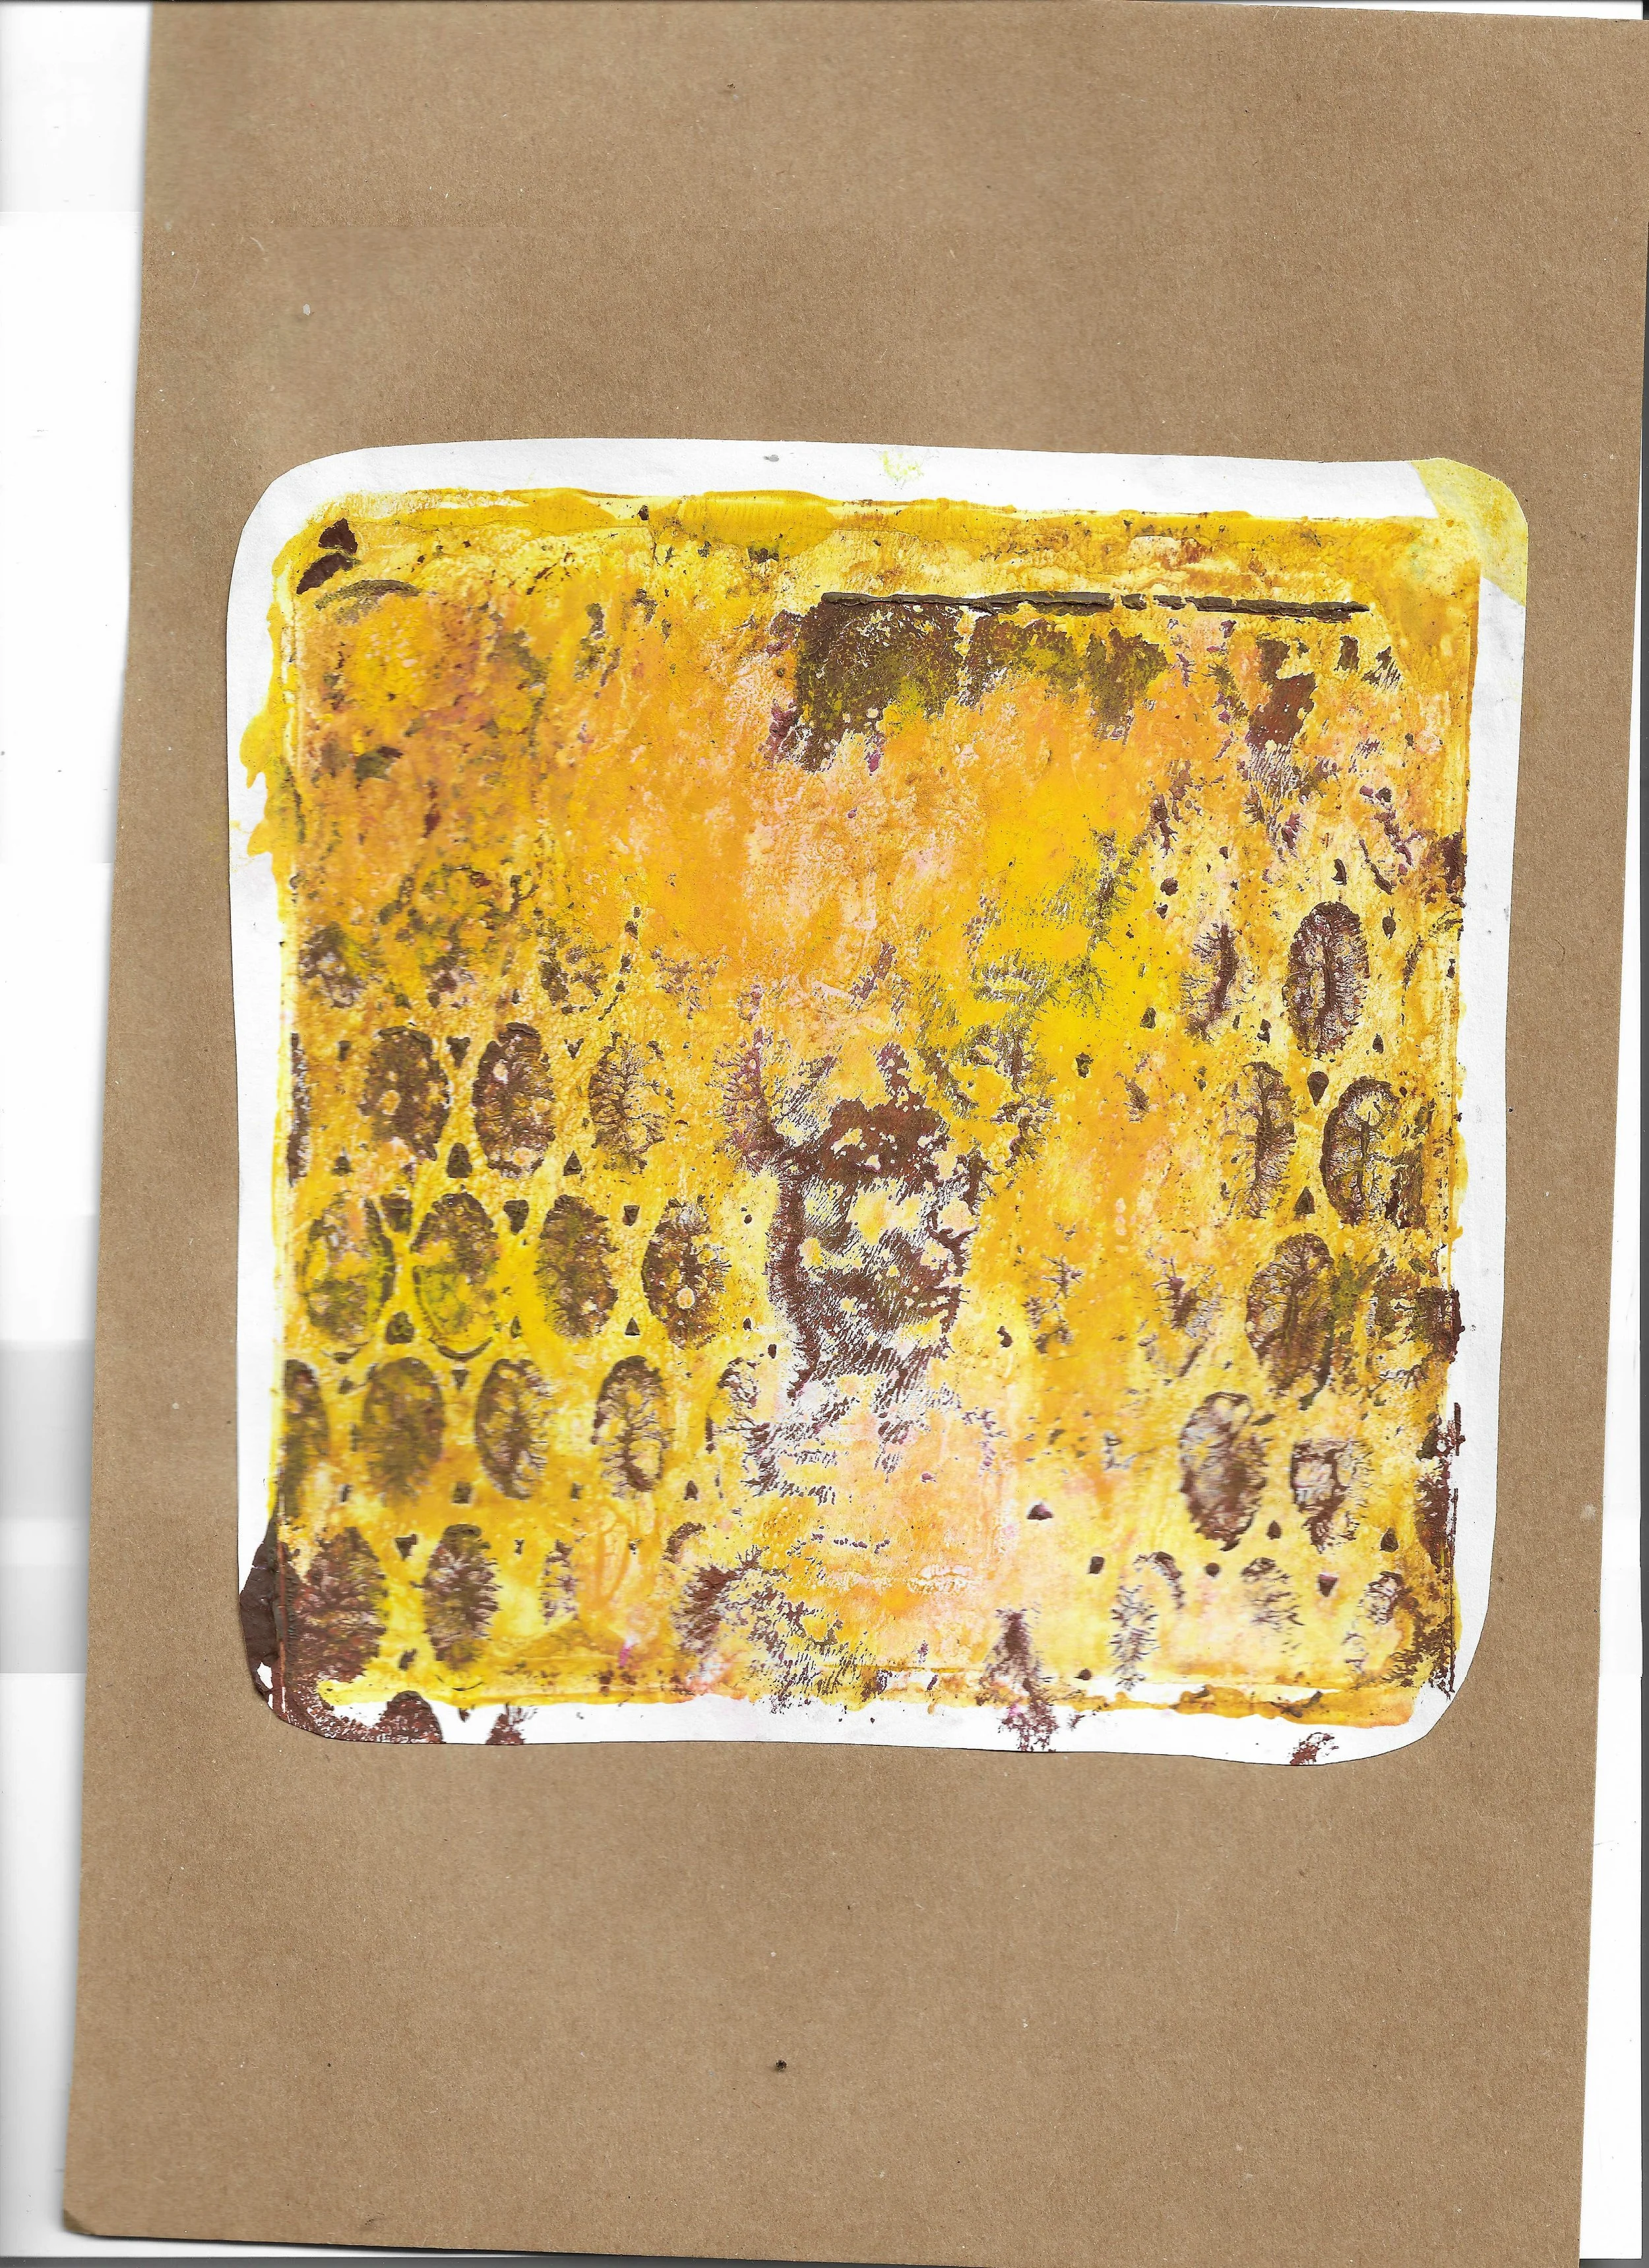
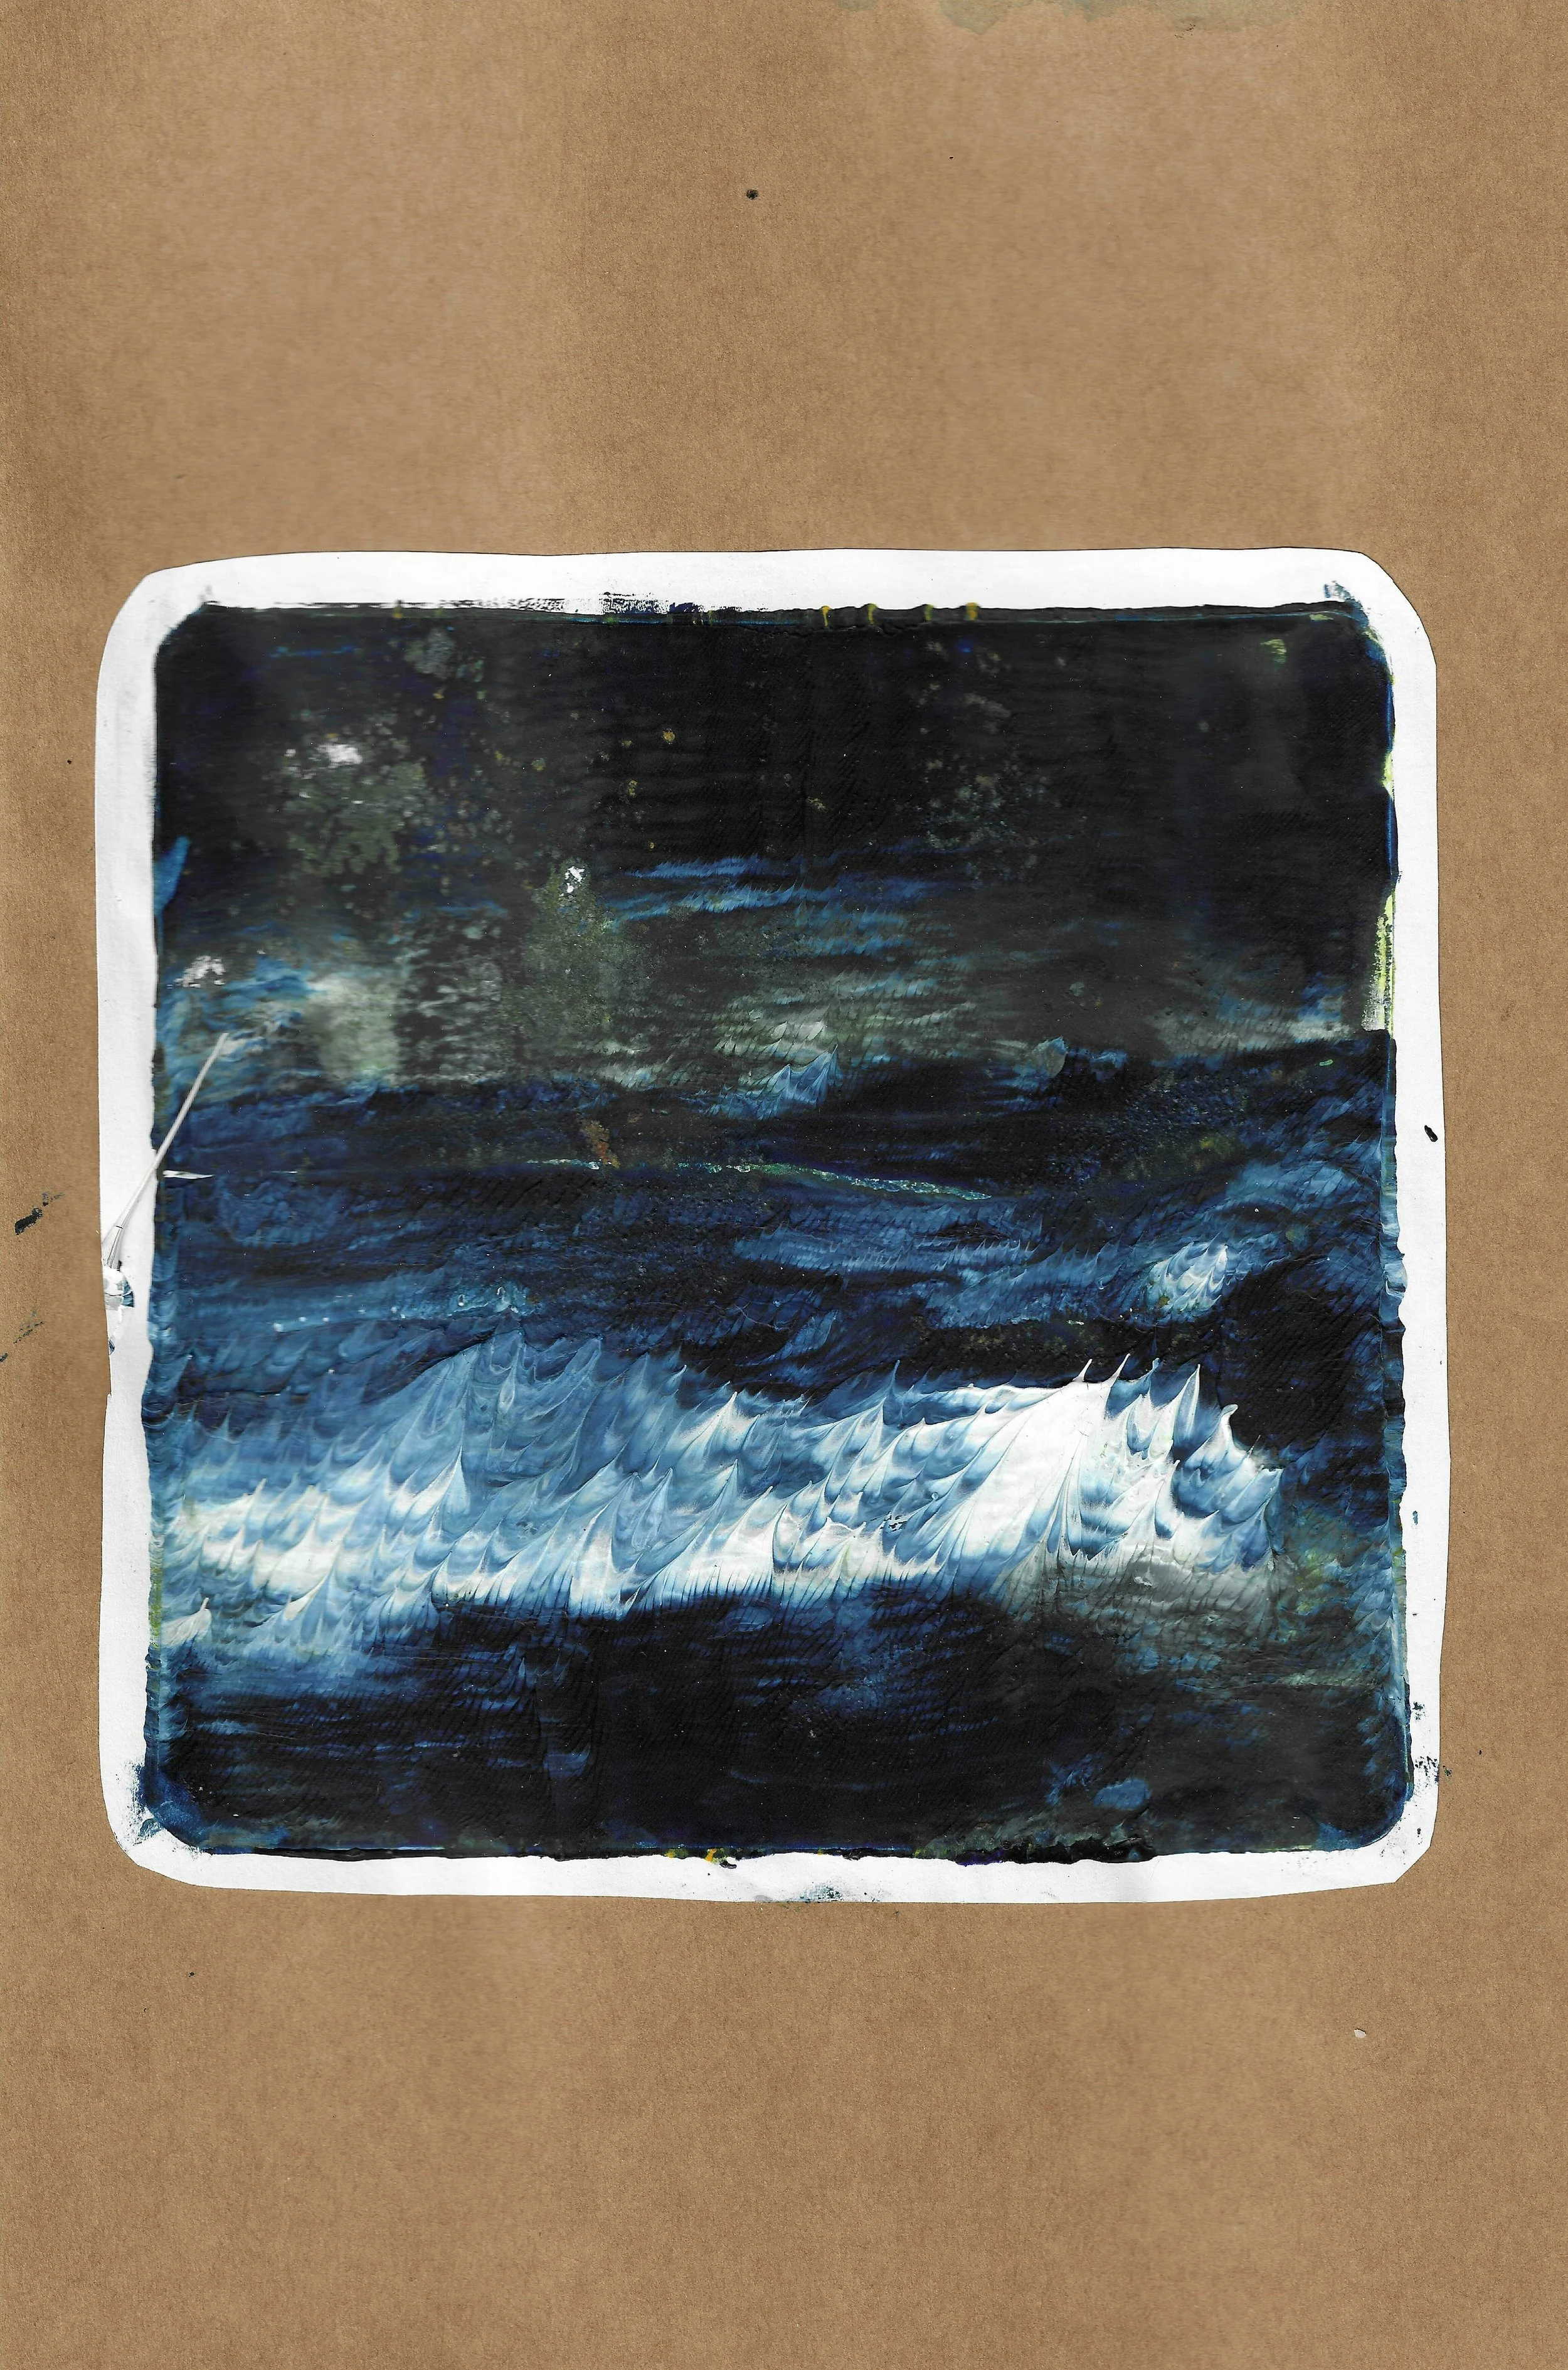
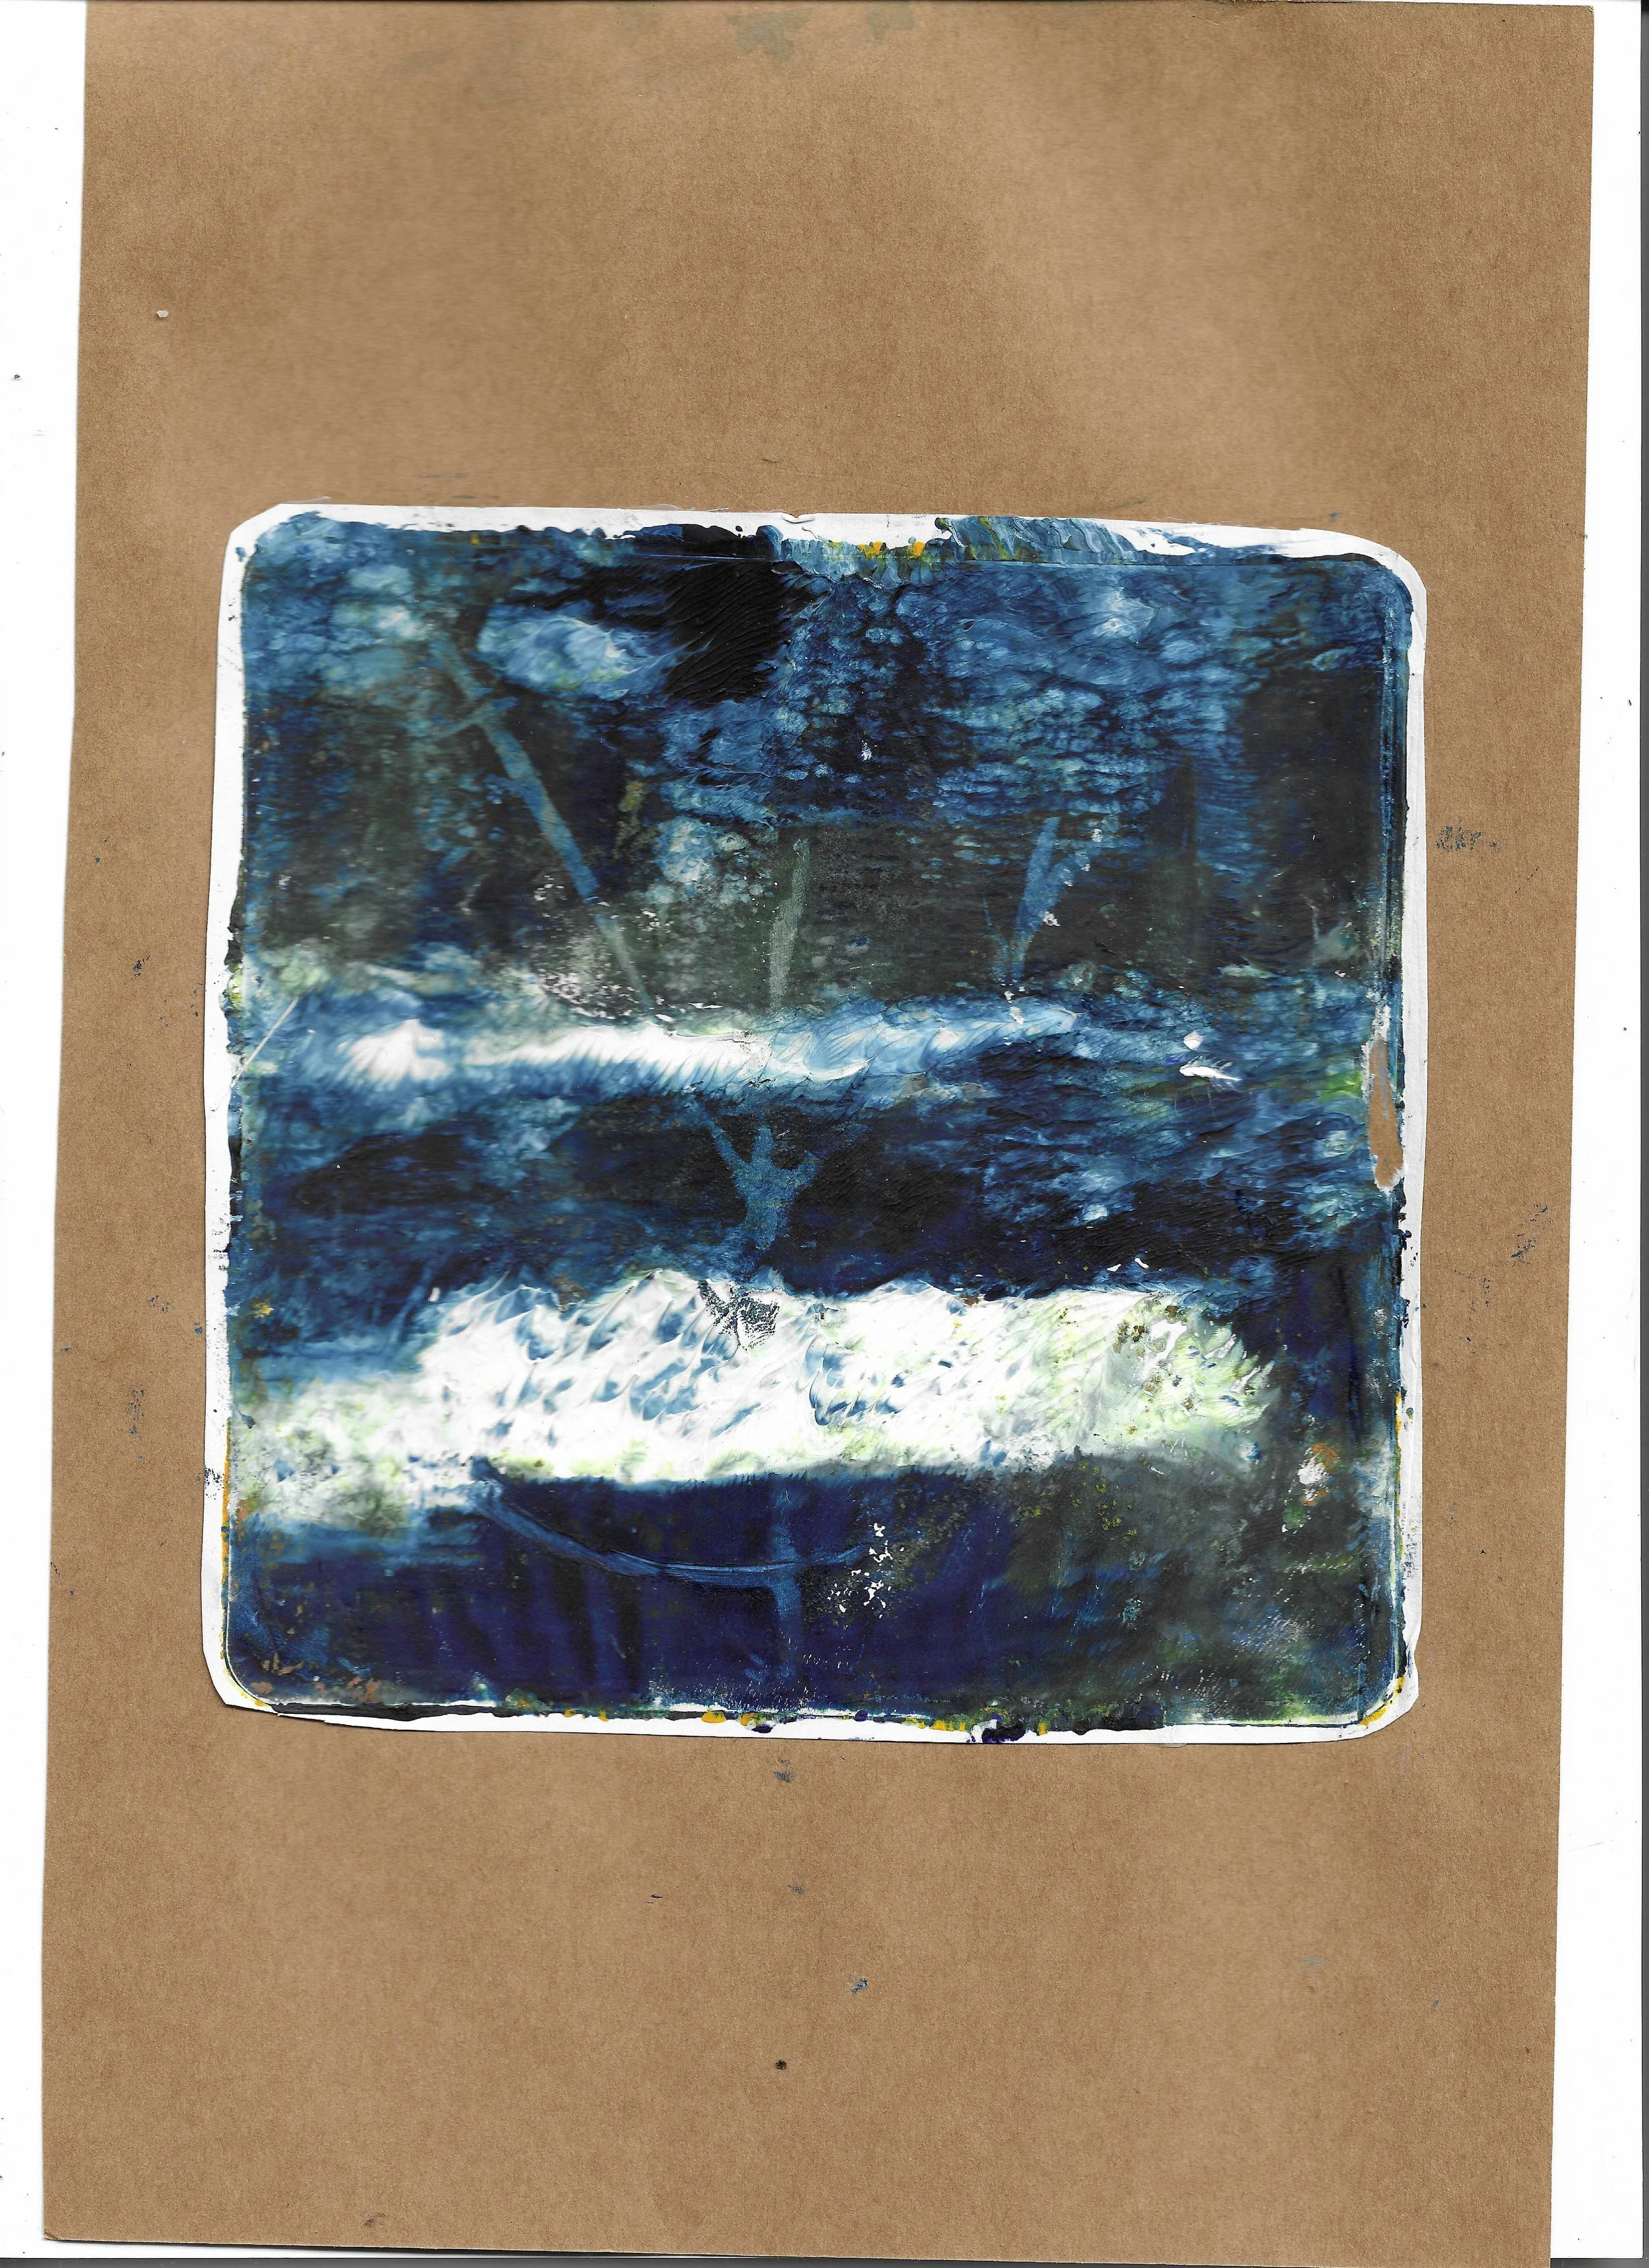
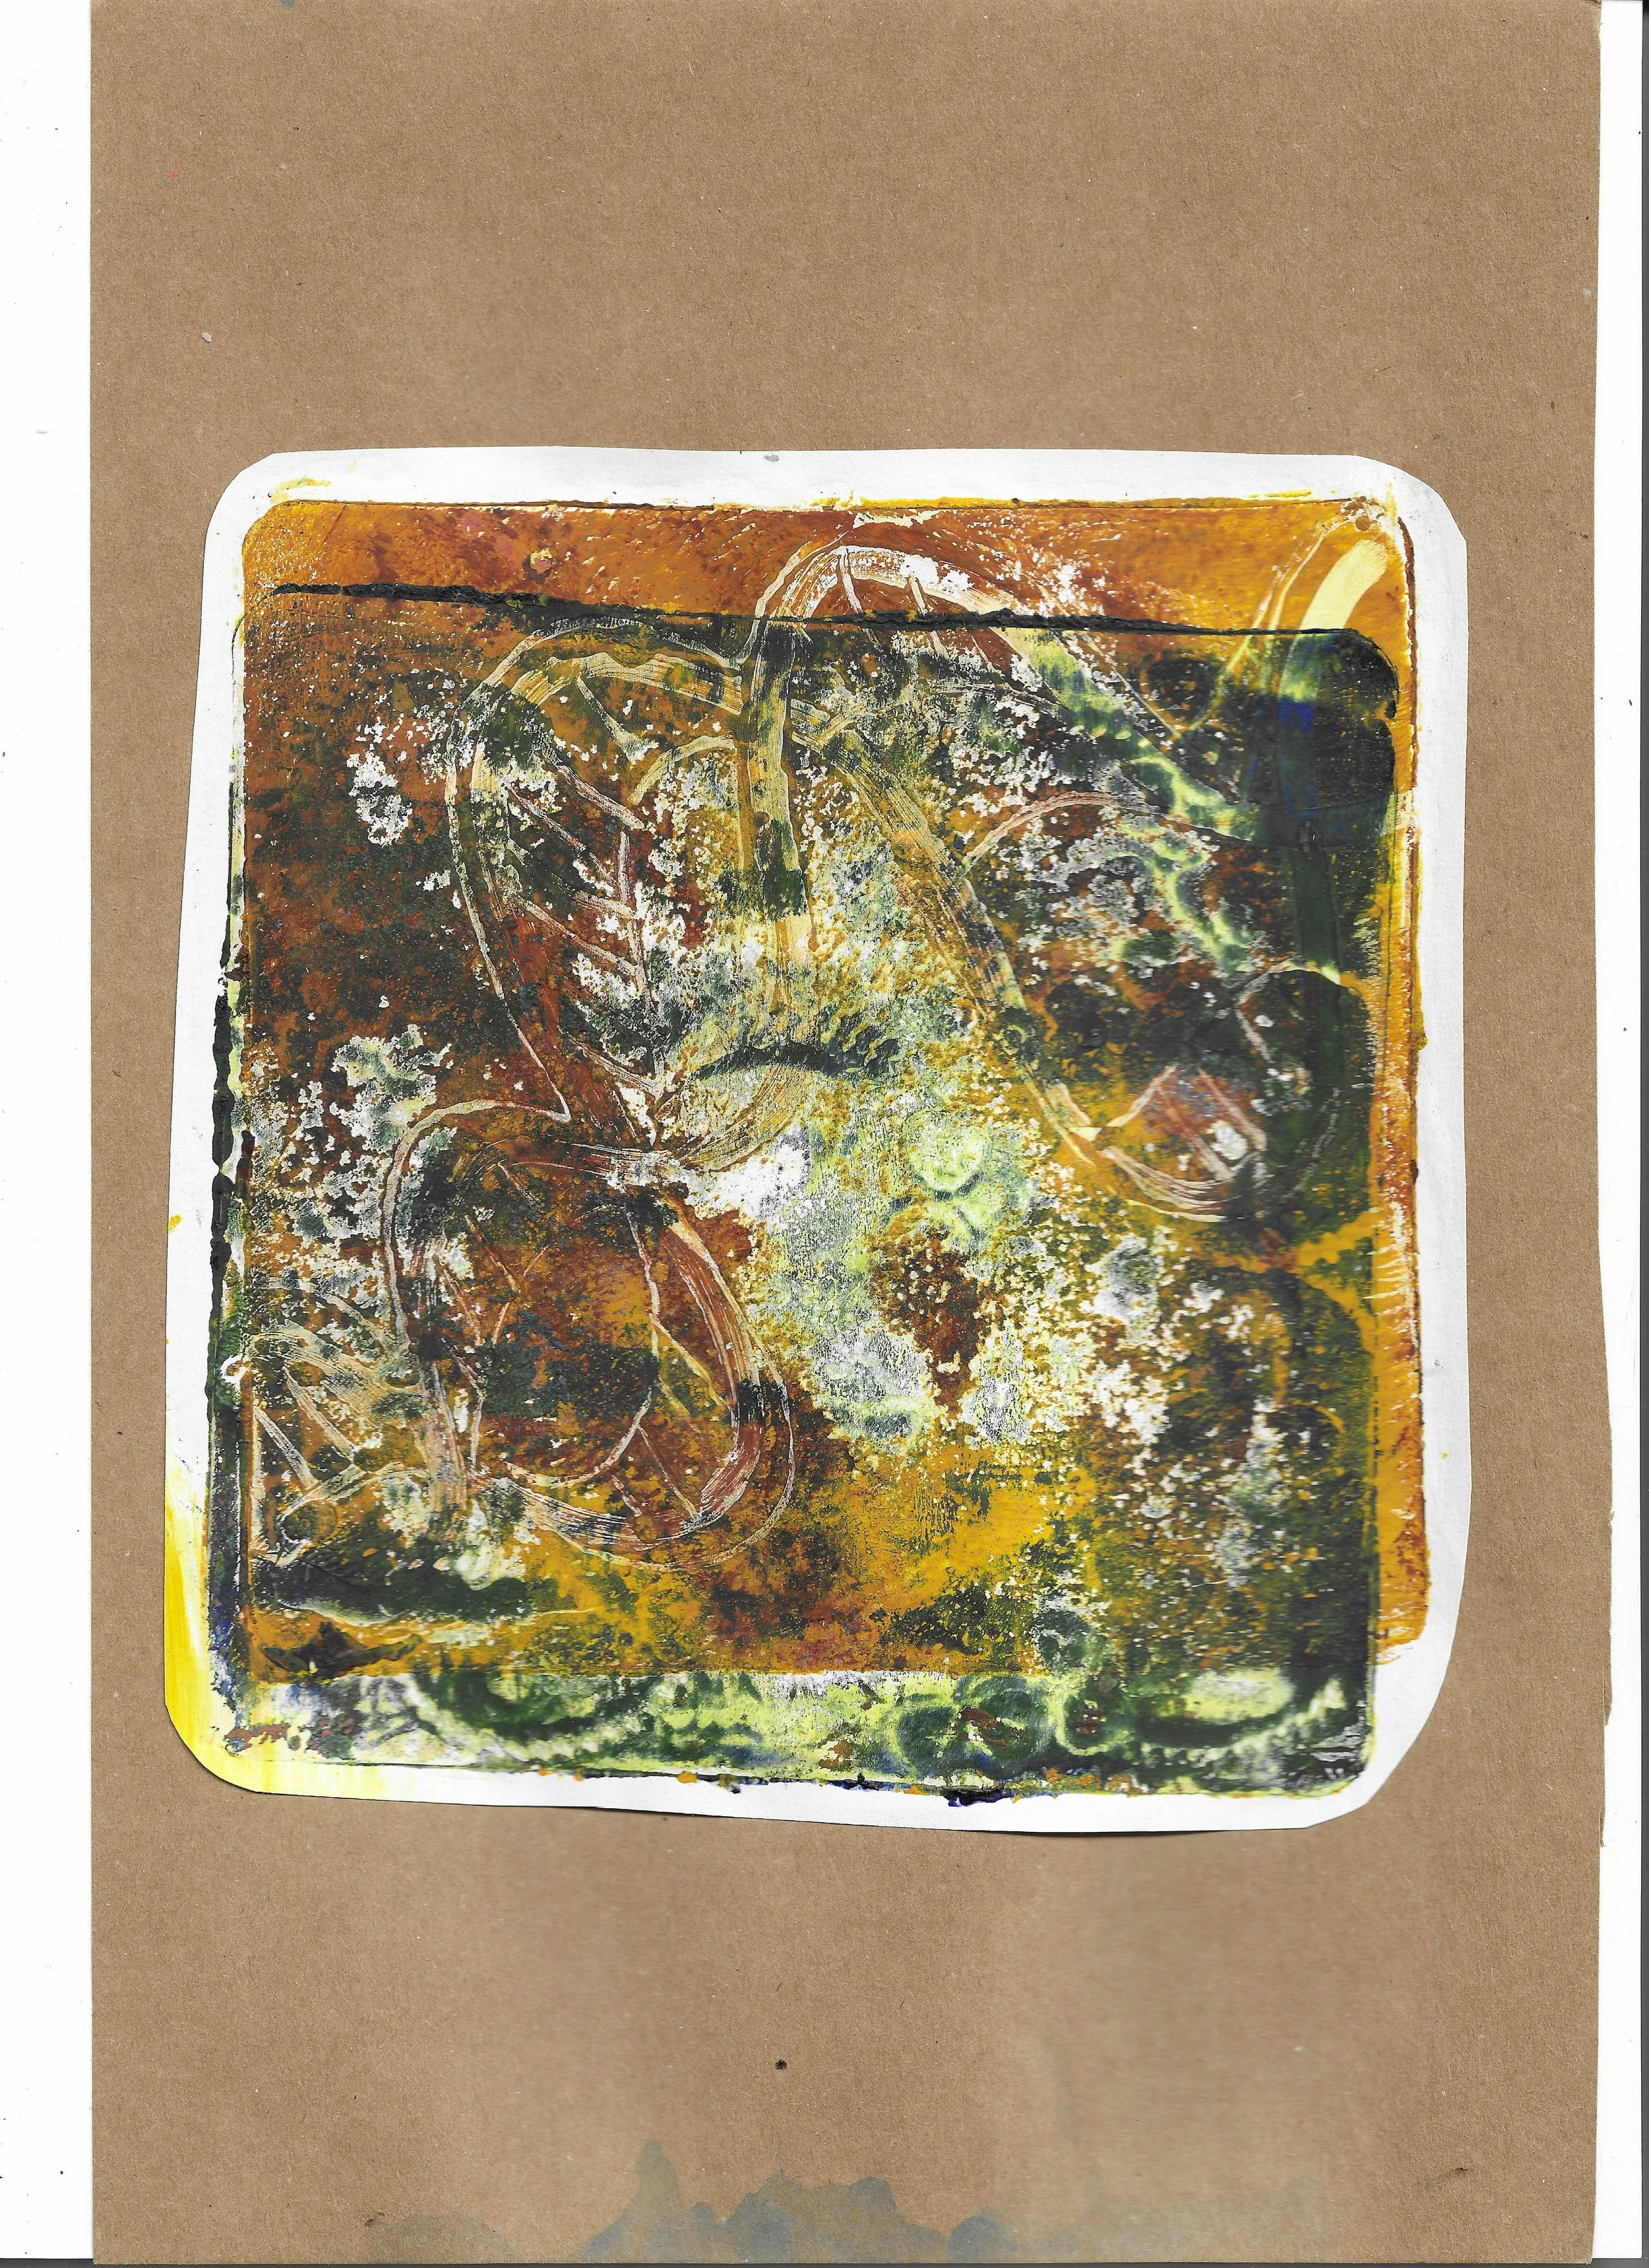
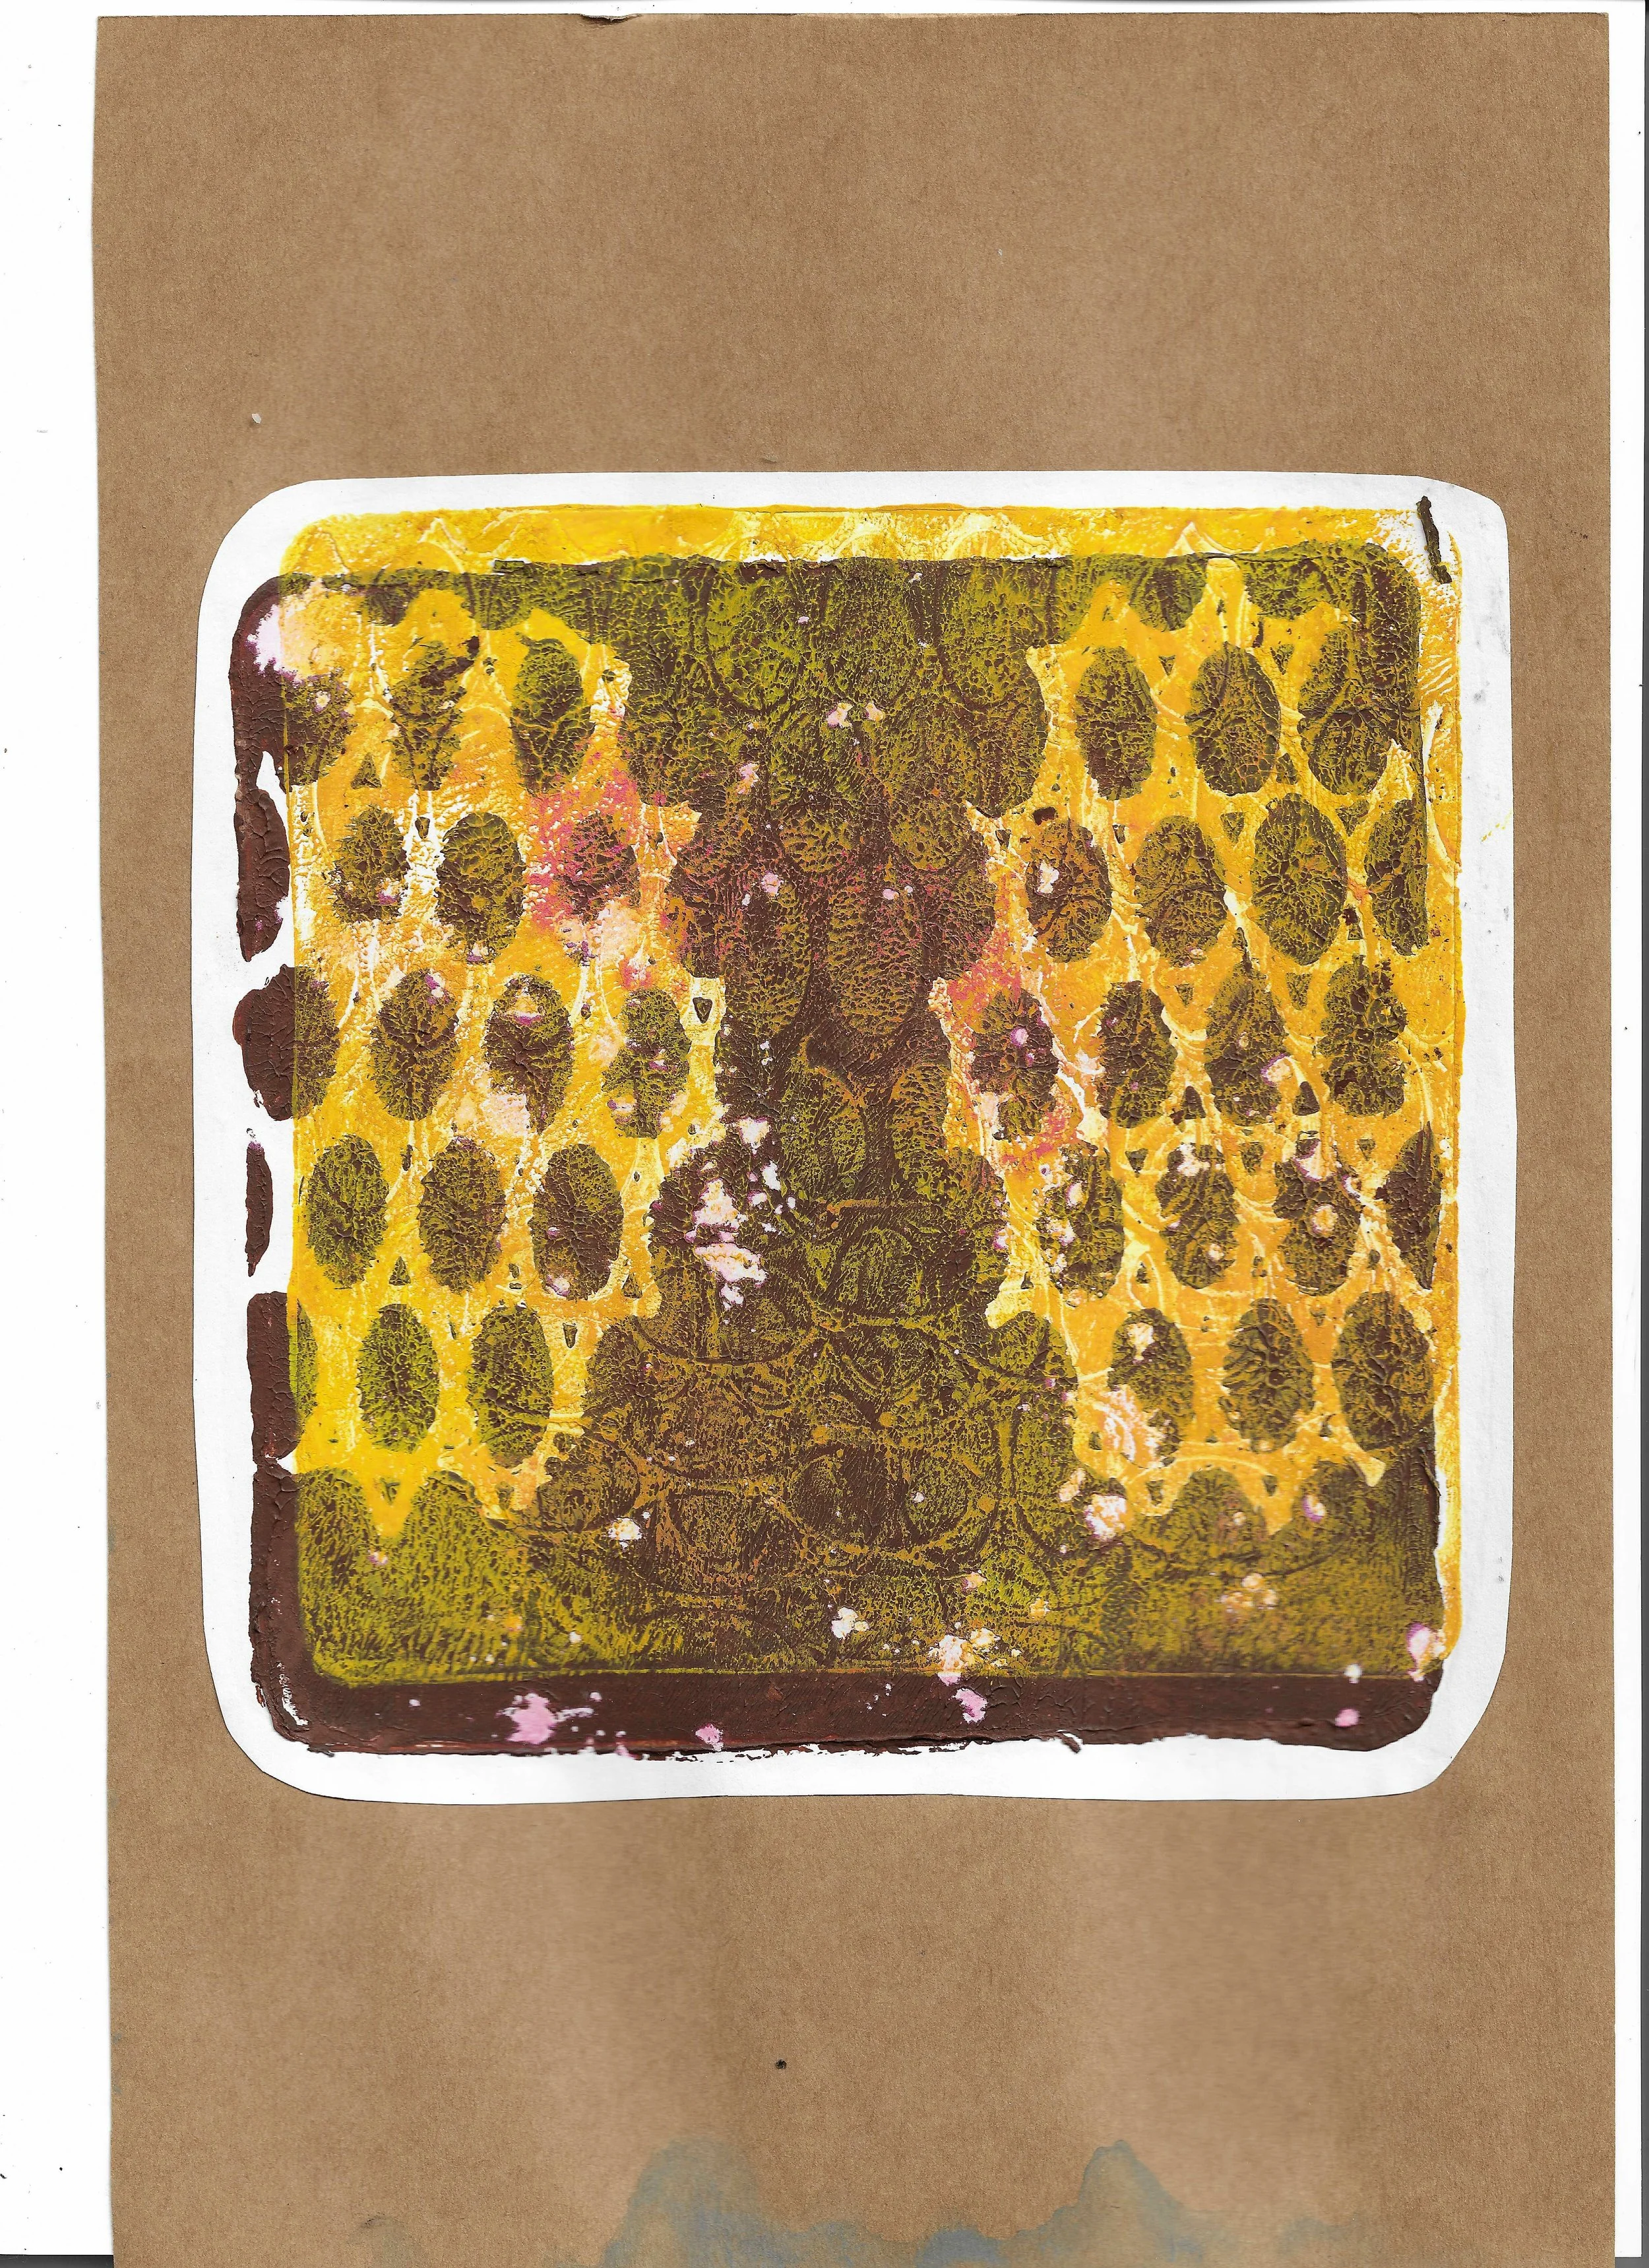
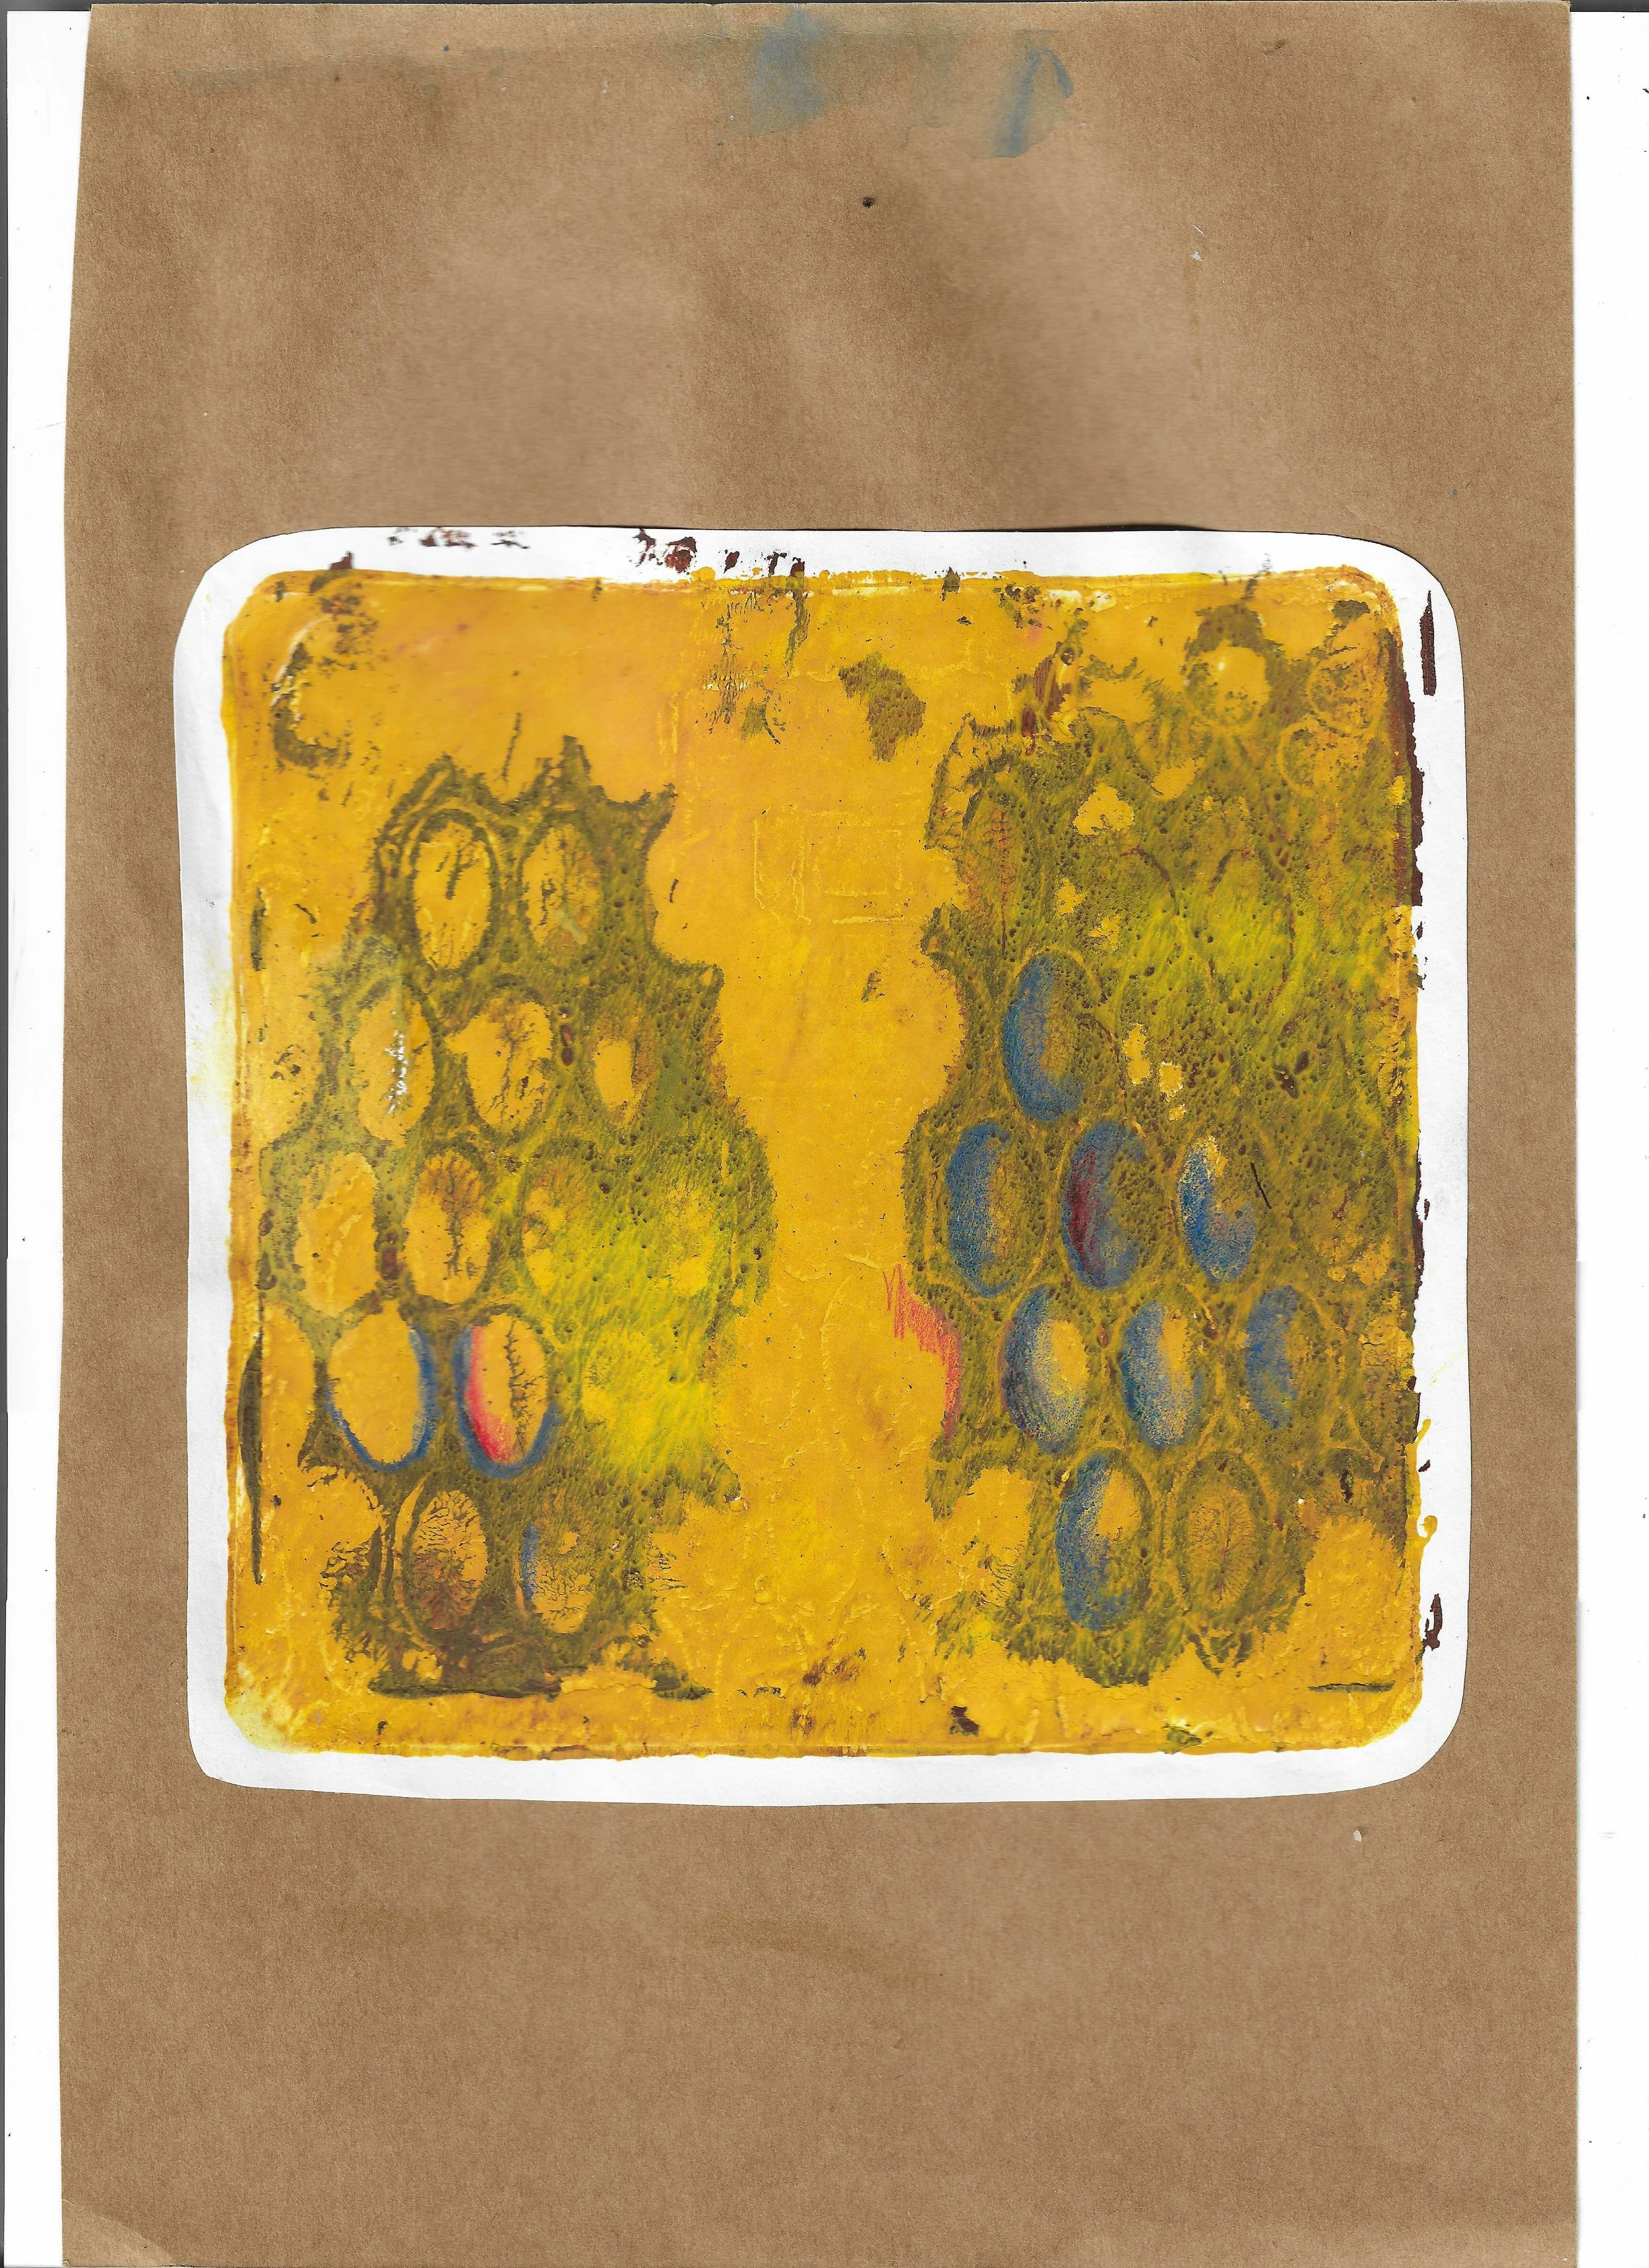
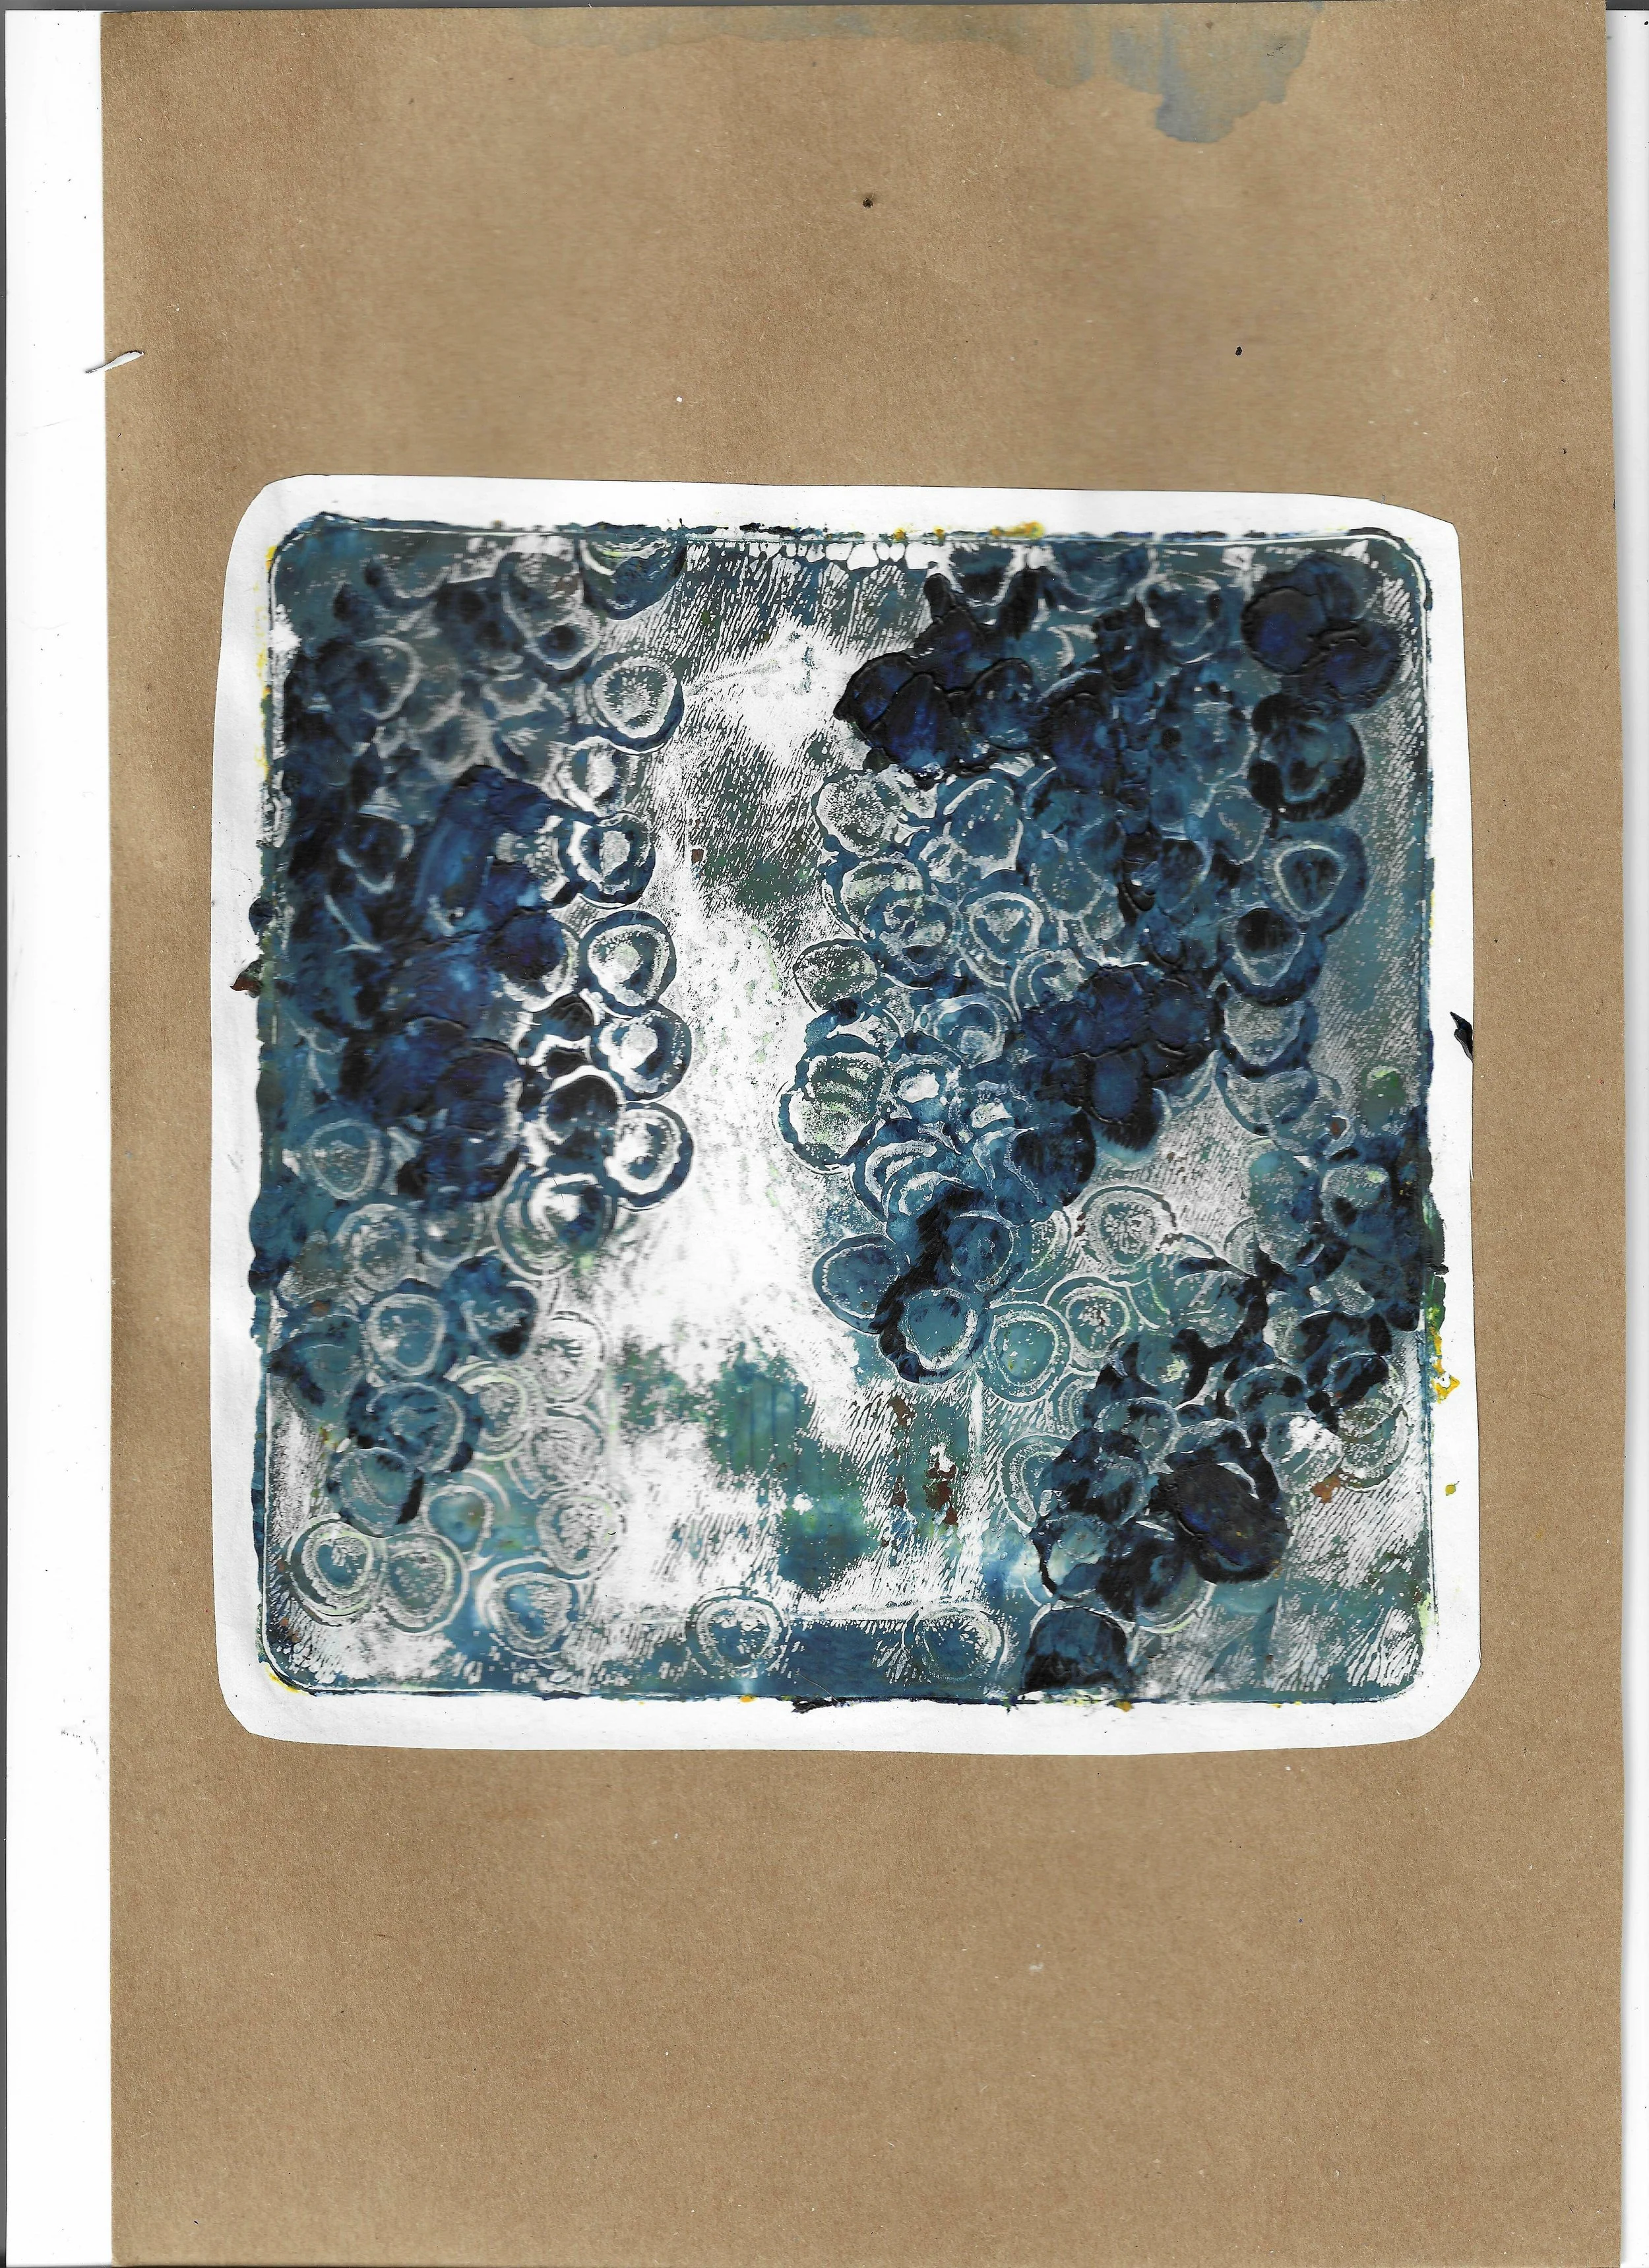
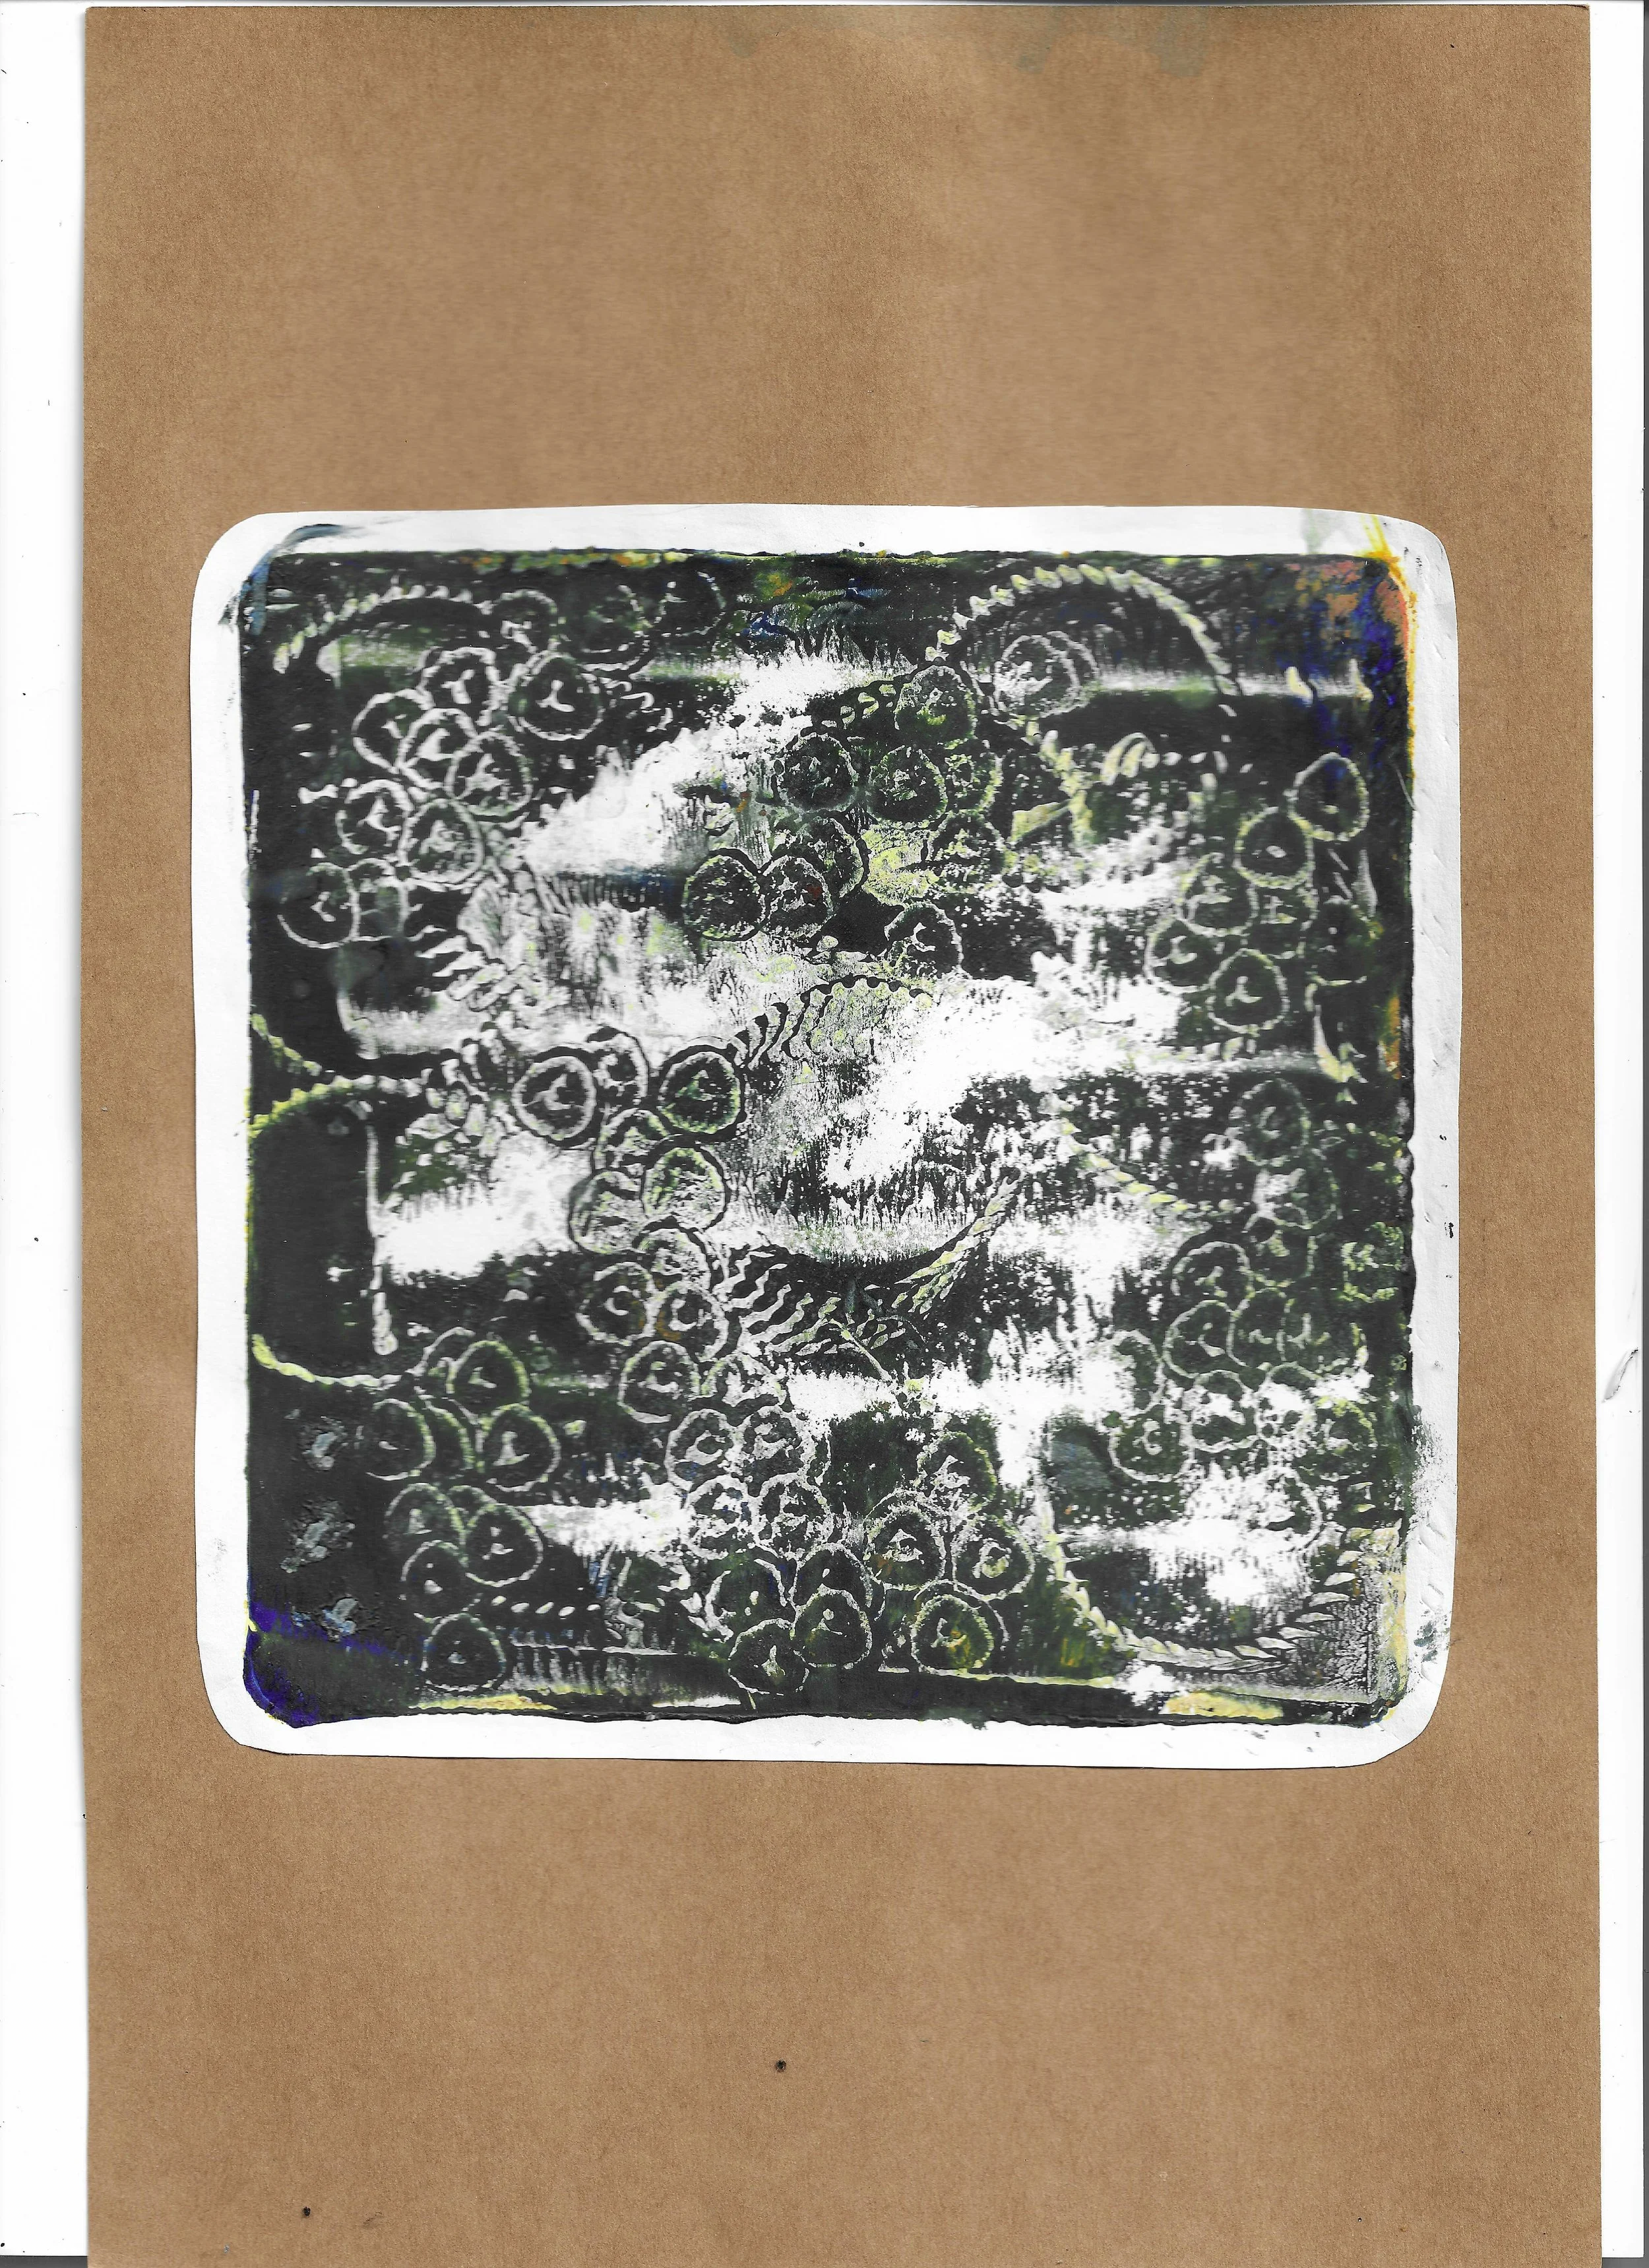

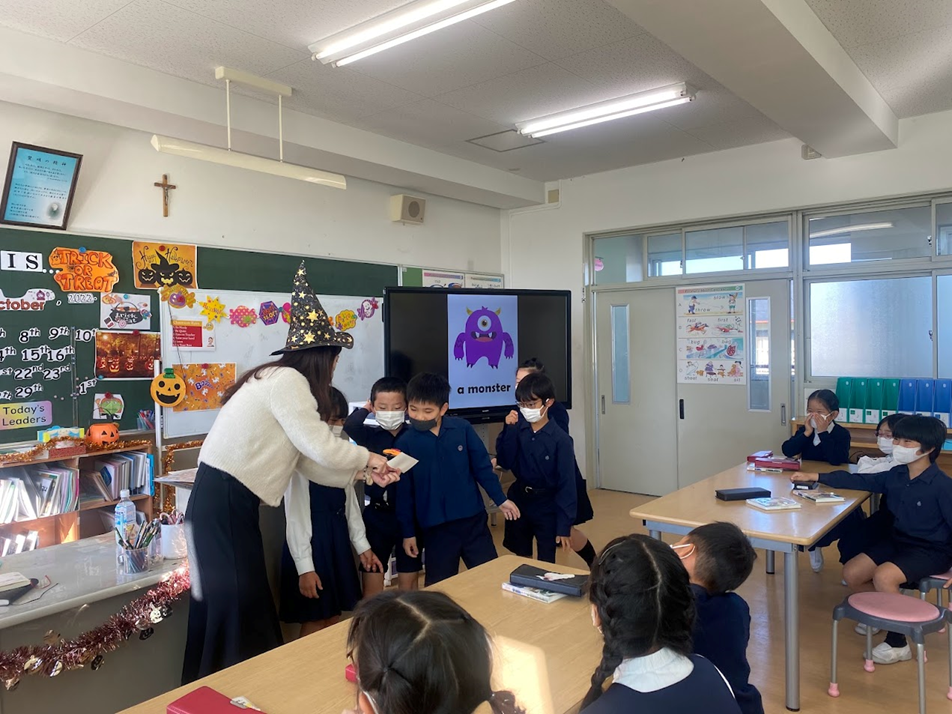
Work experience in primary school , it was my duty to find ways to engage them
Since I had already observed this class several times before, I had built a rapport with the students, which allowed me to feel relaxed while teaching. Interestingly, the more relaxed I felt, the better the lesson flowed. I explained each concept steadily, asked plenty of questions, and made sure that all the answers and steps came from the students themselves. I consistently affirmed their efforts and created opportunities for more students to contribute. Engagement grew as the lesson progressed even our student with autism, who is usually very shy and lacking in confidence, raised his hand, participated, and even came up to the board to present.
The success of this lesson was also the result of thorough preparation. I wrote a detailed lesson plan, scripting out what I would say and anticipating possible student responses. I also prepared practice questions at different levels basic, intermediate, and advanced so that the quicker students were always challenged while the slower learners never lost motivation.
lessons for the students
Colour theory
Student Activities and teacher input
Introduce the learning objective
Tone Lesson plan
Pattern and texture
Line introduction
Make it stand out
Primary school students work theme
Their favourite place


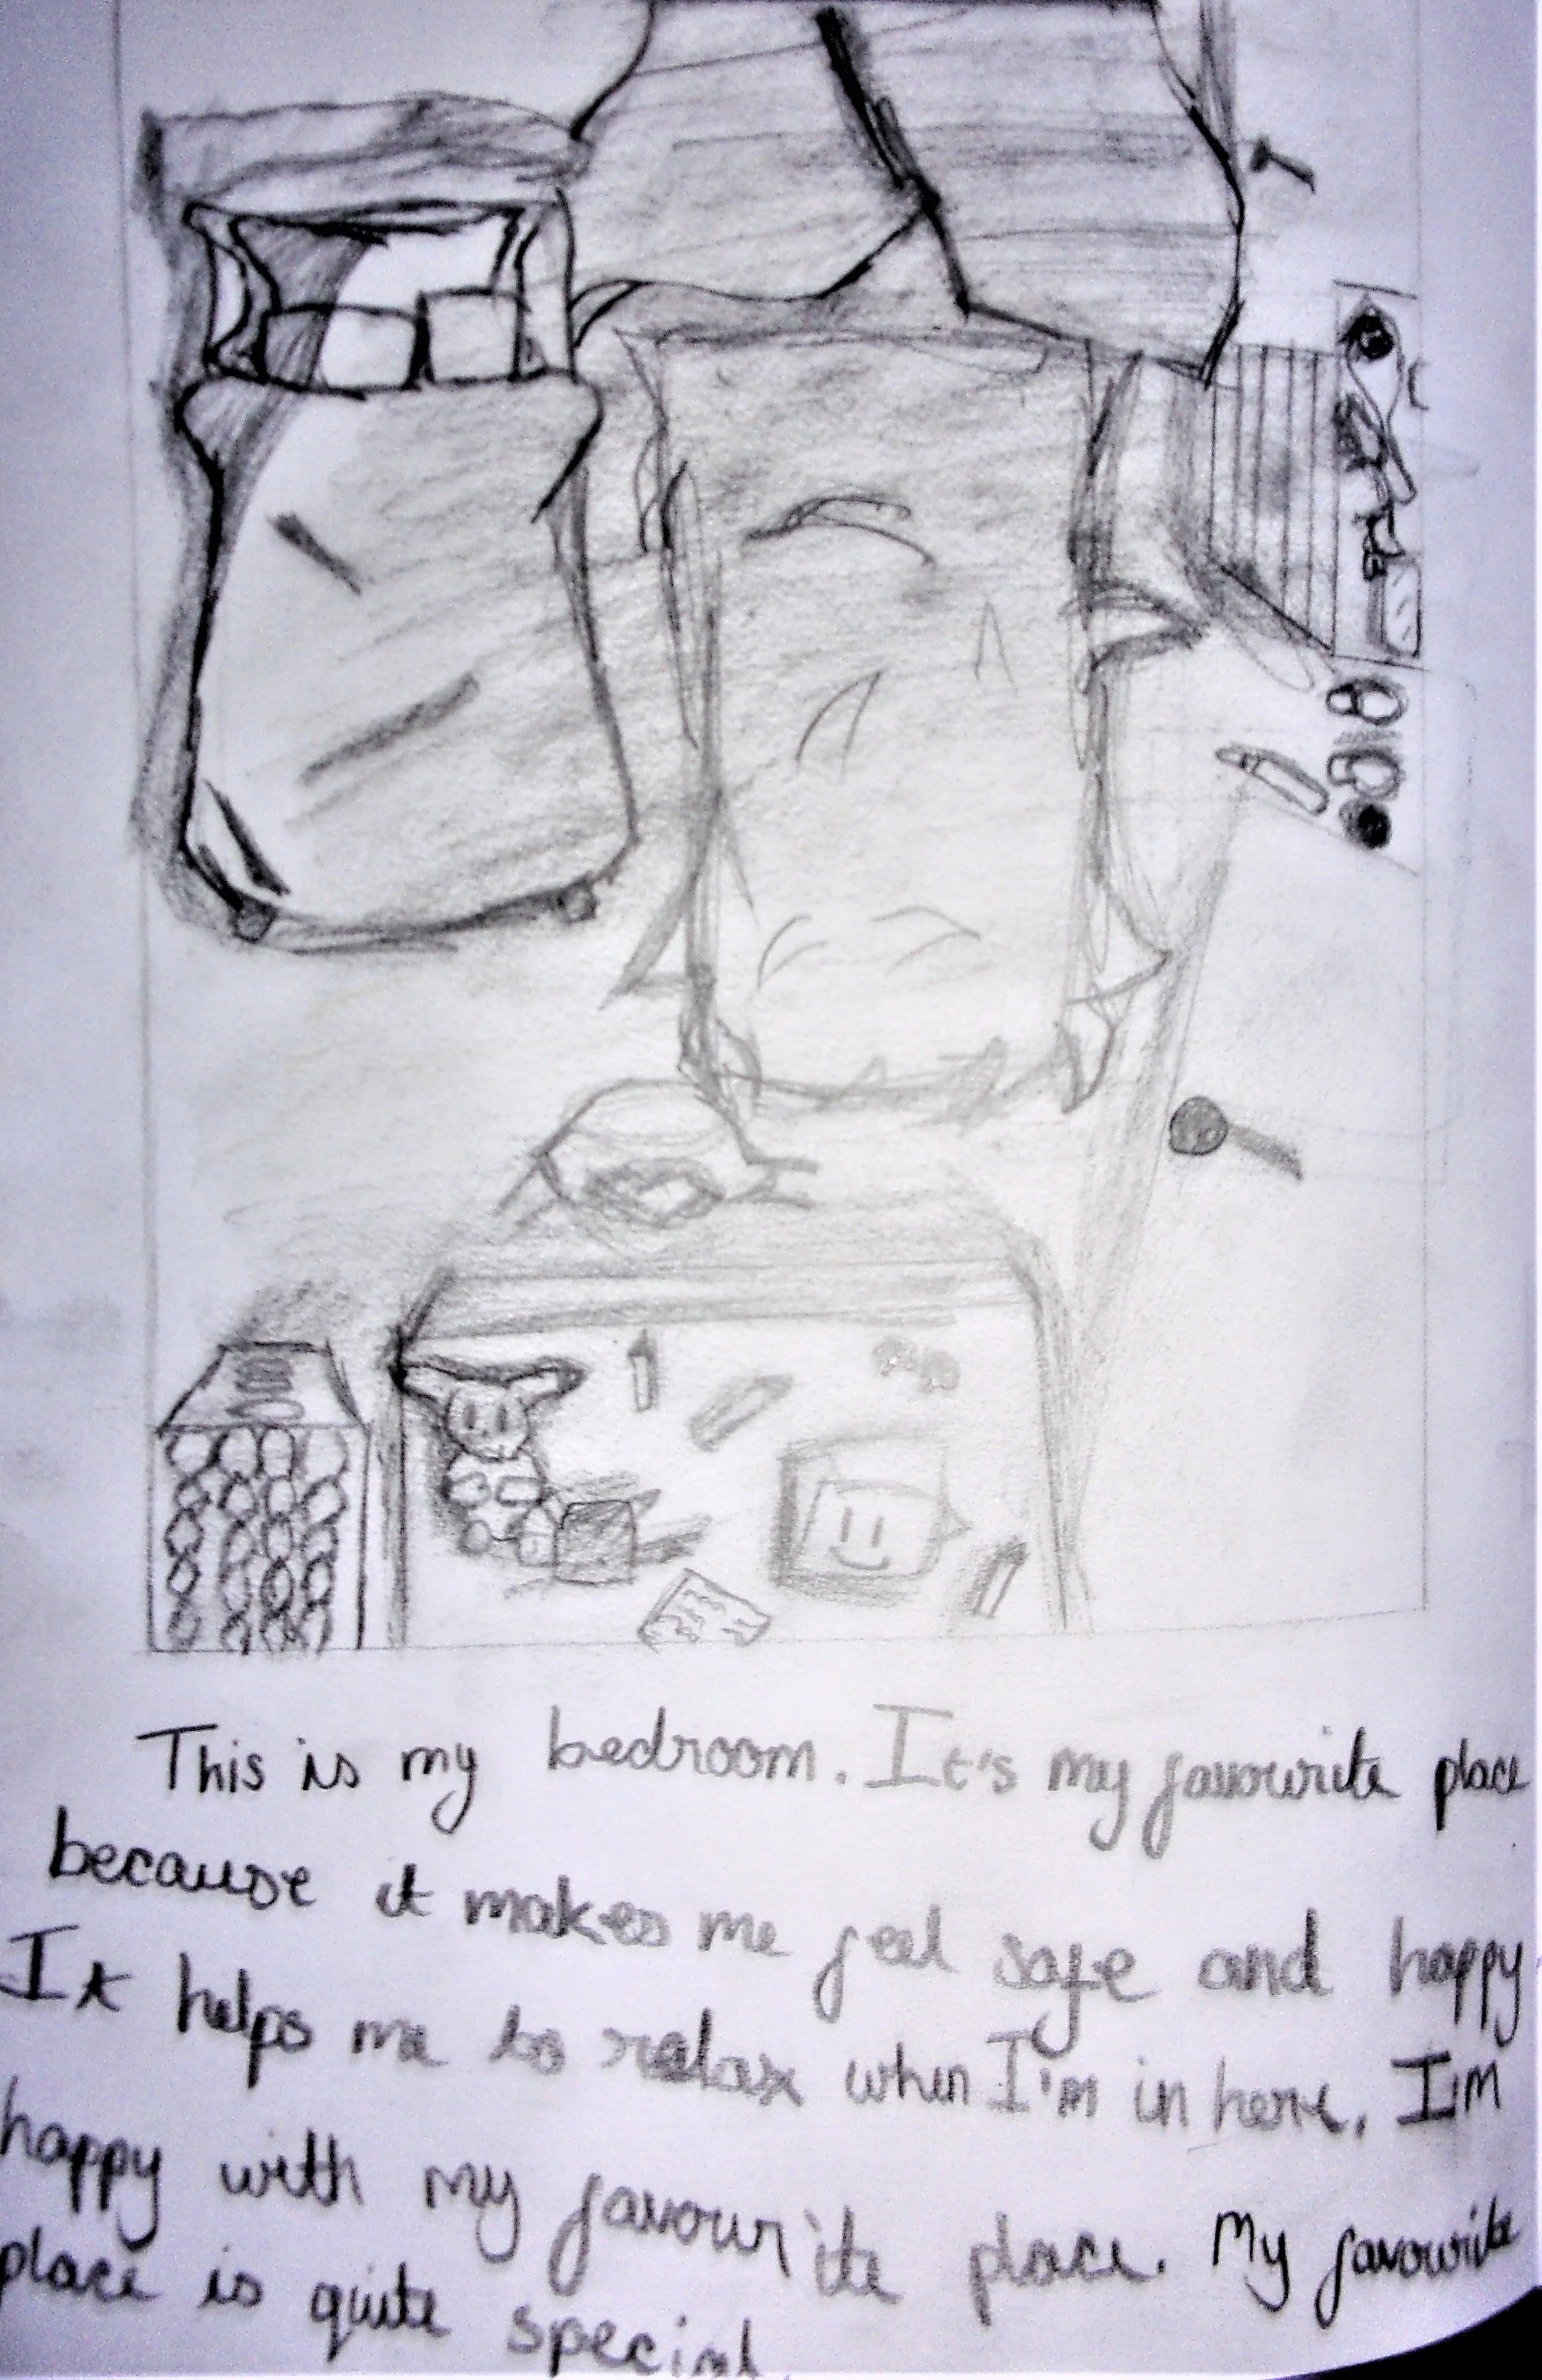
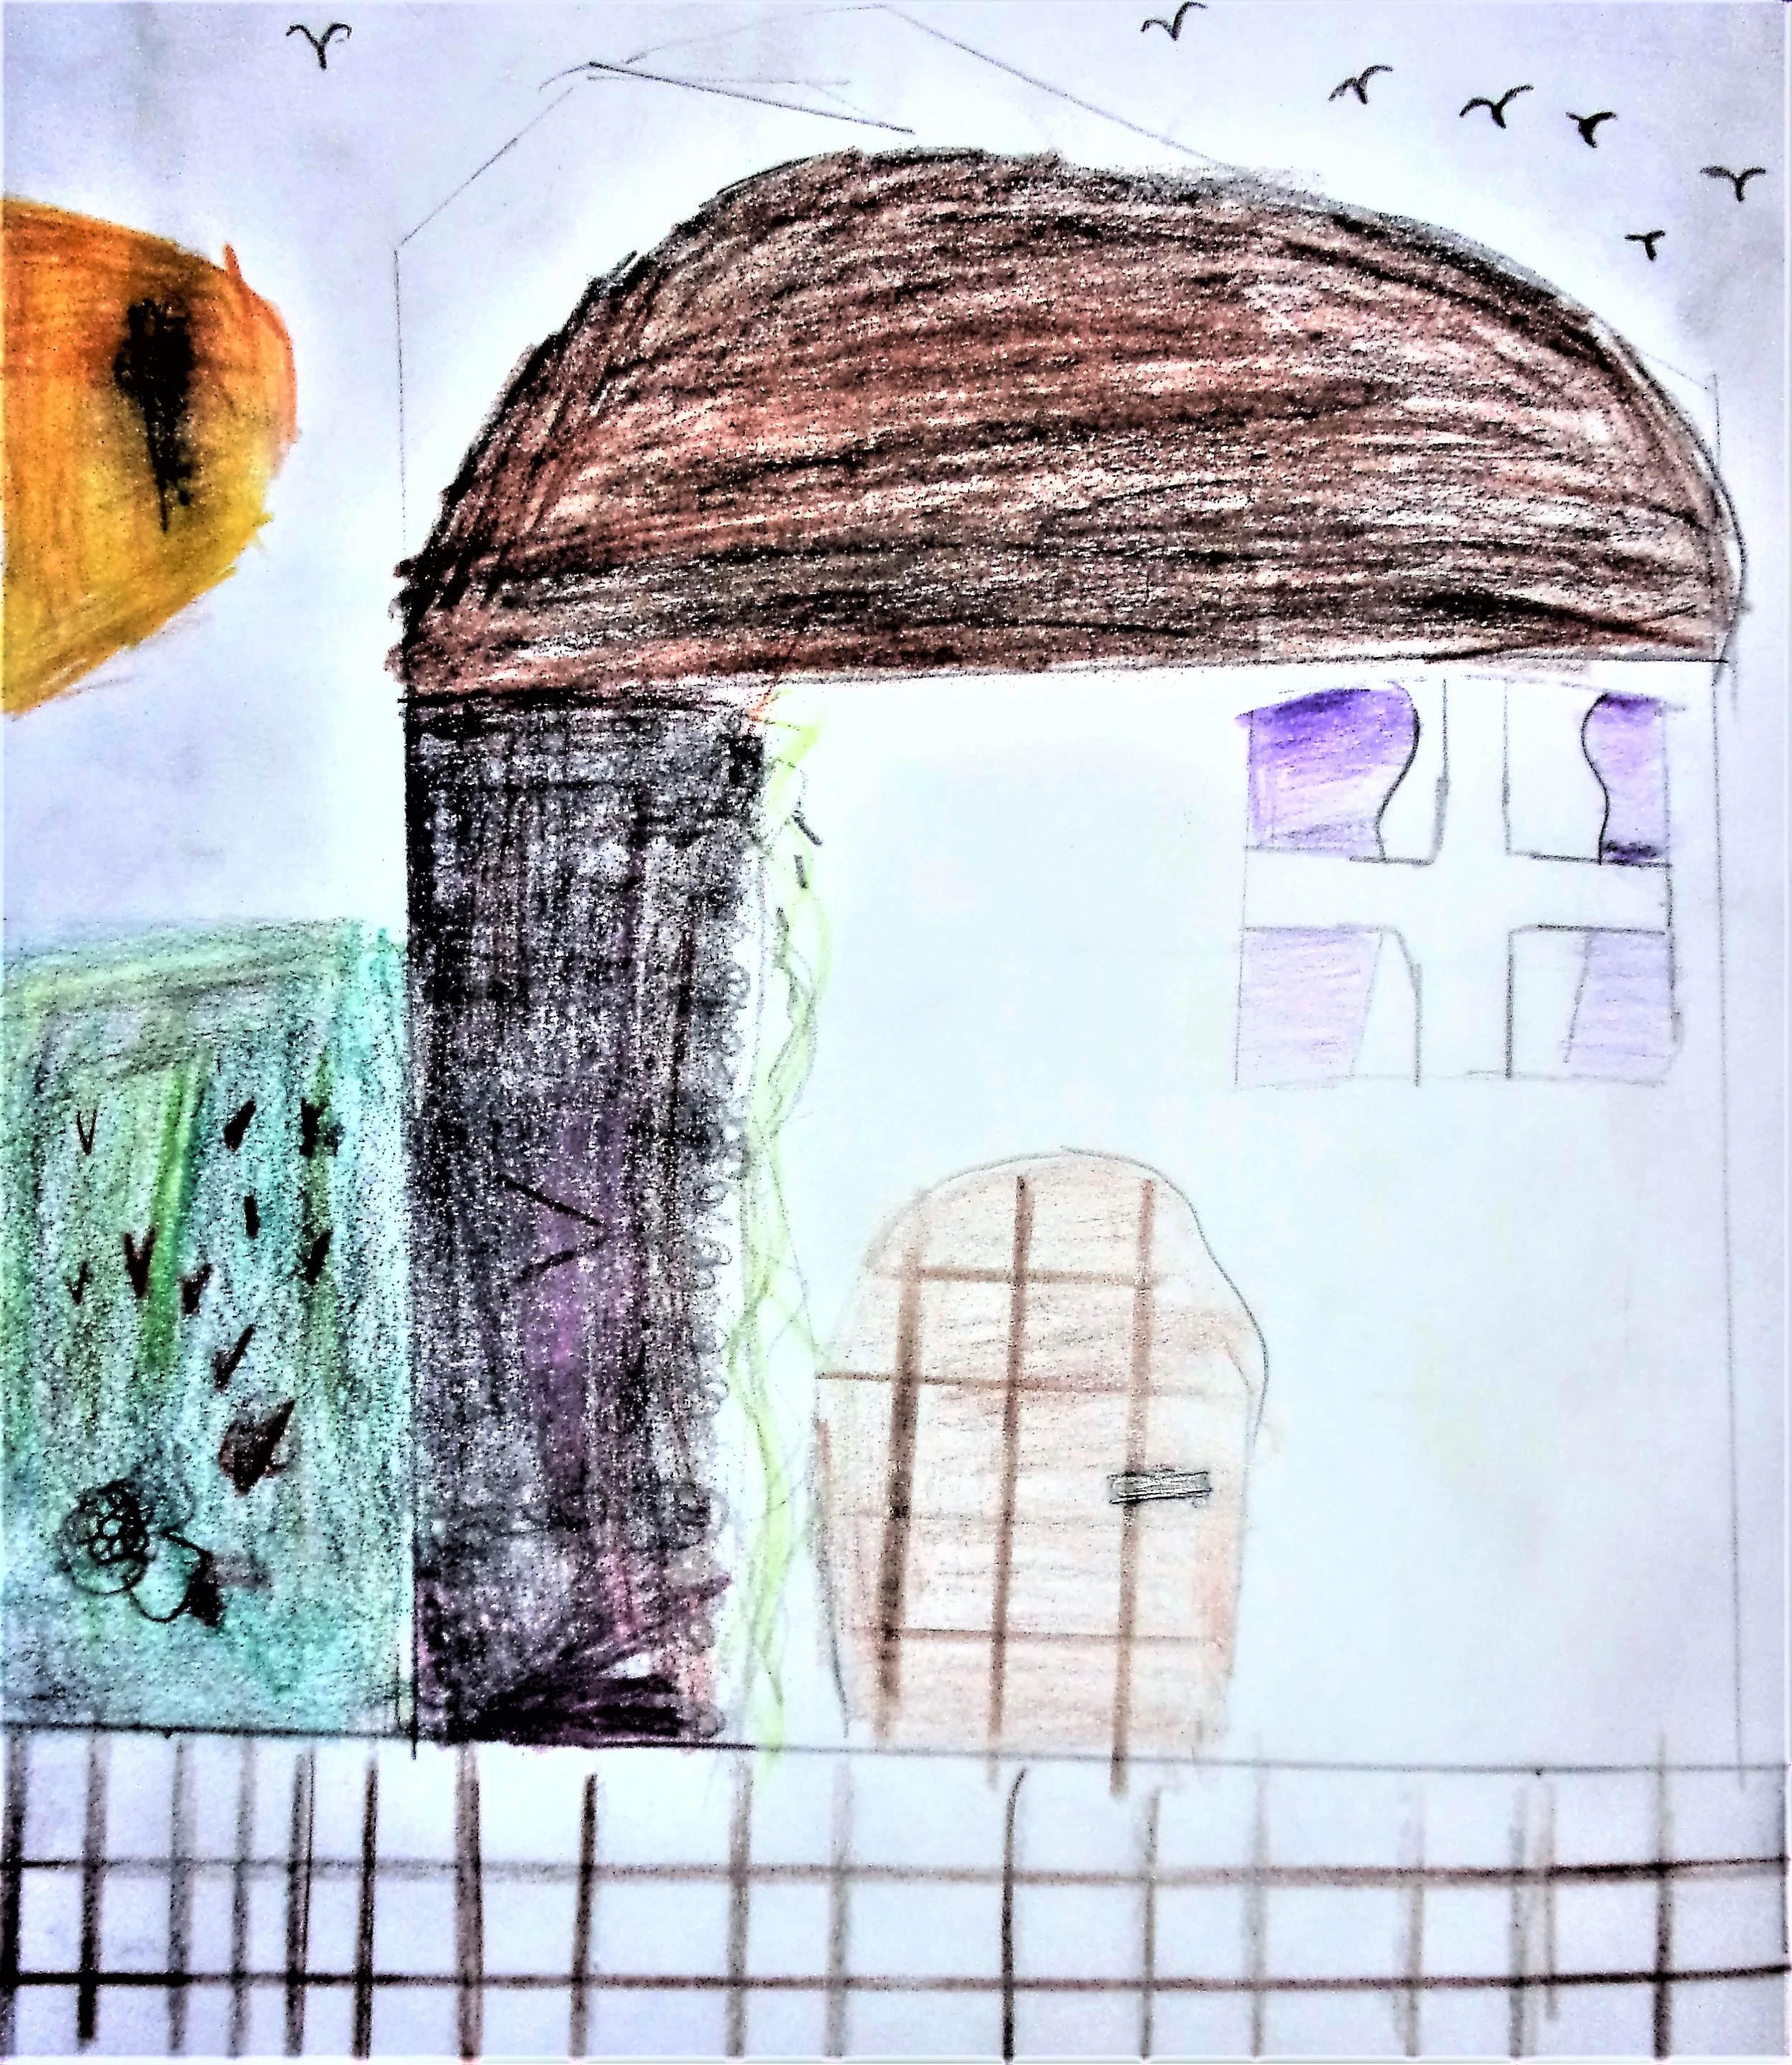
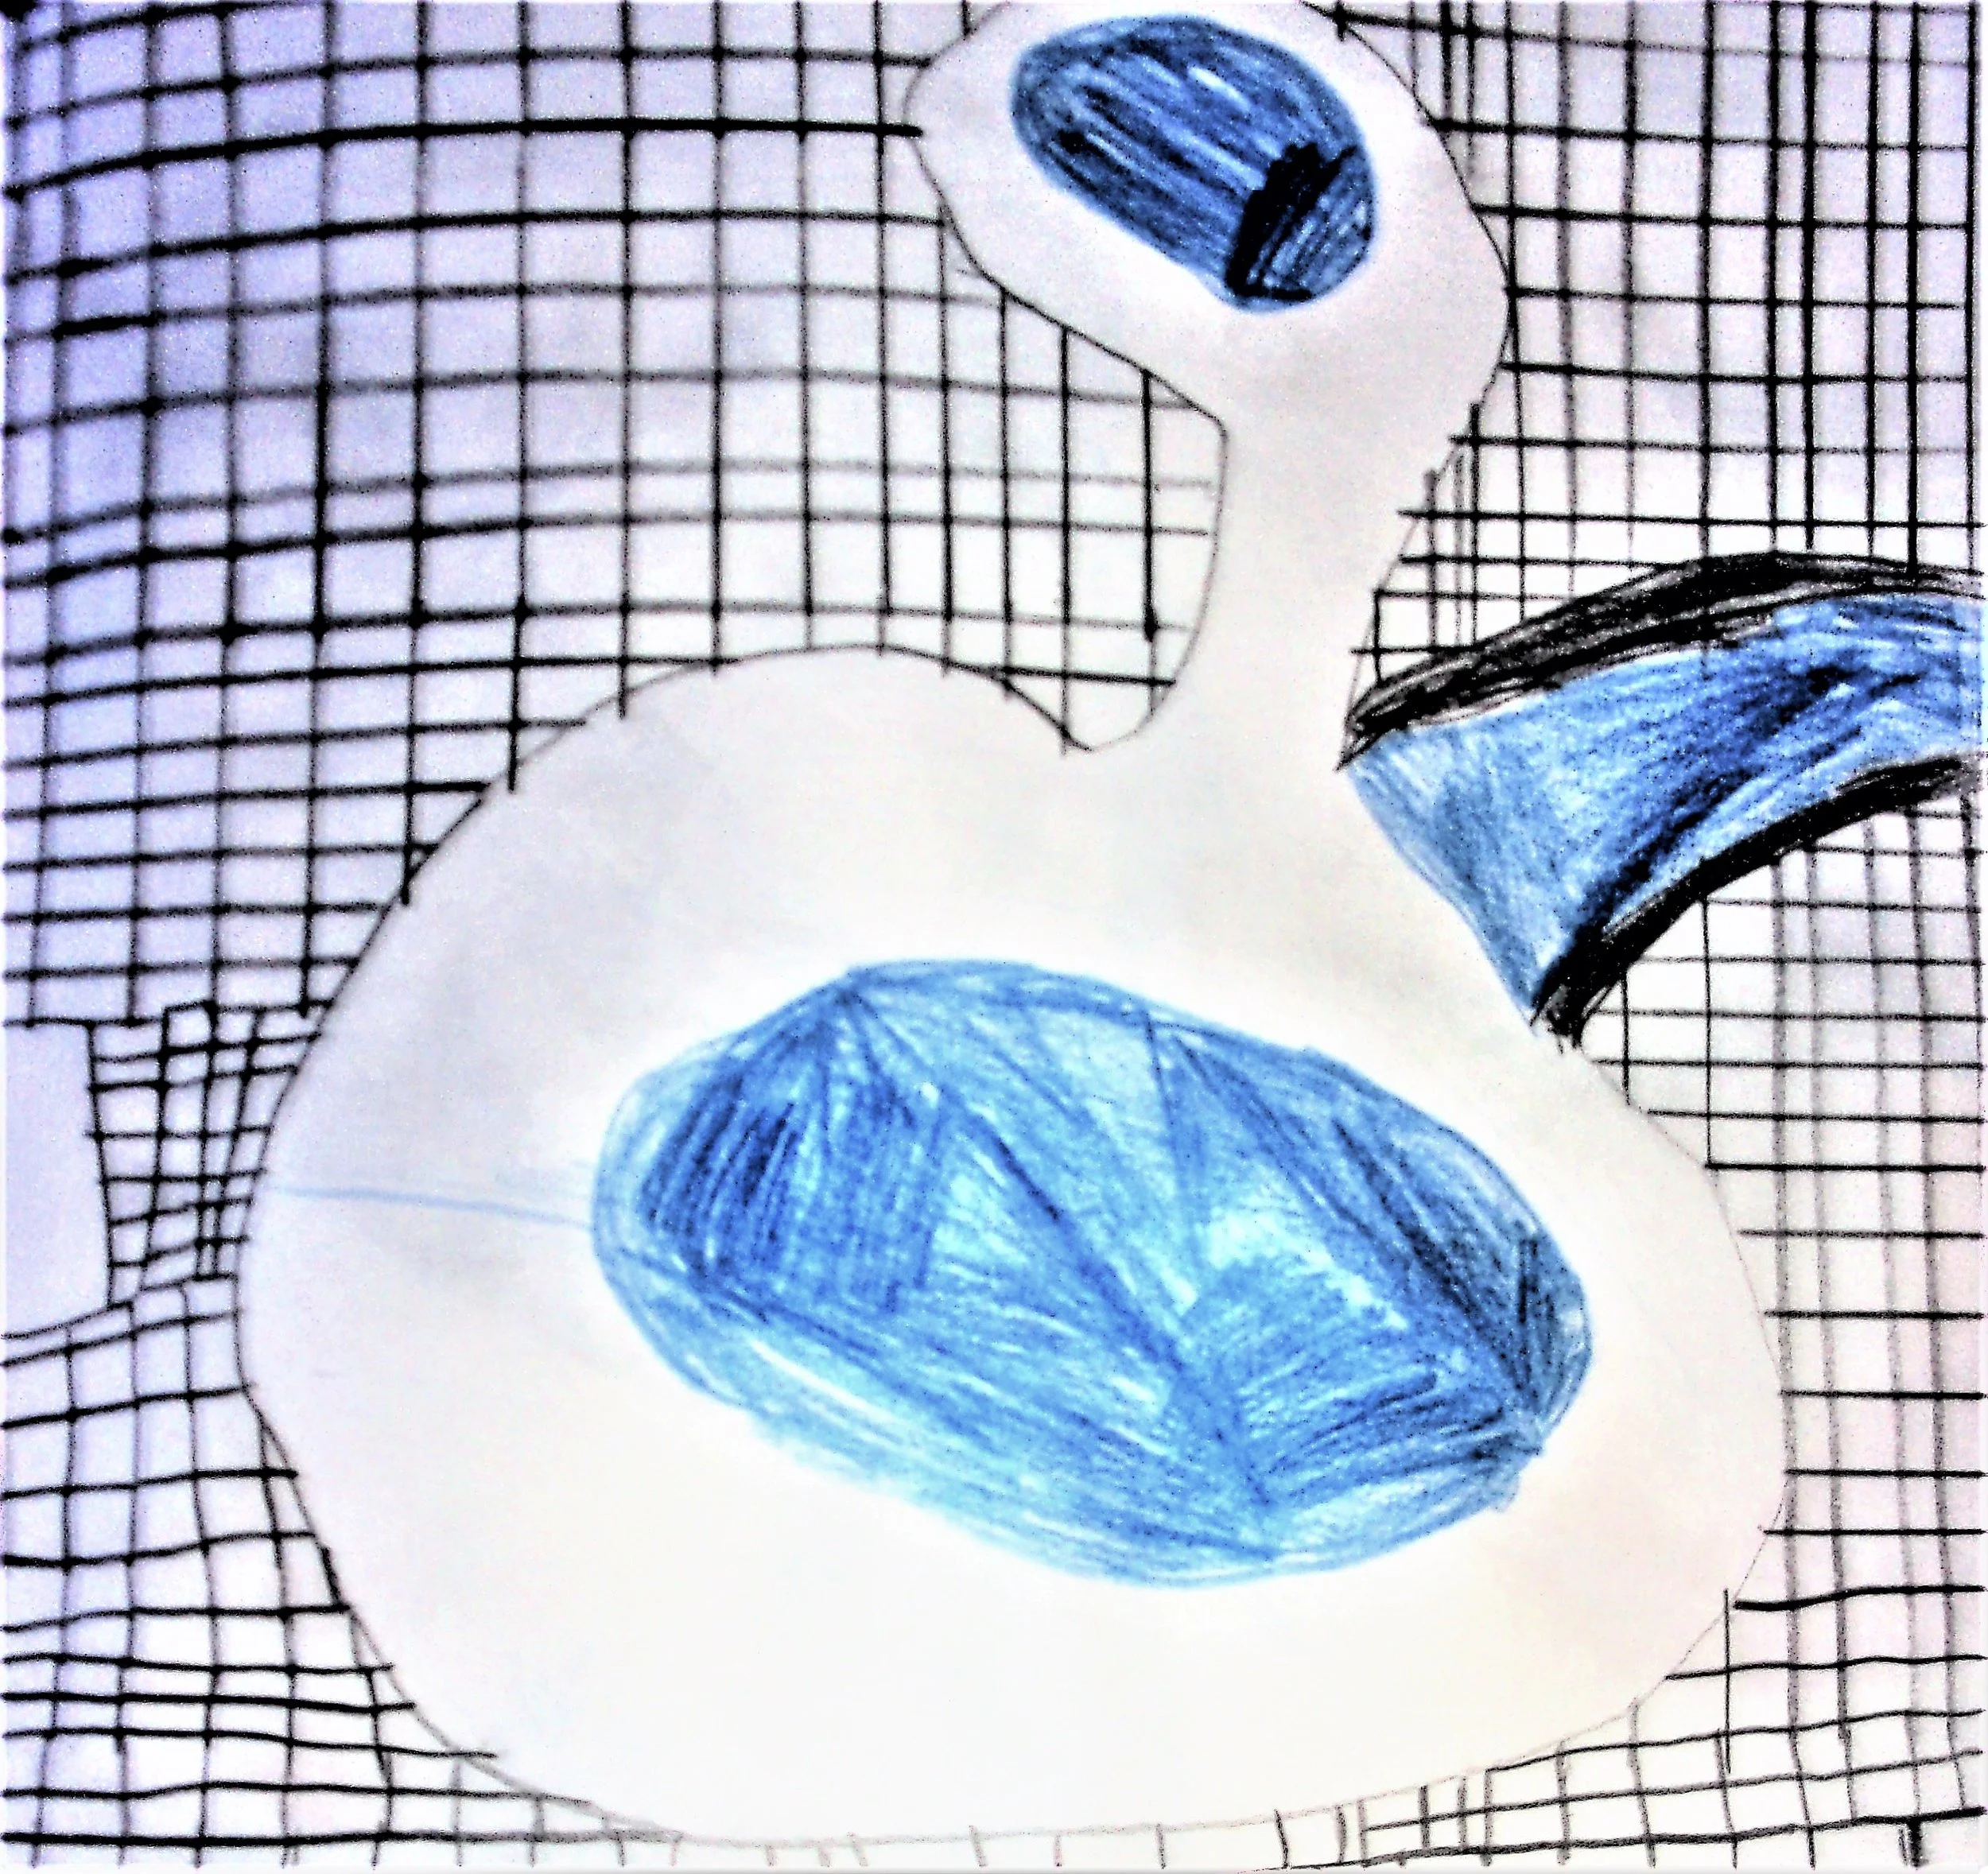


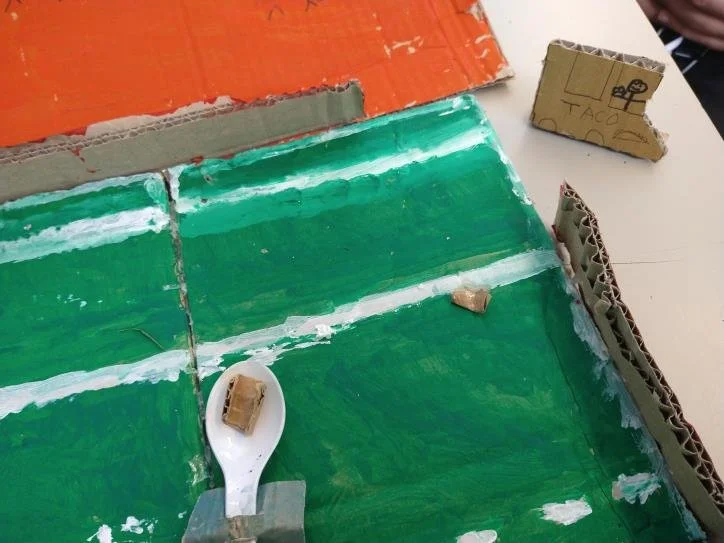
Student’s Sculpture pieces
3D making
